| BustedGear.com |
| Shop | Repairs | Manufacturers | Resources | iFAQs | About |
|
|
|||
| Moog® Micromoog | 1: Removing the Keyboard Assembly | ||
|---|---|---|---|
|
Last Page < |
Page Bottom ∨ |
Next Page > |
|
|
|
|||
|
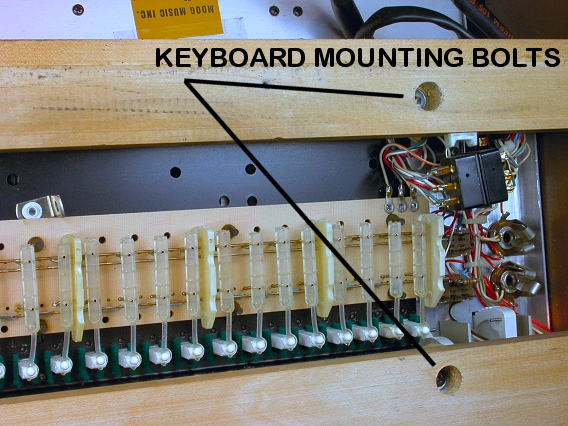
Here you see the Minimoog with its bottom cover removed (the bottom cover is held on with eight wood screws). You can see the underside of the keyboard and the attached key-contact assembly. Four bolts hold the keyboard assembly to the Minimoog cabinet. Two of the bolts are shown in this photo. |
|
|---|---|
|
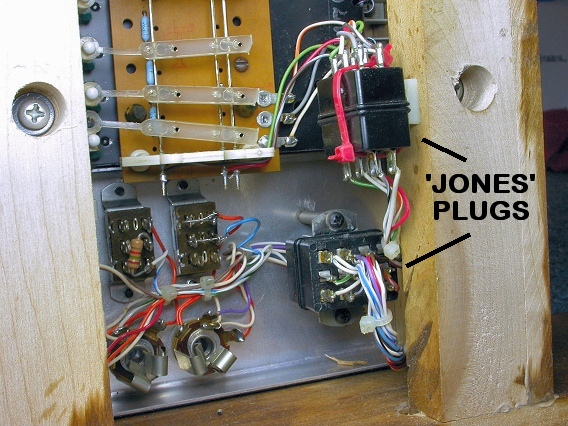
Before removing the keyboard assembly, unplug the two "Cinch Jones" connectors seen in this photo. The smaller (6-pin) plug & socket connect to the key contacts. They should be tied to a mount on the Minimoog frame. A red cable tie does the job in this photo. Cut the cable tie and disconnect the 6-pin connector. When you reassemble the unit, install a new tie. Also unplug the 9-pin Jones plug. It connects to the left hand control panel. Spray-clean the contacts of both connector sets, plugging and unplugging them several times. Dirty contacts can cause intermittent problems. |
|
|
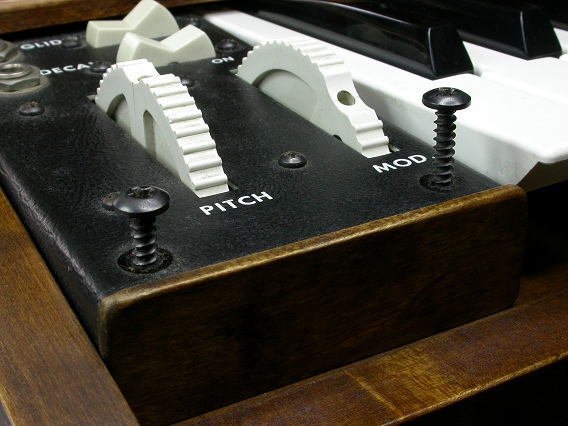
Next, remove the left hand control panel by taking out the two, long wood screws shown here. These screws also hold down the front wood trim. |
|
|
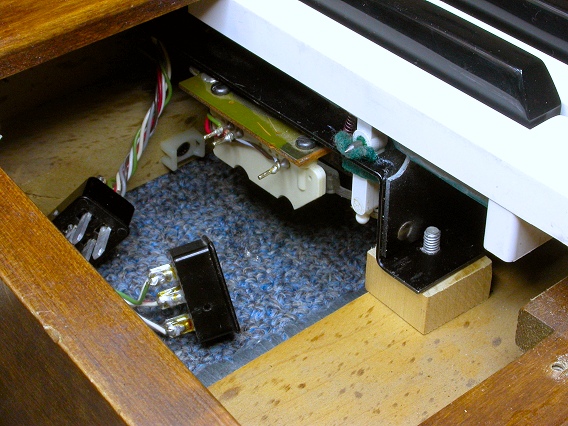
With the left hand panel removed, you can see the left-front keyboard mounting bolt. Notice the square wooden spacer between the Minimoog case and the keyboard assembly. |
|
|
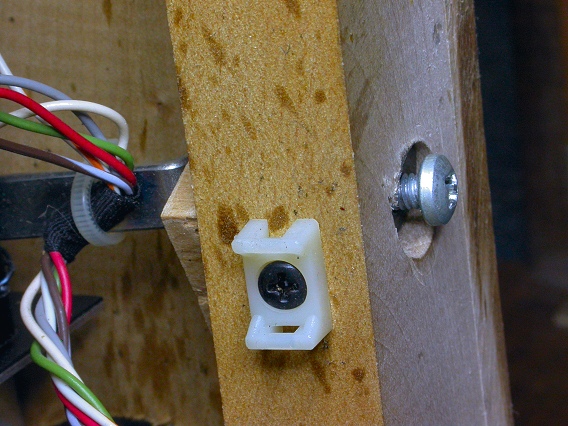
Here you see the left rear mounting bolt. Notice that the rear spacer has less height than the front one. Don't mix up the front and rear spacers. |
|
|
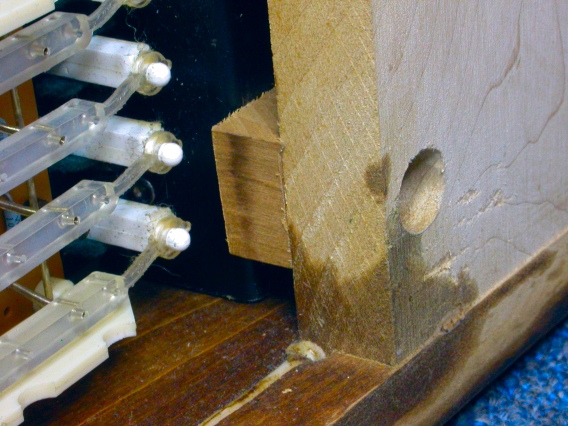
Here you see the right front spacer. It has the same height as the left front spacer. |
|
|
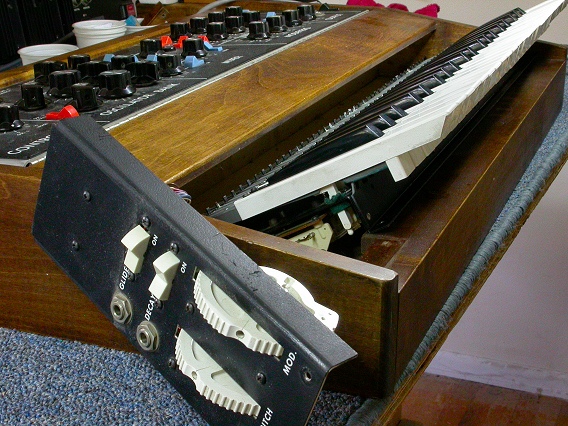
Remove the four keyboard mounting bolts. Then, lift the keyboard assembly up and out of the Minimoog. |
|
| Moog® Micromoog | ||
|---|---|---|
|
Last Page < |
Page Top ∧ |
Next Page > |
|
|
|
|
|
Page design and content Copyright © Richard Diemer - All rights reserved |