| BustedGear.com |
| Shop | Repairs | Manufacturers | Resources | iFAQs | About |
|
|
|||
| Roland® TR-808 | 2: Removing the Main PC Board Assembly | ||
|---|---|---|---|
|
Last Page < |
Page Bottom ∨ |
Next Page > |
|
|
|
|||
|
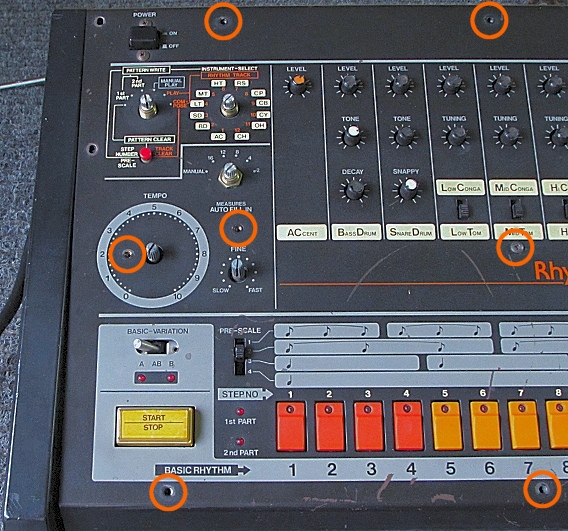
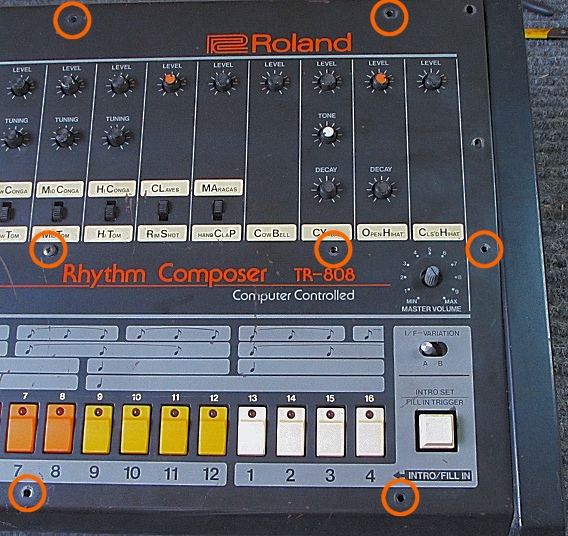
To detach the Main PCBA from the Roland TR-808 top panel, you must take out eleven mounting screws. The locations are circled in this photo and the next. Also, pull off the six largest control knobs (there are no set screws). Don't remove the little knobs that adjust the drum sounds. |
|
|---|---|
|
In this photo, notice that we skipped one screw in the center of the panel. We did this to prevent the PCBA from falling out before we were ready to catch it. |
|
|
With the top panel on its end (right) remove the last mounting screw and ease the PCBA away from the top panel. There's a flat flexible cable at the front of the PCBA that comes very close to the front lip of the top panel. Be careful not to pinch this cable while you're removing or reinstalling the PCB assembly. |

|
|
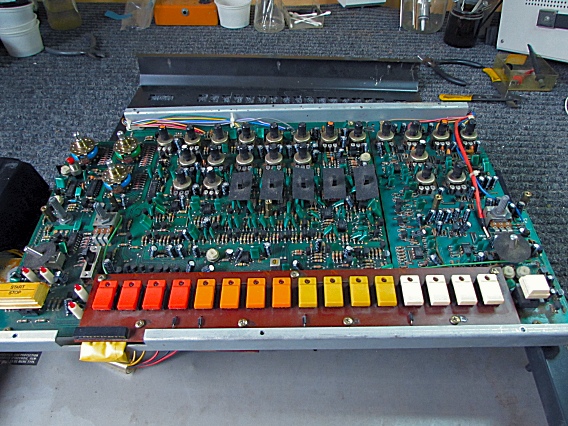
Here, the PCBA is extracted. Notice that the top is still tethered to the bottom by the wires of the power switch and by a green, ground wire. |

|
|
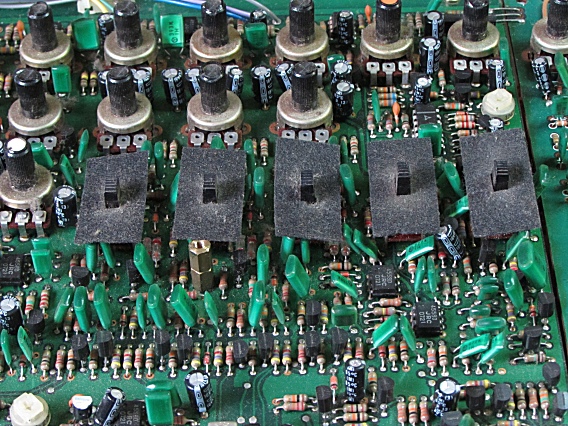
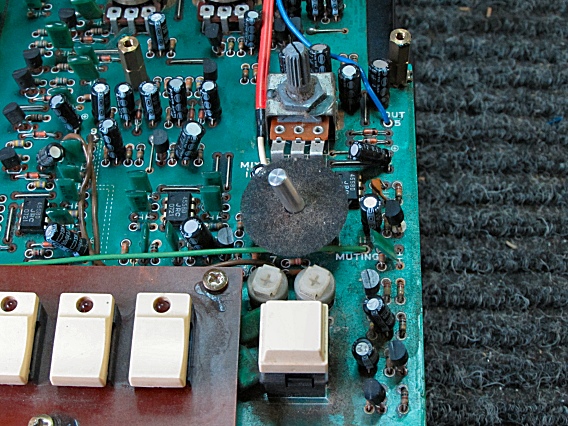
Here you see the component side of the PCBA. Notice that there are black felt shades on several of the slide and toggle switches. These shades fall off easily. |
|
|
The shades hide the switch mechanisms from sight and also help to keep out dirt. |
|
|
Remember where the shades go. |
|
|
Put them back when reinstalling the PCBA. |

|
| Roland® TR-808 | ||
|---|---|---|
|
Last Page < |
Page Top ∧ |
Next Page > |
|
|
|
|
|
Page design and content Copyright © Richard Diemer - All rights reserved |