| BustedGear.com |
| Shop | Repairs | Manufacturers | Resources | iFAQs | About |
|
|
|||
| Ampeg® SVT Classic | 3: Circuit Board Access | ||
|---|---|---|---|
|
Last Page < |
Page Bottom ∨ |
Next Page > |
|
|
|
|||
|
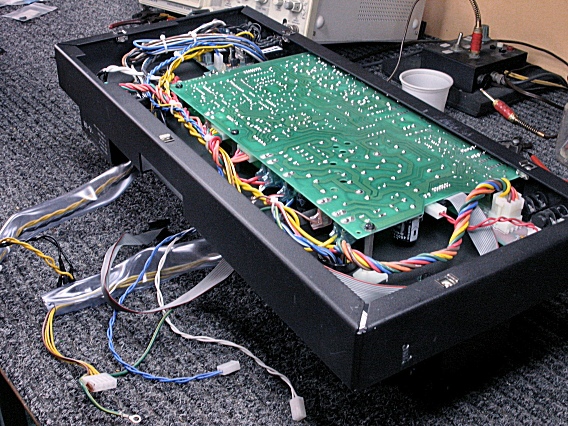
This is the underside of the SVT-CL power amp chassis. The foil side of the main PC board is nicely exposed. To access the component side of the circuit board, a few screws need to be removed on the top side of the chassis. |
|
|---|---|
|
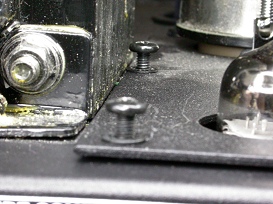
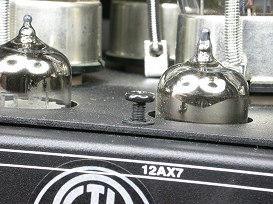
Here you see 3 of those screws. They hold down the power tube assembly. In all, there are 8 black machine screws with lock washers. |
|
|
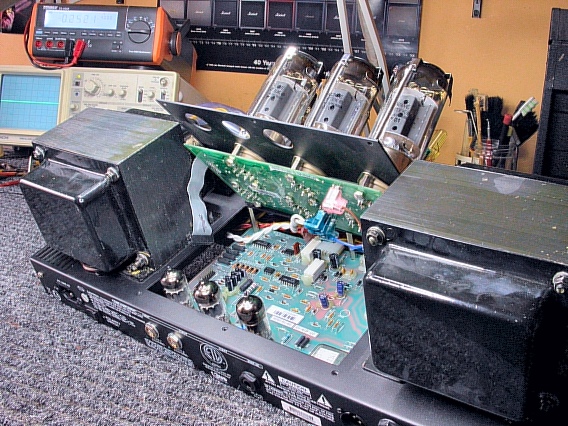
With the screws out, you can probe the component side of the main board and the underside of the power tubes. |
|
|
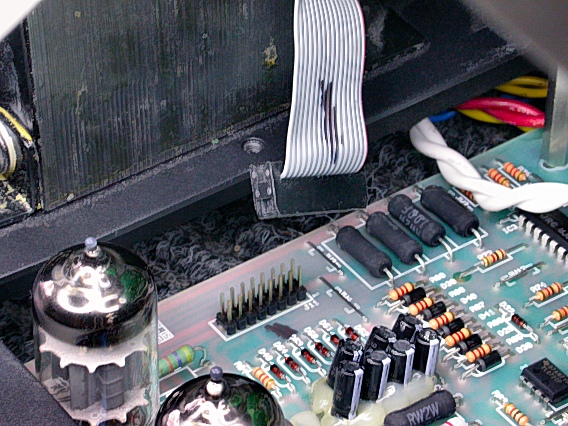
The 16-pin cable between the main board and the tube board is short. If you raise the tube assembly too much, the cable will disconnect. |
|
|
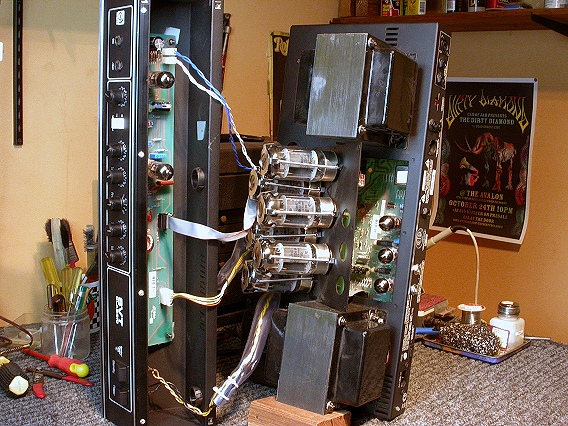
To troubleshoot a powered-up SVT-CL, you have to reconnect the chassis, as shown here. A convenient way to access the whole amp is to stand the two chassis on end. |
|
|
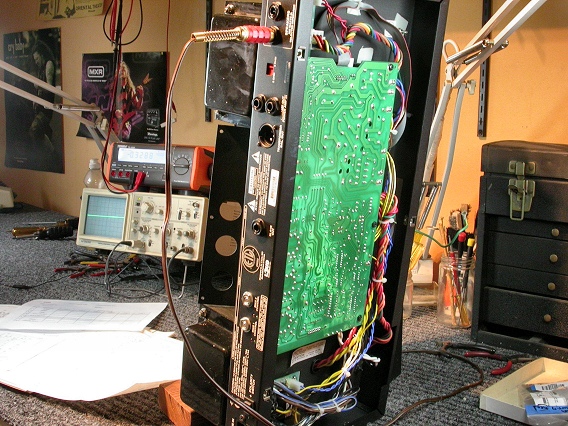
Then you can probe both sides of the power amp board as well as the 6550 power tube sockets. |
|
| Ampeg® SVT Classic | ||
|---|---|---|
|
Last Page < |
Page Top ∧ |
Next Page > |
|
|
|
|
|
Page design and content Copyright © Richard Diemer - All rights reserved |