| BustedGear.com |
| Shop | Repairs | Manufacturers | Resources | iFAQs | About |
|
|
|||
| Ensoniq® SQ-2 | 2: PCB Removal | ||
|---|---|---|---|
|
Last Page < |
Page Bottom ∨ |
Next Page > |
|
|
|
|||
|
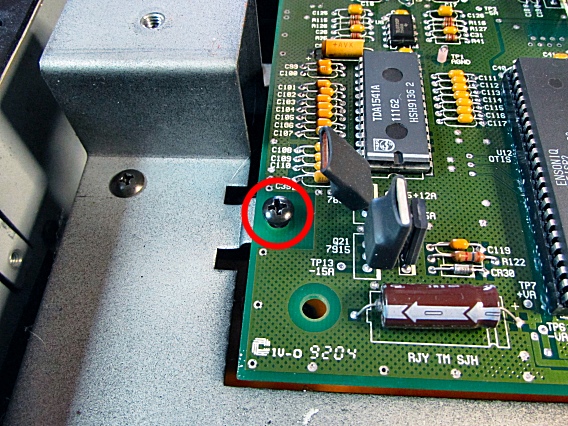
The next step in detaching the Main PCB Assembly from the Ensoniq SQ-2 is removing three mounting screws. The one circled here is at the Main Board's left-front corner. |
|
|---|---|
|
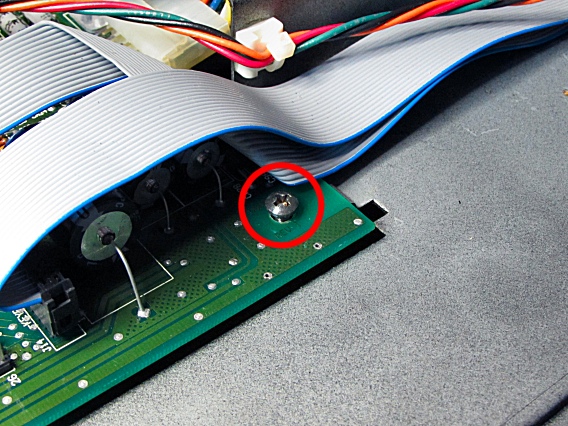
The mounting screw circled here is at the Board's right-front corner, hidden beneath a ribbon cable. |
|
|
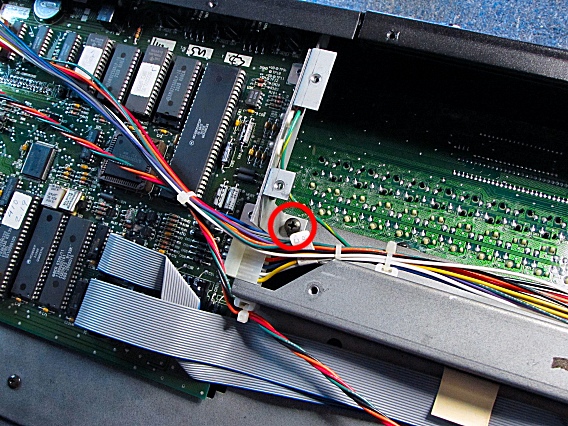
Finally, behind the right-front screw, a third screw holds down a PCB mounting brace. |
|
|
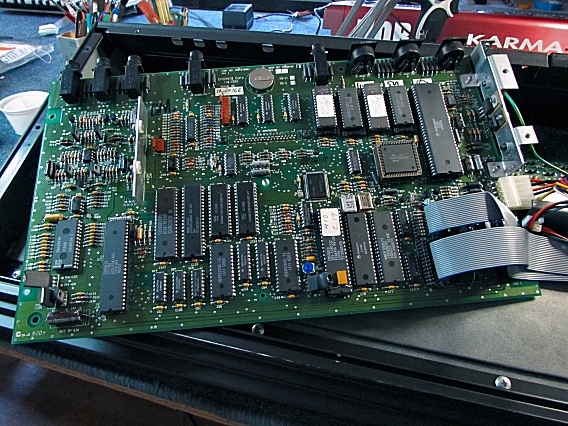
With the three mounting screws removed, the SQ-2 Main Board is free. |
|
|
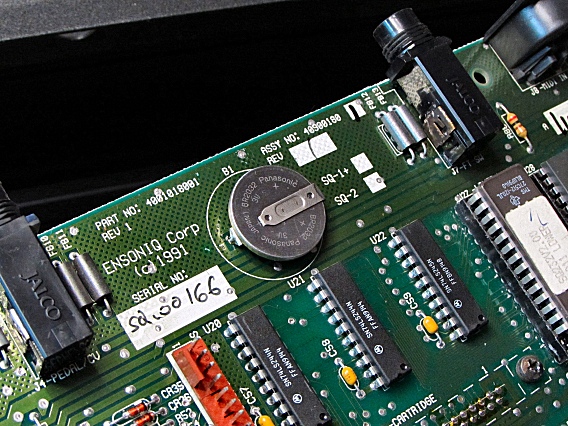
Here you see the lithium coin cell battery that was reading low to the computer. This battery powers the onboard memory chips when the Ensoniq SQ-2 is turned off. |
|
|
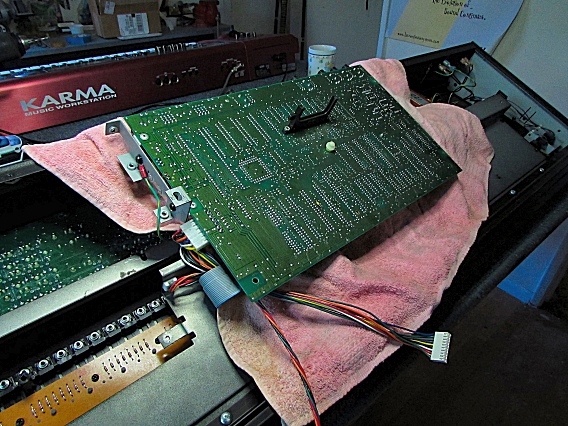
To unsolder the battery, first flip over the PCB Assembly (right). |
|
| Ensoniq® SQ-2 | ||
|---|---|---|
|
Last Page < |
Page Top ∧ |
Next Page > |
|
|
|
|
|
Page design and content Copyright © Richard Diemer - All rights reserved |