| BustedGear.com |
| Shop | Repairs | Manufacturers | Resources | iFAQs | About |
|
|
|||
| Marshall® DSL100 | 3: Installing a Power-Supply Filter Choke | ||
|---|---|---|---|
|
Last Page < |
Page Bottom ∨ |
Next Page > |
|
|
|
|||
|
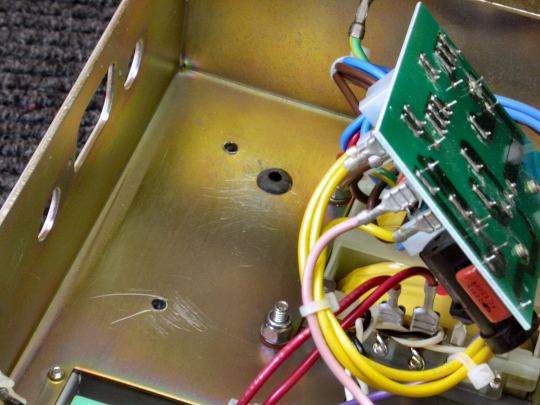
There's enough room behind the Marshall DSL100's power transformer to mount a power-supply choke. First, get the Mains PC board out of the way so you can drill three holes through the top of the chassis. Remove one black screw from each side of the Mains Input receptacle on the rear panel. Then swing back the PC board (right) and turn over the chassis. |
|
|---|---|
|
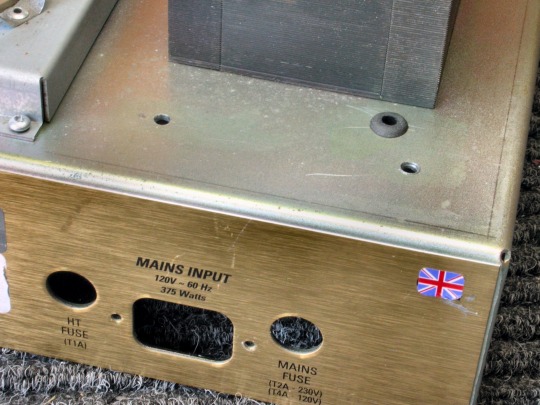
Use the choke as a template to mark hole placement. Then drill two mounting holes with an 11/64" (4.37 mm) or 3/16" (4.76 mm) drill bit. Drill a third hole for the wire leads using a 1/4" (6.35 mm) bit. Fit this hole with a rubber grommet (3/16" ID, 5/16" OD) (4.76 mm ID, 7.94 mm OD). |
|
|
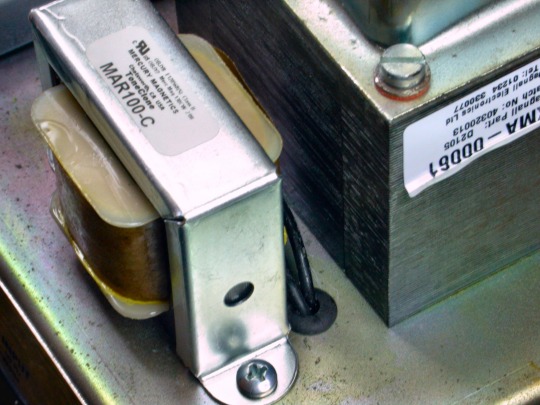
To mount the choke you can use #8-32 x 1/2" screws (4 x 12 mm.) Use a matching lock washer and nut inside the chassis. Feed the wire leads through the grommet. |
|
|
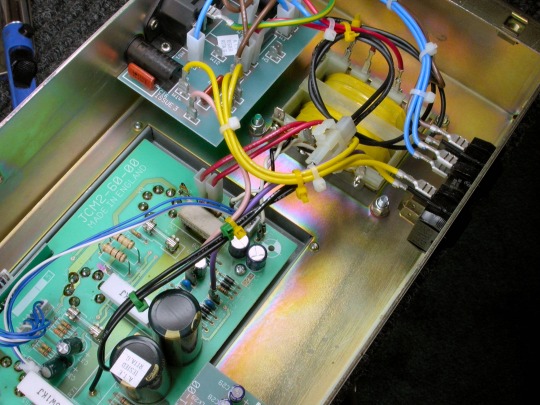
Turn the chassis over and reinstall the Mains board. Be sure to remove all the leftover metal shavings. This photo shows the newly installed black wires connecting the choke to the Tube PC board. An inline Molex connector was added to protect the solder points in case the board needs lifting up again. To minimize AC interaction, the wires are routed over the power transformer instead of the shorter path over the audio tubes. Secure the choke wires to other cable bundles using cable ties. |
|
|
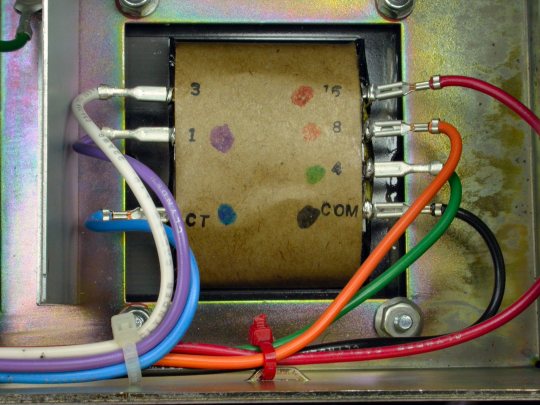
The new output transformer (right) and the choke used in this job are products of: Mercury Magnetics. |
|
| Marshall® DSL100 | ||
|---|---|---|
|
Last Page < |
Page Top ∧ |
Next Page > |
|
|
|
|
|
Page design and content Copyright © Richard Diemer - All rights reserved |