| BustedGear.com |
| Shop | Repairs | Manufacturers | Resources | iFAQs | About |
|
|
|||
| Yamaha® FS Keybed | 2: Key Installation | ||
|---|---|---|---|
|
Last Page < |
Page Bottom ∨ |
Next Page > |
|
|
|
|||
|
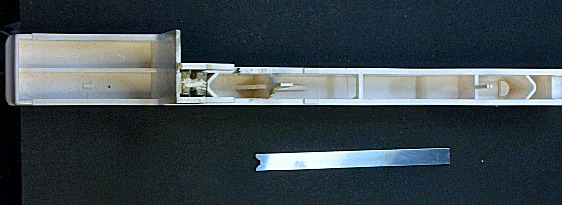
Here you see the key spring removed from the key. They're separate parts. The contact pusher is now visible from a different angle. |
|
|---|---|
|
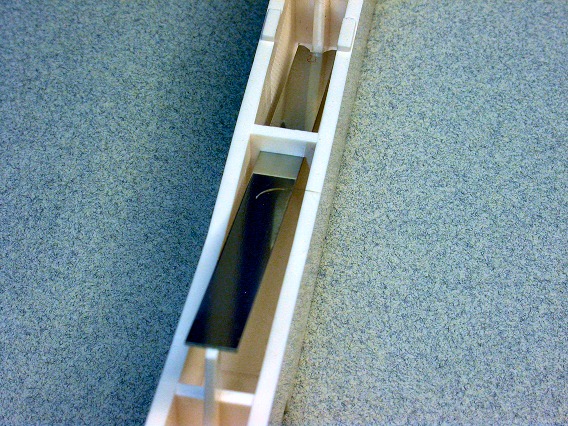
Before installing a key, make sure the forked end of the key spring straddles the fin at the base of the contact pusher. The spring should pass under the key's center beam. |
|
|
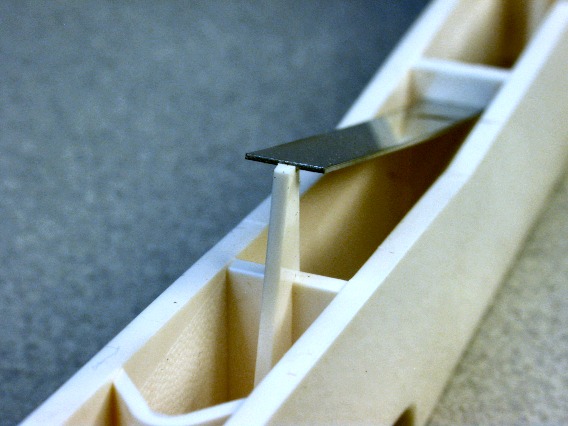
The straight end of the spring should simply rest on the key's rear guide post as shown here. There's a little lip on the post that keeps the spring from shifting. The only purpose of this post is to guide the spring into the proper slot in the key frame. After that, the post serves no purpose. |
|
|
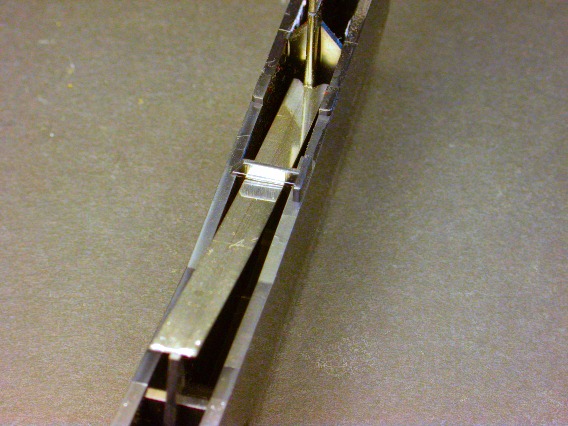
The black keys function the same way. |
|
|
When reinstalling a key, first hook its front end into matching cutouts at the front of the key frame. The contact pusher also has a cutout. |

|
|
Then hold down the back of the key and push it rearward so the leaf spring slides into its slot, then downward so the back of the key hooks into its cutout. Since you can't see the spring as you install the key, you have to go by touch, trial, and error. Black keys must be installed before the surrounding white keys. Once all the keys are installed, reinstall the key stop. |
|
|
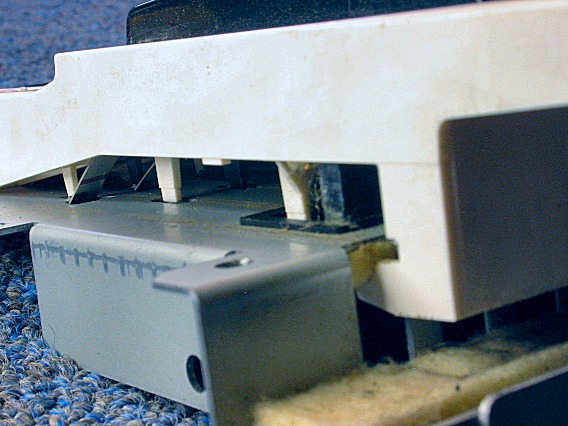
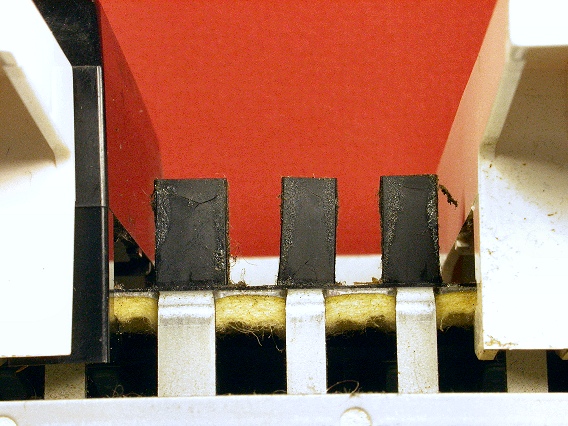
Sometimes, one of the key guides at the front of the key frame can become bent to one side as shown here. This can result in a key that's slow to come back up. These key guides can be adjusted with a regular, slip-joint pliers. |
|
| Yamaha® FS Keybed | ||
|---|---|---|
|
Last Page < |
Page Top ∧ |
Next Page > |
|
|
|
|
|
Page design and content Copyright © Richard Diemer - All rights reserved |