| BustedGear.com |
| Shop | Repairs | Manufacturers | Resources | iFAQs | About |
|
|
|||
| Yamaha® MOTIF 6 and 7 | 1: The Bottom Tray | ||
|---|---|---|---|
|
Last Page < |
Page Bottom ∨ |
Next Page > |
|
|
|
|||
|
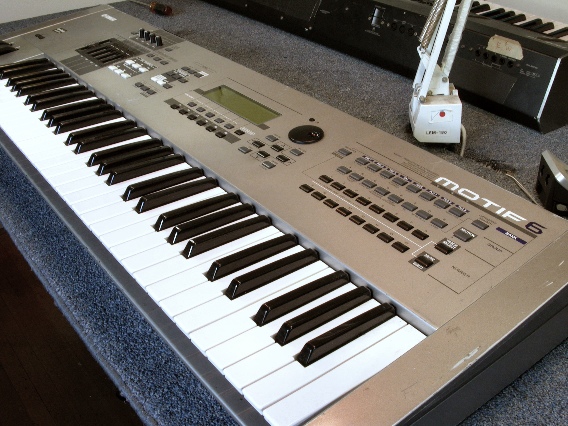
OK, let's get started. Here you see a MOTIF6 keyboard. |
|
|---|---|
|
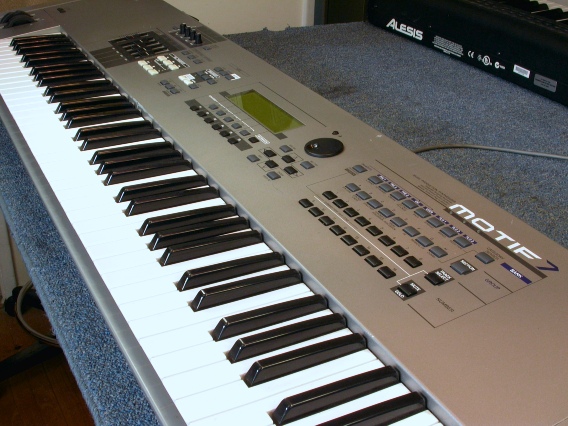
Here's a MOTIF7 keyboard. The controls are identical but with extra blank space on both the left and the right due to the extended keyboard. |
|
|
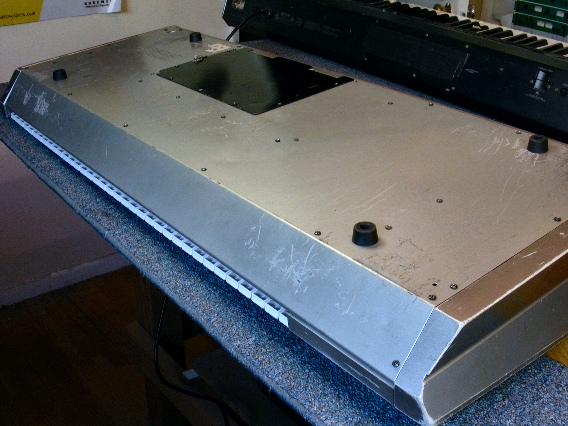
Disassembly starts by flipping the keyboard over on its top. Protect the wheel controllers by using a block to raise the keyboard off the work surface. |
|
|
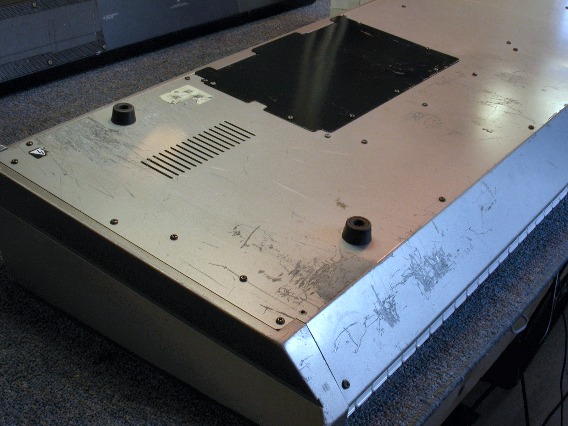
Remove all the black sheet metal screws from the bottom tray. Don't mess with the rubber feet - they stay attached. This photo shows a MOTIF6. |
|
|
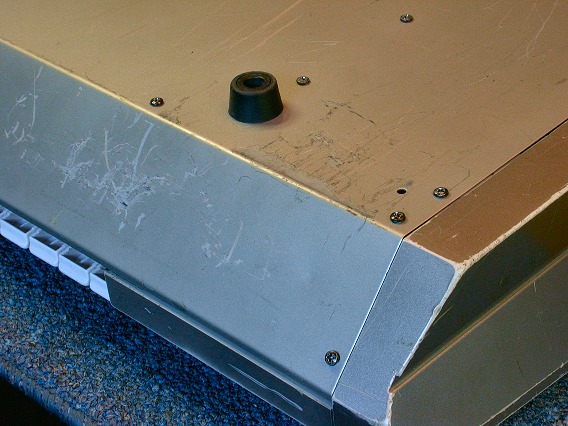
A screw on each end of the front lip must also come out. |
|
|
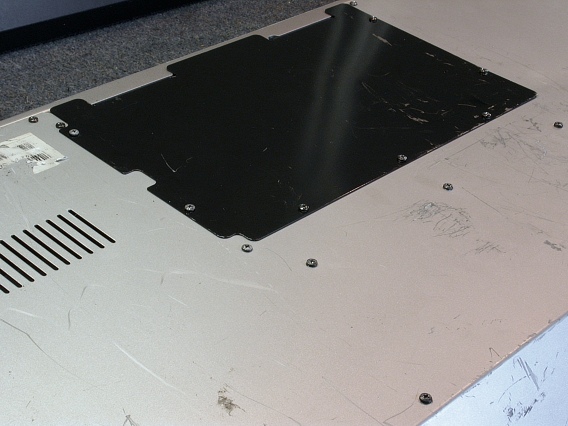
The expansion cover screws must also come out. All the bottom screws are the same. |
|
|
Remove the bottom tray and set it aside. A MOTIF7 is shown in this photo. |

|
| Yamaha® MOTIF 6 and 7 | ||
|---|---|---|
|
Last Page < |
Page Top ∧ |
Next Page > |
|
|
|
|
|
Page design and content Copyright © Richard Diemer - All rights reserved |