| BustedGear.com |
| Shop | Repairs | Manufacturers | Resources | iFAQs | About |
|
|
|||
| Yamaha® DGX-530, YPG-535 | 1: Disassembly 1 | ||
|---|---|---|---|
|
Last Page < |
Page Bottom ∨ |
Next Page > |
|
|
|
|||
|
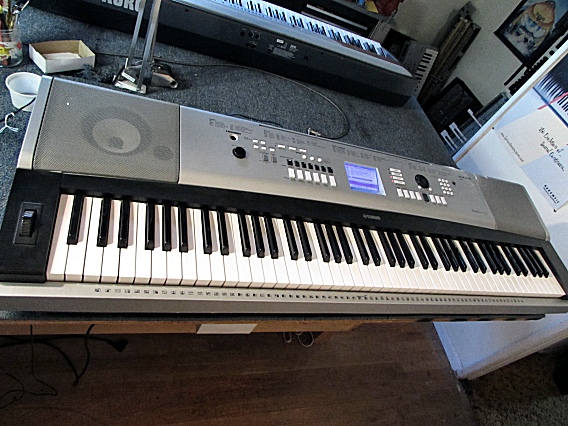
Of course, before we can repair the Yamaha DGX-530, we must take it apart. |
|
|---|---|
|
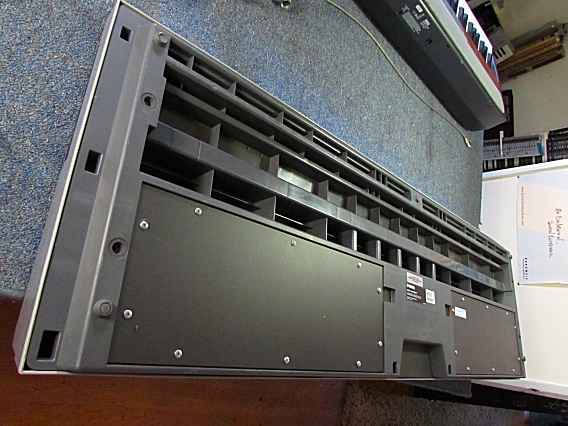
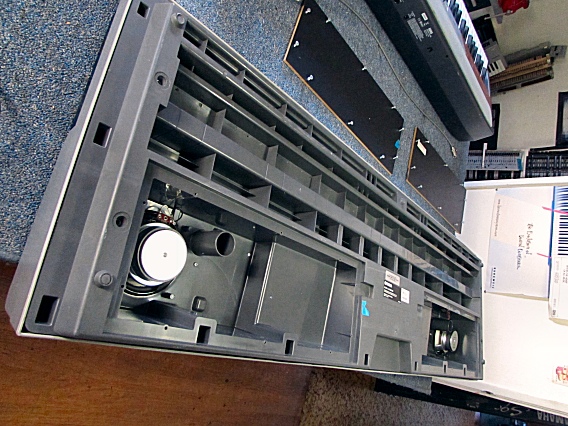
This is a bottom view of the instrument. |
|
|
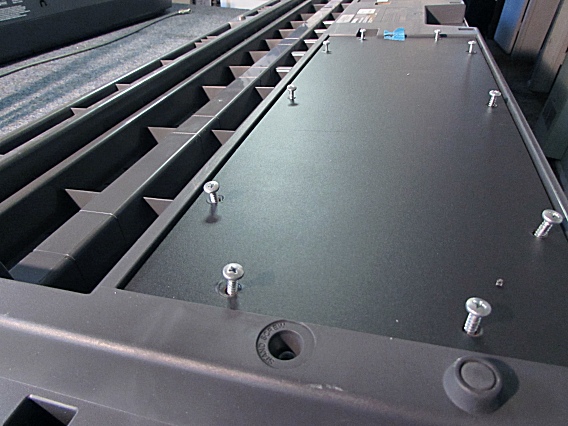
First, remove the two wooden panels that cover the speaker compartments. Each cover is held down with 10 self-tap screws. |
|
|
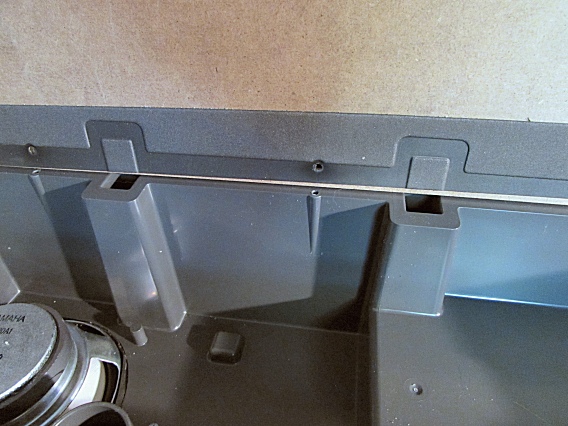
Notice that there's a correct way to reinstall the speaker covers. There's insulation foam on each cover that aligns with the rear edge of the instrument, as seen here. |
|
|
Here, the two covers are removed. |
|
|
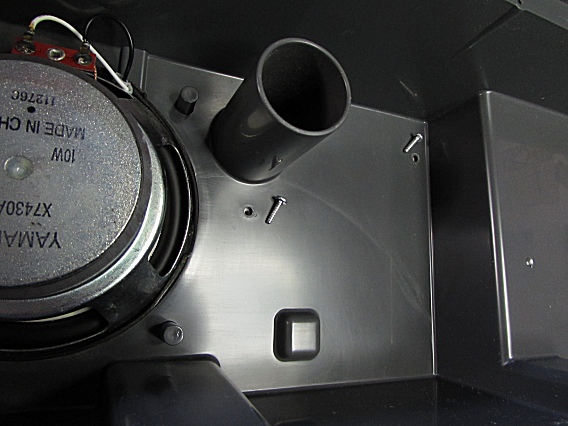
Inside each speaker compartment, there are two small, self tap screws that must be removed. |
|
|
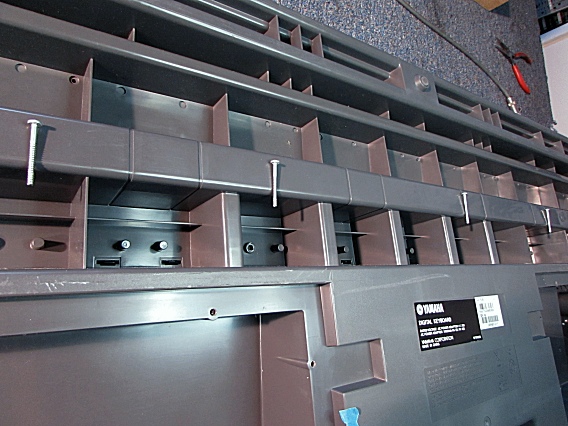
Along the middle of the instrument's bottom, there are 10 long, self-tap screws that also must be removed. Four of the ten removed screws are shown here. |
|
| Yamaha® DGX-530, YPG-535 | ||
|---|---|---|
|
Last Page < |
Page Top ∧ |
Next Page > |
|
|
|
|
|
Page design and content Copyright © Richard Diemer - All rights reserved |