| BustedGear.com |
| Shop | Repairs | Manufacturers | Resources | iFAQs | About |
|
|
|||
| Akai MPC2000XL | 1: Cover Removal | ||
|---|---|---|---|
|
Last Page < |
Page Bottom ∨ |
Next Page > |
|
|
|
|||
|
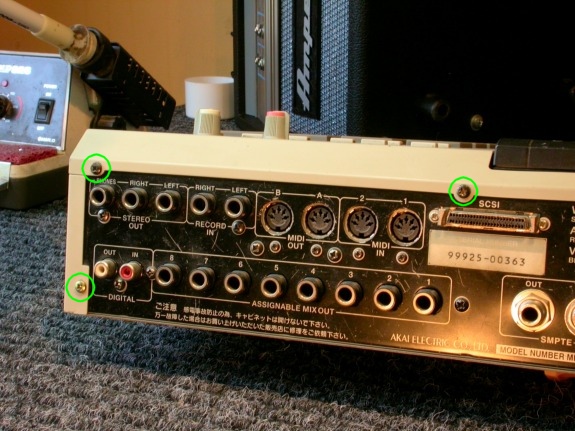
Disassembly of the Akai MPC2000XL begins by removing the top cover and the front bezel. Start by removing five screws that attach the top cover to the rear panel. Three of these screws are circled in the photo to the right. |
|
|---|---|
|
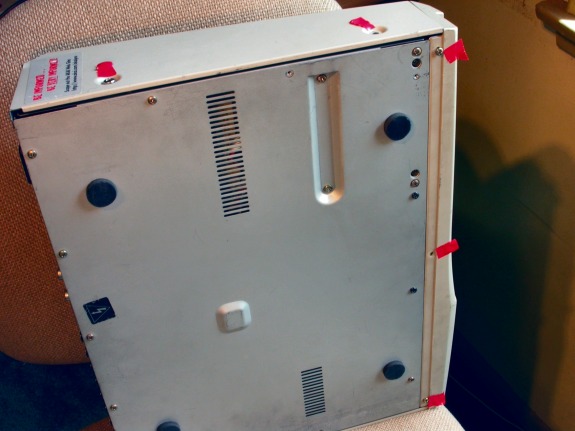
Also remove two screws from each side of the top cover. On the bottom, remove three screws holding on the front bezel. |
|
|
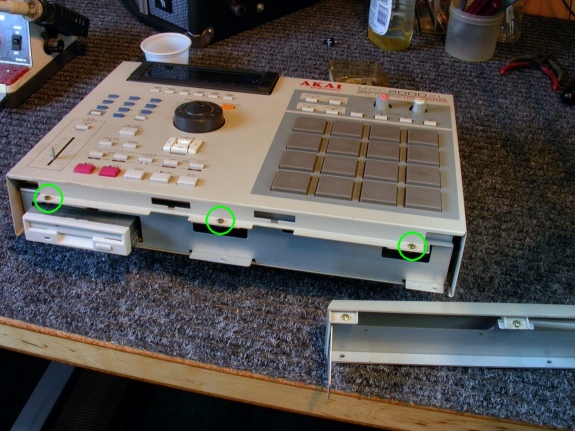
Now the front bezel can be removed and set aside. Revealed will be the last three screws holding down the top cover. These screws are circled in this photo. Remove these screws and lift off the top cover. |
|
|
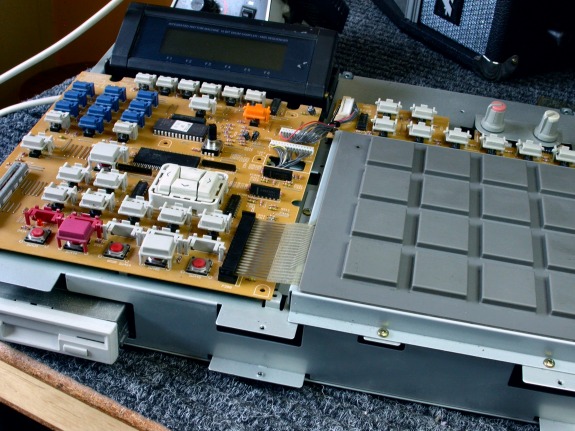
In this photo, both the front bezel and the top cover have been removed, revealing the rubber trigger pad. |
|
|
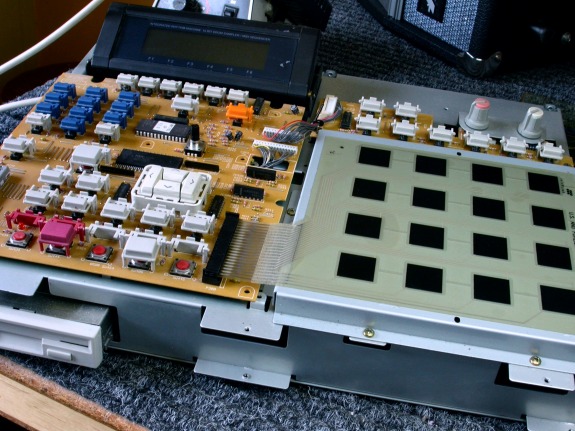
In this photo, the rubber trigger pad is lifted off. Underneath, a sealed sheet of membrane switches and circuit traces is revealed. |
|
| Akai MPC2000XL | ||
|---|---|---|
|
Last Page < |
Page Top ∧ |
Next Page > |
|
|
|
|
|
Page design and content Copyright © Richard Diemer - All rights reserved |