| BustedGear.com |
| Shop | Repairs | Manufacturers | Resources | iFAQs | About |
|
|
|||
| Ampeg® SVT VR | 1: Removing the Power Amp Chassis | ||
|---|---|---|---|
|
Last Page < |
Page Bottom ∨ |
Next Page > |
|
|
|
|||
|
To disassemble the Ampeg SVT-VR, first remove the rear screen and fan. There are six wood screws along the top and sides of the screen. |

|
|---|---|
|
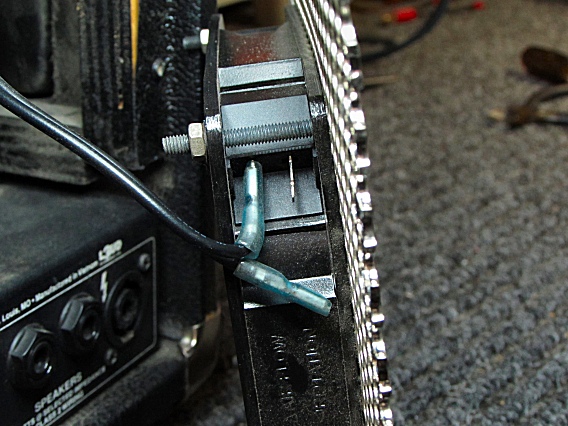
Here you see one of the wood screws and a fan mounting screw. Don't remove the fan screws; leave them attached to the screen. |

|
|
Carefully remove the screen and position it so you can unplug the two wires that supply voltage to the fan. Use a needle-nose pliers to pull each female connector off of its male spade lug. Either wire can go to either lug. |

|
|
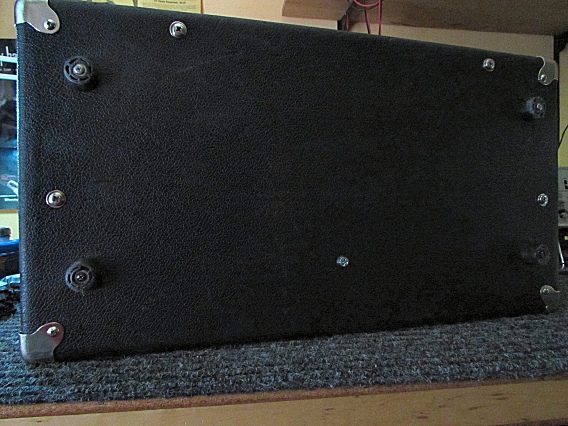
To remove the power amp chassis, take out the five #12-24 machine screws on the bottom of the unit. There's no need to remove the screws attaching the feet or corners. The amp's power chassis is heavy so be careful. We usually take the 3 rearmost screws out first. Then we hang the front edge of the amp over the edge of our workbench and remove the last two screws from below. This keeps the chassis from sliding or falling out after it's free. You could also stand the amp on its left or right end. |

|
|
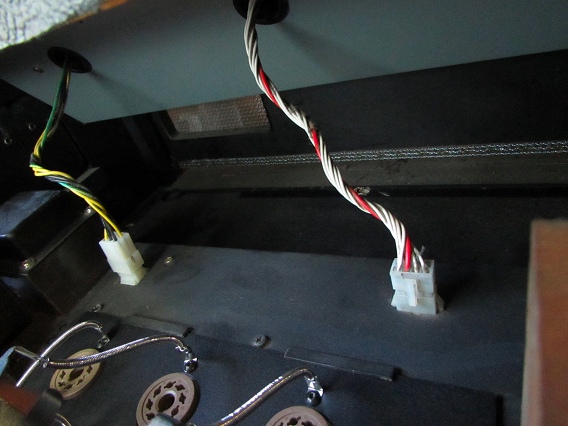
Next, start to slide the chassis out the back of the case. You'll see two wire bundles connecting the power amp chassis to the preamp chassis. Before removing the power amp chassis, unplug these two sets of wires. |

|
|
The connector set on the right snap-locks together. To separate the two parts, squeeze on its locking tabs. The connector set on the left doesn't lock. Simply pull the plug out of the jack. |

|
| Ampeg® SVT VR | ||
|---|---|---|
|
Last Page < |
Page Top ∧ |
Next Page > |
|
|
|
|
|
Page design and content Copyright © Richard Diemer - All rights reserved |