| BustedGear.com |
| Shop | Repairs | Manufacturers | Resources | iFAQs | About |
|
|
|||
| Ensoniq® SQ-2 | 1: Disassembly | ||
|---|---|---|---|
|
Last Page < |
Page Bottom ∨ |
Next Page > |
|
|
|
|||
|
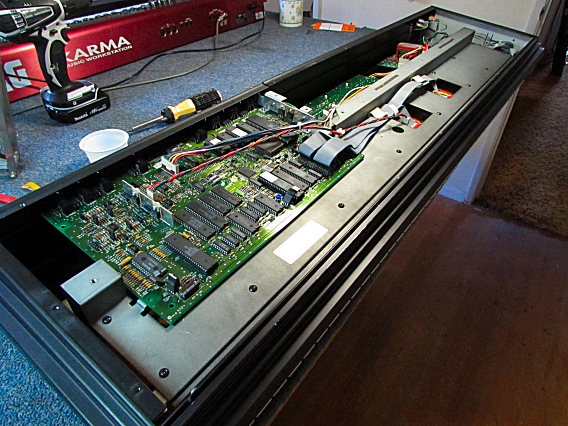
To change the Ensoniq SQ-2's battery, first take off the keyboard's bottom cover, seen here. Remove ALL the bottom screws except those that attach the feet.
|

|
|---|---|
|
Once the cover is removed, you'll see the Main Printed Circuit Board, which holds the backup battery. |

|
|
We need to flip over this board so we can de-solder the battery from the underside. The first step is to unplug two connectors from the Main board. |

|
|
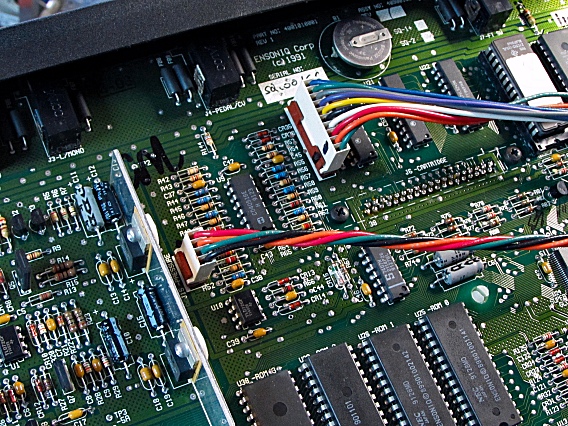
Gently rock the two, multi-pin connectors, seen here, off of their matching header pins. Notice that the backup battery is near the 10-pin connector. |

|
|
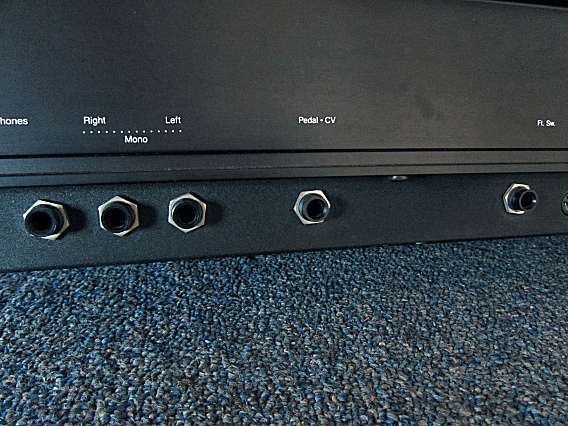
Next, remove five hex nuts from the rear panel jacks seen here. A 9/16" hex nut driver is helpful. |

|
|
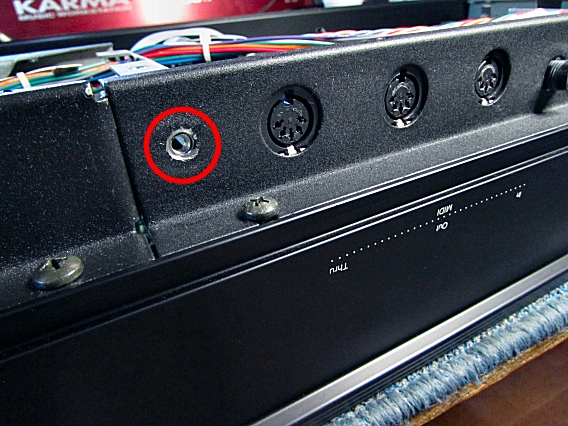
Then, remove one screw (right) from the rear panel. It attaches to a PCB mounting brace. |

|
| Ensoniq® SQ-2 | ||
|---|---|---|
|
Last Page < |
Page Top ∧ |
Next Page > |
|
|
|
|
|
Page design and content Copyright © Richard Diemer - All rights reserved |