| BustedGear.com |
| Shop | Repairs | Manufacturers | Resources | iFAQs | About |
|
|
|||
| Korg® Poly-61M | 1: Disassembly | ||
|---|---|---|---|
|
Last Page < |
Page Bottom ∨ |
Next Page > |
|
|
|
|||
|
This Korg Poly-61M was on the repair bench because the envelopes weren't working correctly. All the sounds had a short, click-like attack. Changing the Attack and Decay parameters had no effect. |

|
|---|---|
|
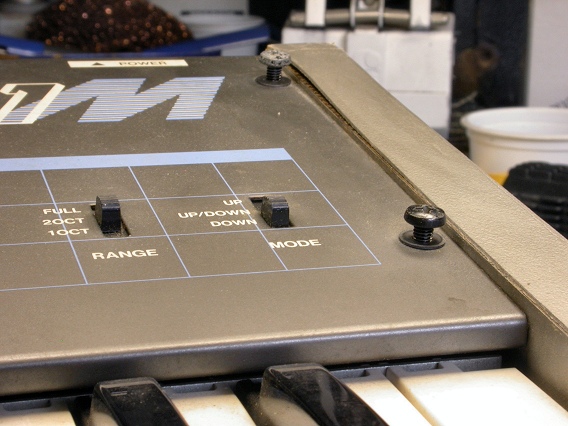
To disassemble the Poly-61, remove the two machine screws on the right side of the front panel, shown here. |
|
|
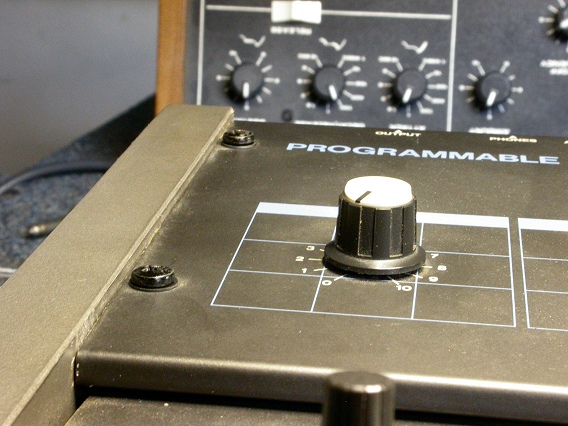
And the two screws on the left side, shown here. |
|
|
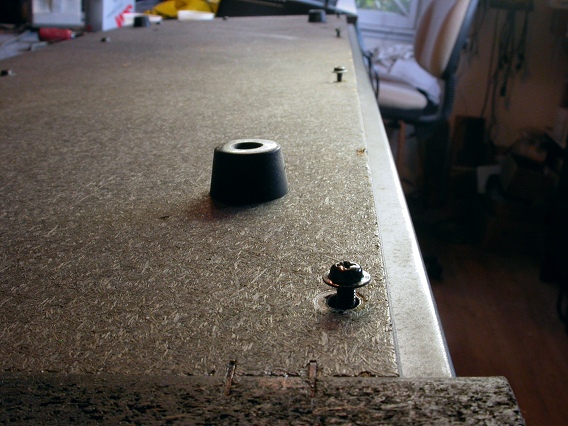
Also, flip over the synth and REST IT ON BLOCKS so as not to break the joystick. Then, remove all the bottom screws, but not the feet. The screws along the rear edge hold down the top panel assembly. The other screws hold down the keyboard assembly. Skip one of the keyboard screws until you flip the unit right side up. Then, remove the last keyboard screw from underneath. |
|
|
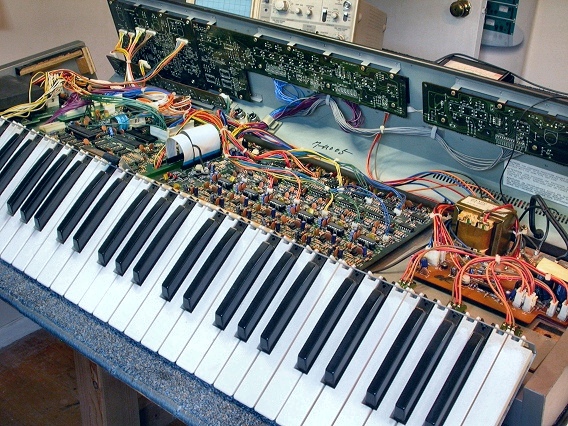
Now you can swing up the top chassis and lift out the keyboard assembly, as shown here.
The two large printed circuit board assemblies mounted to the base of the Poly-61
are, from left to right, the CPU board and the Voice board. |
|
| Korg® Poly-61M | ||
|---|---|---|
|
Last Page < |
Page Top ∧ |
Next Page > |
|
|
|
|
|
Page design and content Copyright © Richard Diemer - All rights reserved |