| BustedGear.com |
| Shop | Repairs | Manufacturers | Resources | iFAQs | About |
|
|
|||
| Korg® Kronos | 1: Keybed Removal | ||
|---|---|---|---|
|
Last Page < |
Page Bottom ∨ |
Next Page > |
|
|
|
|||
|
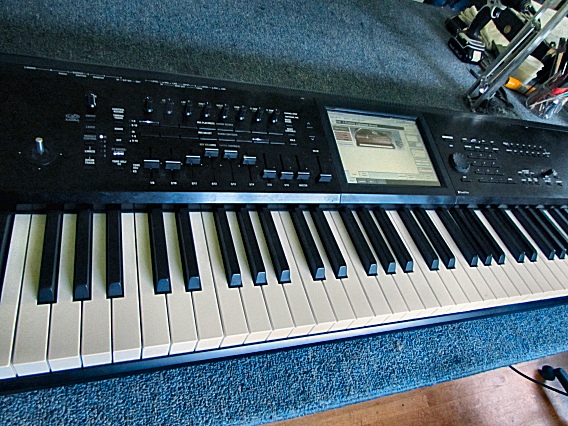
The E above middle-C key in this Korg Kronos workstation was making a sharp clacking sound when struck hard. |
|
|---|---|
|
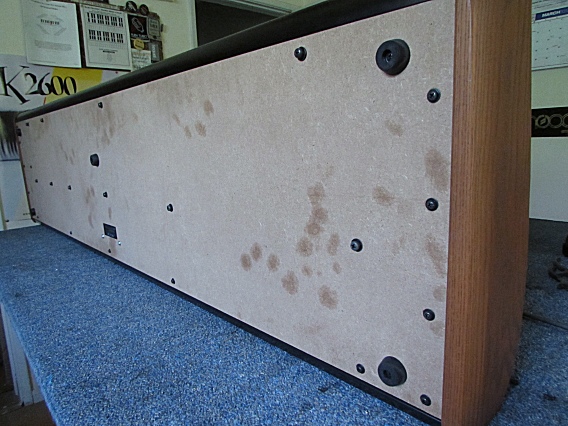
To investigate, the keybed had to be removed. The first step is to remove all the screws from the bottom cover. |
|
|
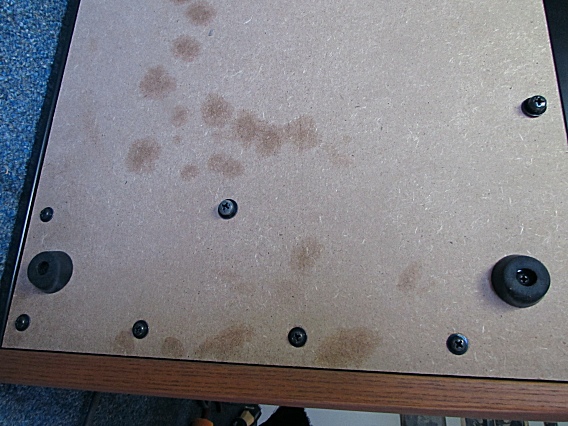
The larger cover screws attach to the keybed, the smaller screws attach to the unit's side and rear panels. Remove all the bottom screws, except for the feet, and keep track of where they go. |
|
|
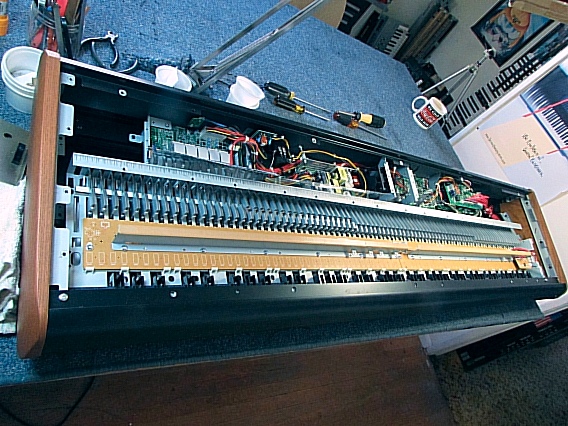
With the bottom cover removed, the guts of the Korg Kronos are revealed. |
|
|
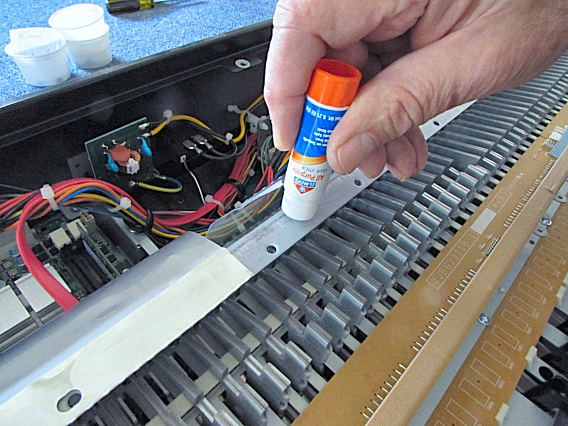
Several shields adhere to the frame of the keybed. When you reinstall the bottom cover, a glue stick can help keep the shields in place while you lower the cover. |
|
|
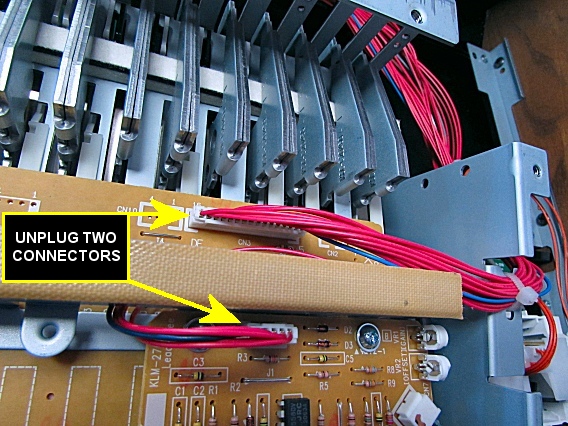
There are two miniature, multi-pin connectors (right) that connect the keying circuits to the main chassis. Unplug these two connectors. There's no need to unplug the flexible after-touch strip. |
|
|
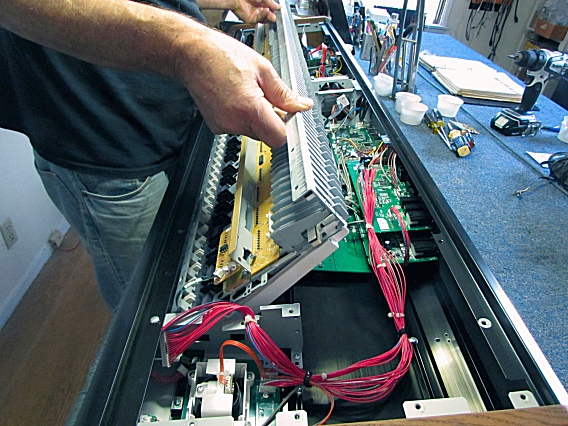
The keybed is now ready to come out of the Kronos—no additional screws fasten it. Lift up the rear of the key frame as shown here and guide the plastic keys out from under the front lip of the shell. |
|
|
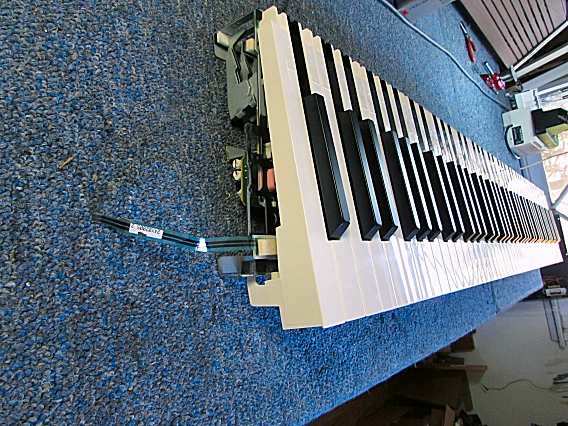
Then set the keybed right side up. |
|
| Korg® Kronos | ||
|---|---|---|
|
Last Page < |
Page Top ∧ |
Next Page > |
|
|
|
|
|
Page design and content Copyright © Richard Diemer - All rights reserved |