| BustedGear.com |
| Shop | Repairs | Manufacturers | Resources | iFAQs | About |
|
|
|||
| Korg® Triton Pro | 1: Bottom Tray Removal | ||
|---|---|---|---|
|
Last Page < |
Page Bottom ∨ |
Next Page > |
|
|
|
|||
|
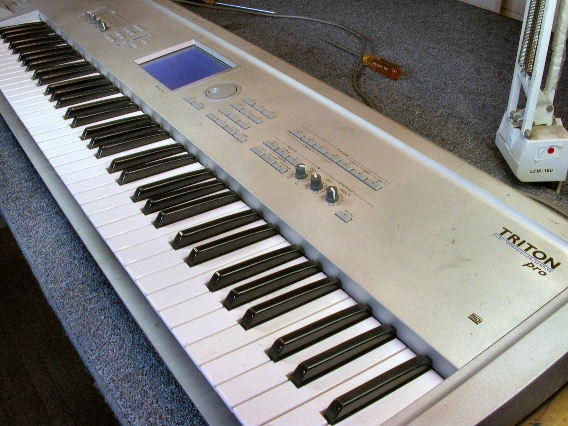
Here you see the Korg Triton Pro. If you're replacing bad tactile switches, first try out all of the buttons extensively. Disassembling this synth takes a long time and you don't want to find one more bad switch after putting everything back together! Also, pull the seven real-time control knobs off of the top panel. |
|
|---|---|
|
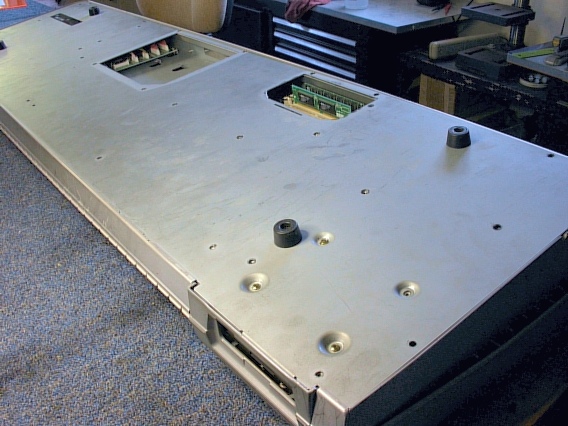
Then, flip the unit over on its top. Protect the pitch/modulation controller by propping the left end of the keyboard off the workbench. |

|
|
Remove all the screws from the bottom tray, including the ones that hold on the expansion bay covers. |
|
|
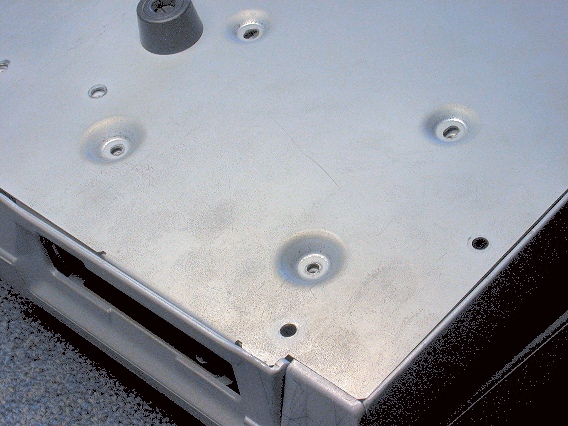
These four smaller screws hold the floppy drive unit to the bottom tray. These are the only screws holding the drive unit so it will be loose when you remove the bottom tray. |
|
|
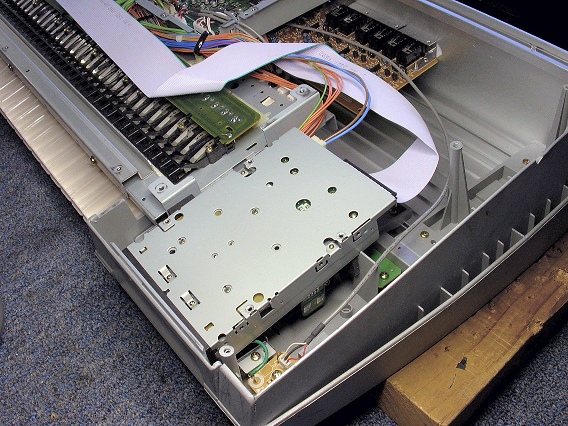
Here's the floppy drive unit revealed. Disconnect the two cables at the rear and set the drive unit aside. |
|
|
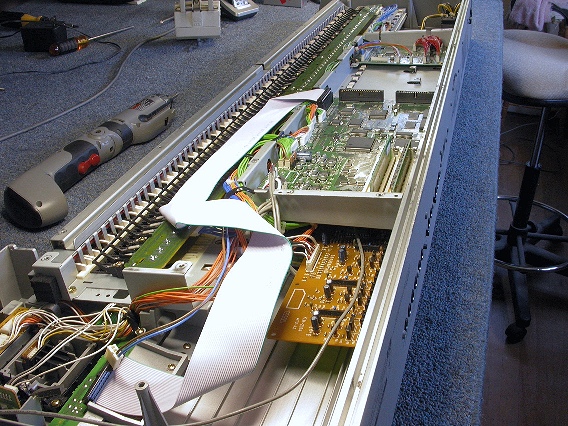
Here the drive unit is removed. In the photo's lower-left you now see the underside of the pitch/modulation controller. |
|
| Korg® Triton Pro | ||
|---|---|---|
|
Last Page < |
Page Top ∧ |
Next Page > |
|
|
|
|
|
Page design and content Copyright © Richard Diemer - All rights reserved |