| BustedGear.com |
| Shop | Repairs | Manufacturers | Resources | iFAQs | About |
|
|
|||
| Kurzweil® PC88 | 1: Removing the Control Panel | ||
|---|---|---|---|
|
Last Page < |
Page Bottom ∨ |
Next Page > |
|
|
|
|||
|
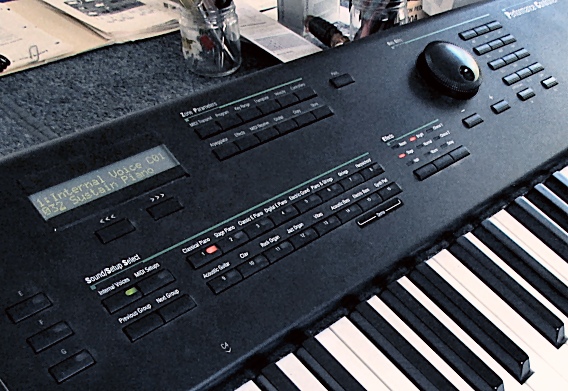
This is the control panel of the Kurzweil PC88. Each push button presses on a tiny tactile switch that's soldered to a circuit board inside. While inside, you'll want to replace every tactile switch that's unreliable. So before beginning, test each button many times using a normal pressure. If a switch occasionally fails to respond, note its name and position on the panel—you'll have to find these switches on the PC board when the control panel is face down. |
|
|---|---|
|
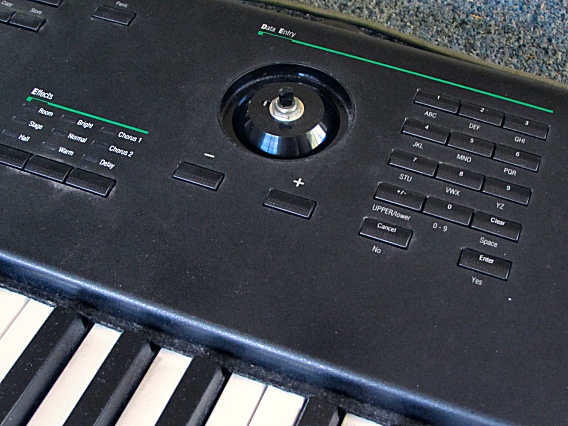
Now turn off the unit and unplug the power. Also lift off the Data Entry knob (right). It would prevent the circuit board from coming out. |
|
|
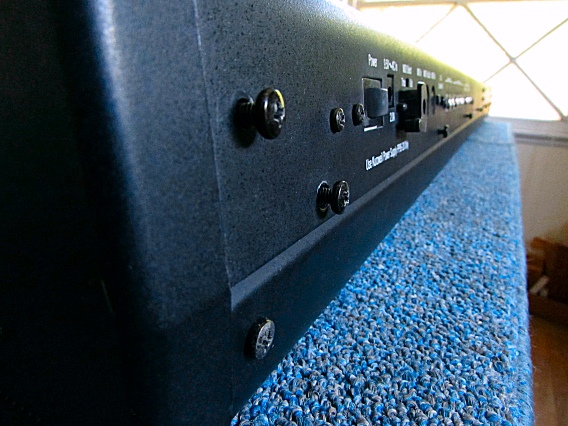
To begin disassembly, remove 9 screws from the PC88's rear panel. In this photo, the 9 screws are shown partially unscrewed. The two lowest rear screws help attach the end covers and needn't be removed. |
|
|
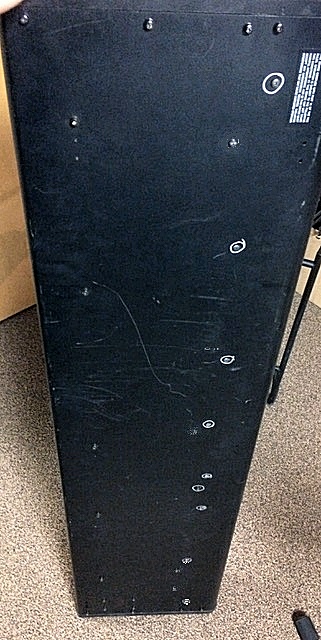
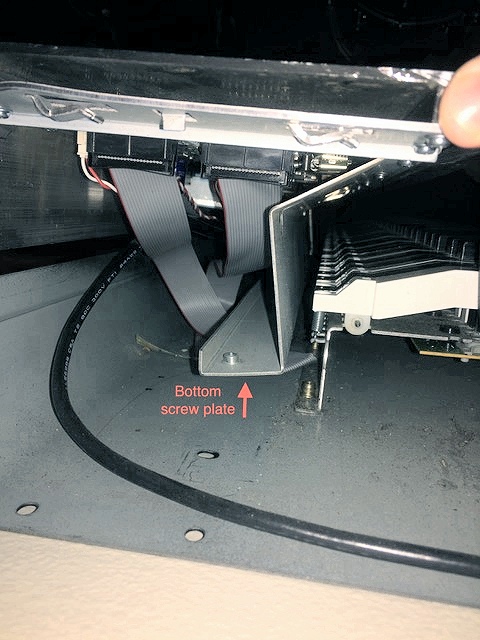
Some later PC88s have an inner support wall between the control panel and the bottom of the unit. The support wall is held in place by 9 screws. If your unit has the 9 screws circled in this photo, you must remove them. If they aren't present, no bottom screws have to come out. The other screws fasten to the keyboard, the end covers, and the wheels assembly. |
|
|
This photo shows the inner support wall in a later model PC88. The left end cover is removed, revealing how the inner wall attaches to the bottom of the unit. |
|
|
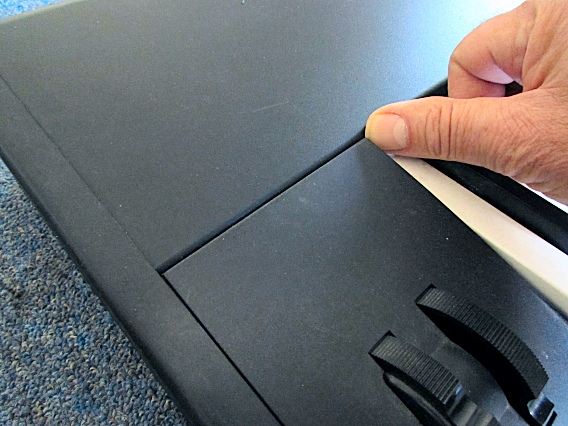
The PC88 in this story doesn't have the inner wall and so only the 9 rear panel screws had to be removed. Once the relevant screws are removed, the next step is to push back firmly on both ends of the top panel. |
|
|
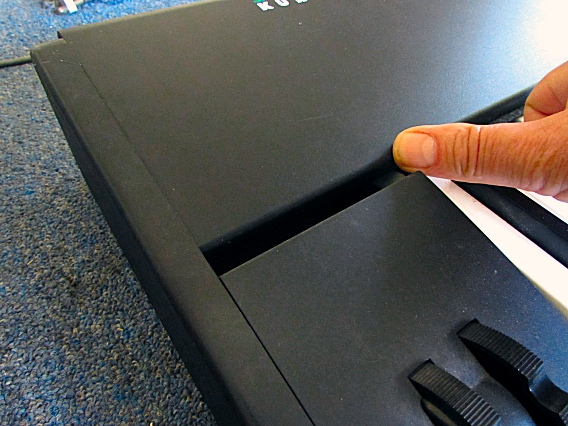
The panel will slide back about an inch. |
|
|
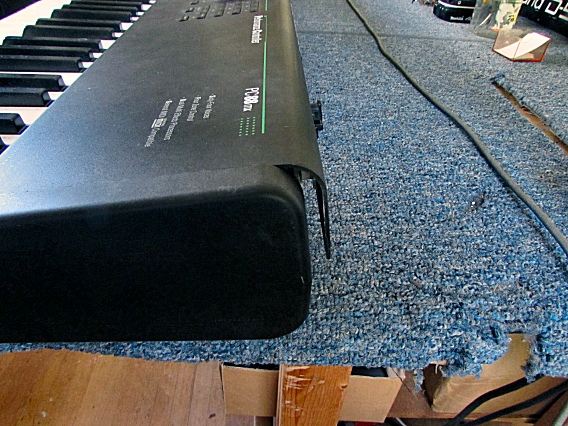
Be sure to push back on both the left and right ends of the top panel. |
|
|
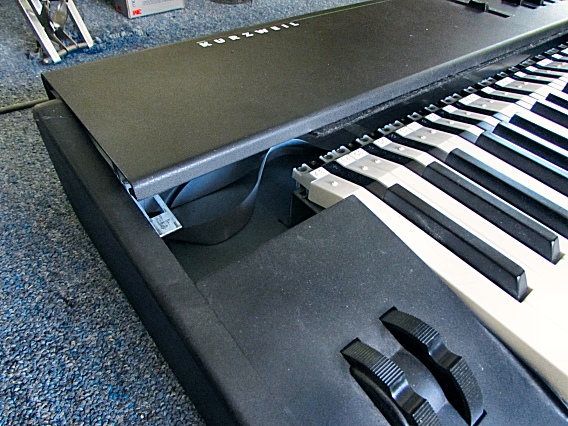
Once the top panel is slid back, you can separate it from the end covers as shown here. |
|
|
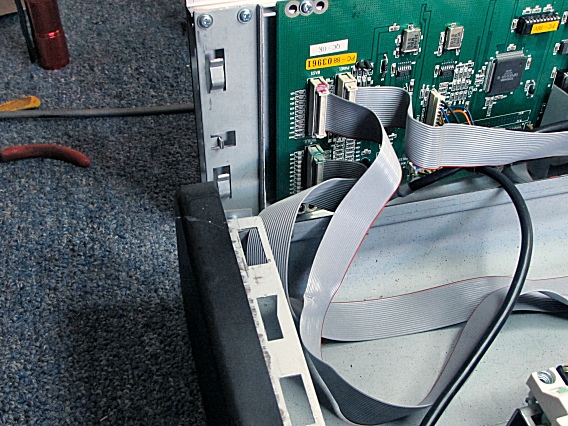
This photo shows the slide-locks that hold the top panel to the end covers. |
|
| Kurzweil® PC88 | ||
|---|---|---|
|
Last Page < |
Page Top ∧ |
Next Page > |
|
|
|
|
|
Page design and content Copyright © Richard Diemer - All rights reserved |