| BustedGear.com |
| Shop | Repairs | Manufacturers | Resources | iFAQs | About |
|
|
|||
| Vox Valvetronix | 3: Reassembling the Valvetronix | ||
|---|---|---|---|
|
Last Page < |
Page Bottom ∨ |
Next Page > |
|
|
|
|||
|
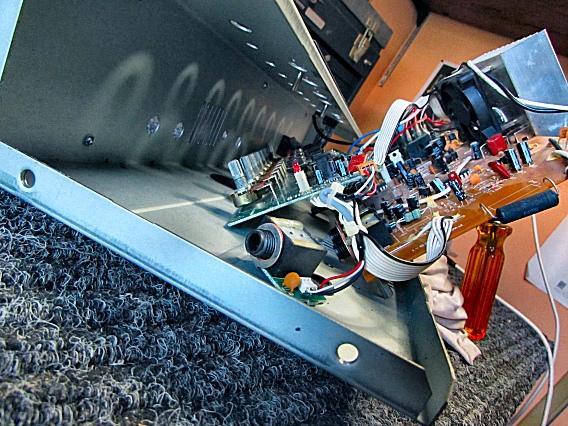
Now we're ready to reassemble the Vox AD50VT. Arrange the boards as shown here and then guide the pot bushings through the top control-panel cutouts. Reinstall some of the control nuts to hold the board in place. |
|
|---|---|
|
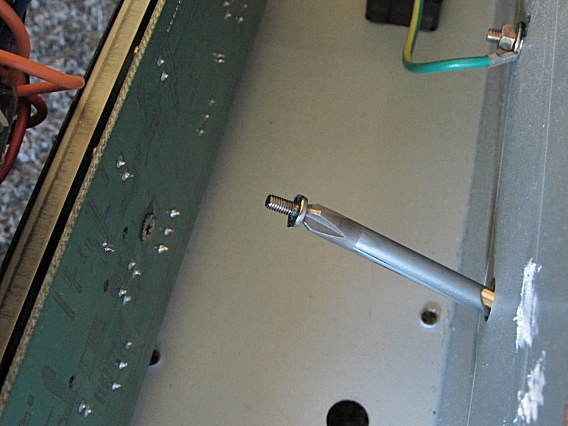
Next, set the chassis on its rear and reinstall the board's two mounting screws. A magnetic tipped screwdriver can be helpful. |
|
|
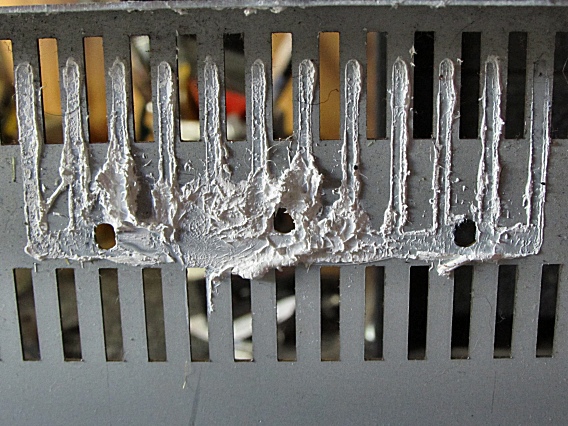
Before you reinstall the main board, notice the heat transfer compound (silicon grease) on the inside bottom of the chassis. It may have squeezed away from where the heatsink fins meet the chassis. |
|
|
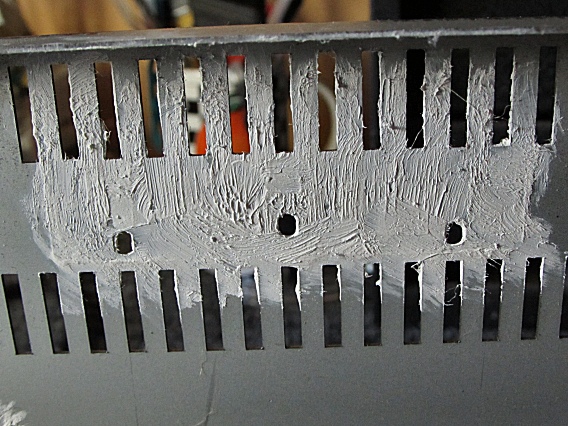
If so, rub a smooth layer of the grease into those areas, removing air gaps and allowing heat to transfer effectively. Then reinstall the main PCB and heatsink into the Valvetronix chassis. Screw down the heatsink tightly. Also, install new cable ties to replace the ones you snipped off. |
|
|
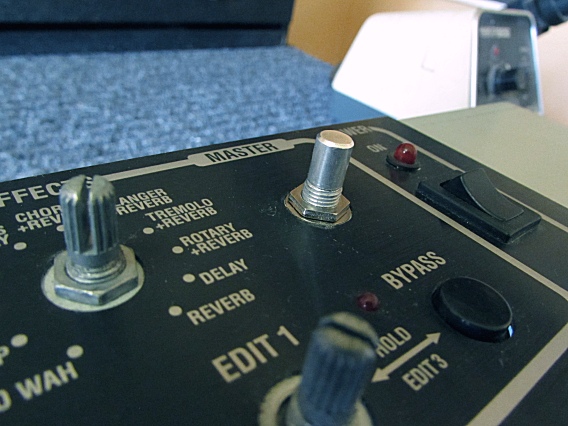
Finally, finish reinstalling the control nuts, the knobs, and the input jack. As you can see, this replacement pot has a solid shaft, requiring a set-screw knob. We currently sell a knurled-shaft VALVETRONIX POT that can accept your original knob. |
|
| Vox Valvetronix | ||
|---|---|---|
|
Last Page < |
Page Top ∧ |
Next Page > |
|
|
|
|
|
Page design and content Copyright © Richard Diemer - All rights reserved |