| BustedGear.com |
| Shop | Repairs | Manufacturers | Resources | iFAQs | About |
|
|
|||
| Yamaha® FS Keybed | 1: Key Removal | ||
|---|---|---|---|
|
Last Page < |
Page Bottom ∨ |
Next Page > |
|
|
|
|||
|
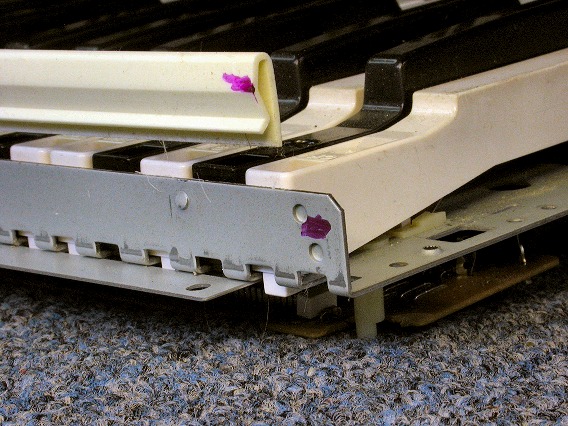
To remove keys from this keyboard assembly, first pull off the key stop. It's at the rear of the keys and it runs the entire length of the keyboard. Make a mark to identify its orientation. |
|
|---|---|
|
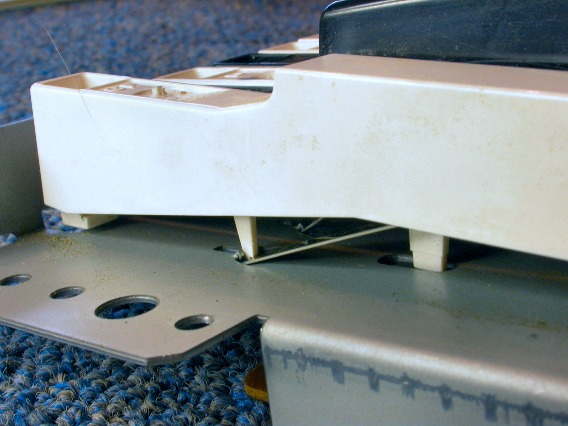
With the key stop removed, push down on the rear of a key, then push back a little so it unhooks from a cutout in the metal key frame. Here you see the key unhooked. Notice the leaf spring in the middle of the photo. This is the spring that forces a key back up after it's played. This spring will lift the key up once its rear is unhooked. |
|
|
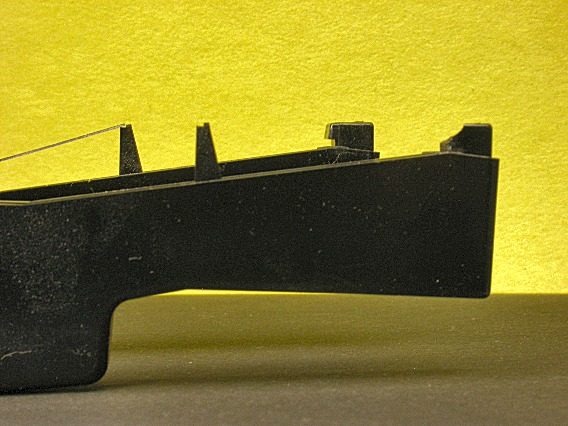
This photo shows two black keys, one with a broken rear hook. This is where these keys often fail, causing them to wobble, lean, or bind on adjacent keys. |
|
|
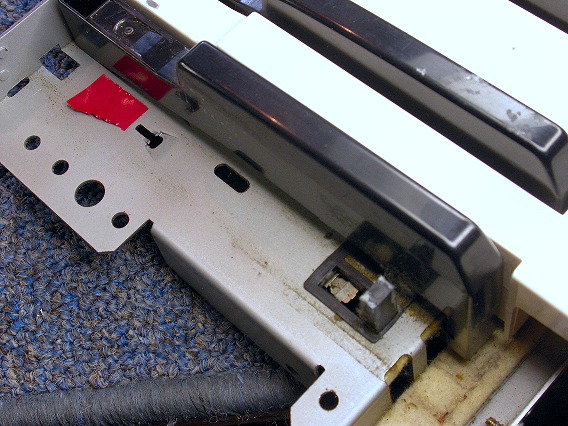
Here's a look at a Korg M1 keyboard with the low C key removed. The red tape marks the slot that receives one end of the key spring. Before a black key can be removed, its adjacent white keys must be out. |
|
|
This is the same key spring slot on a Yamaha MOTIF6. It's a little different than the Korg but there's no difference in either the key or the key spring. |
|
|
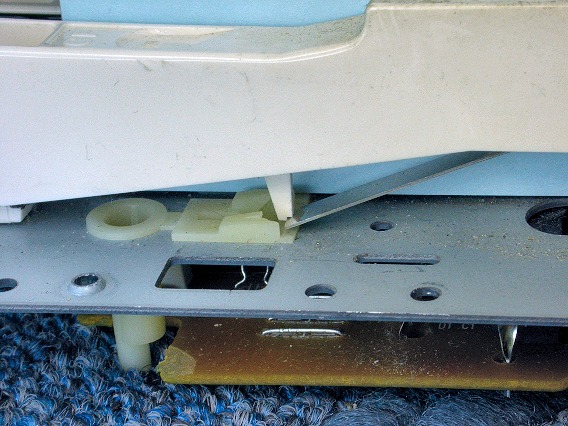
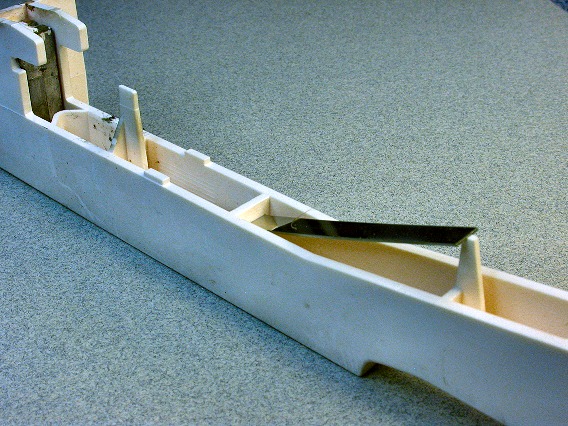
Here's the removed key and key spring. Near the front of the key, the contact pusher sticks up. In the Key Contacts Story, there's a photo of a key contact that's stuck on the wrong side of this pusher. |
|
| Yamaha® FS Keybed | ||
|---|---|---|
|
Last Page < |
Page Top ∧ |
Next Page > |
|
|
|
|
|
Page design and content Copyright © Richard Diemer - All rights reserved |