| BustedGear.com |
| Shop | Repairs | Manufacturers | Resources | iFAQs | About |
|
|
|||
| Farfisa® Mini-Compact | 2: Removing the Organ Chassis | ||
|---|---|---|---|
|
Last Page < |
Page Bottom ∨ |
Next Page > |
|
|
|
|||
|
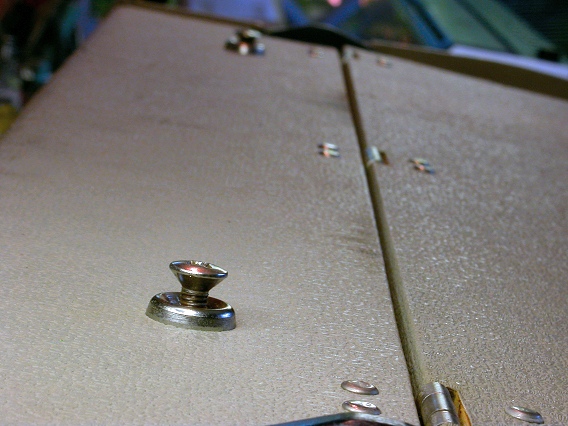
You must remove the bottom half of the Mini-Compact's case order to access the oscillator-divider circuits. Remove the two screws shown here... |
|
|---|---|
|
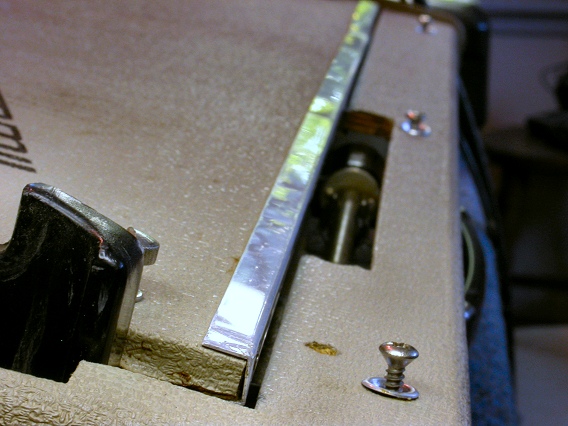
And the three screws shown here. |
|
|
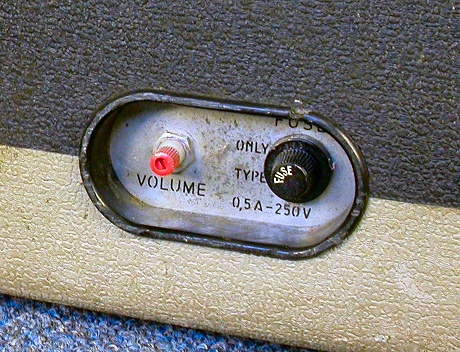
One disassembly problem still prevents the organ chassis from sliding out of its case. On the back, the volume control and fuse cap poke through a cutout in the case. They are part of the power supply unit. The chassis won't lift out of the case until you slide the power supply unit toward the front of the organ. |
|
|
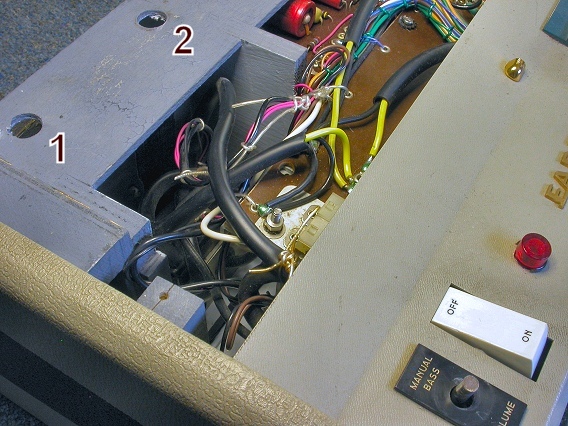
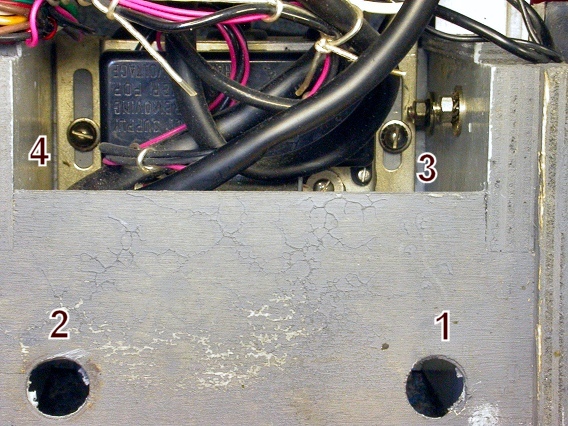
You can slide the unit forward by simply loosening four screws. You reach screws 1 and 2 via two access holes, shown in this photo. |
|
|
Screws 3 and 4 are in front of screws 1 and 2, as seen here. Don't completely remove the screws, just loosen them. The power supply's mounting holes are oblong, allowing it to slide forward and back. |
|
|
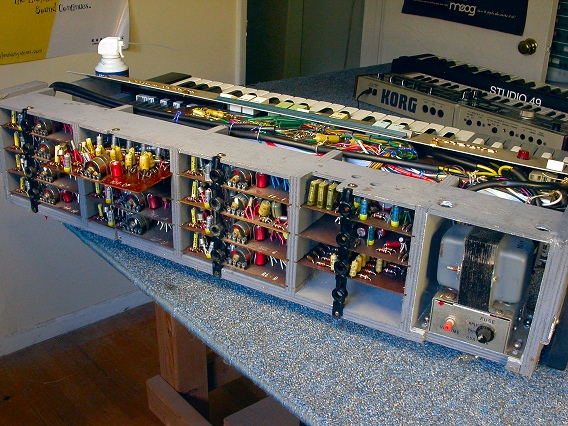
Here you see the Farfisa Mini-Compact organ chassis removed from its case. |
|
|
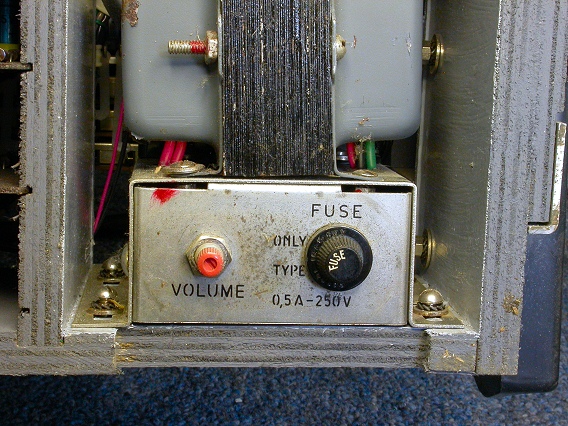
Here's a close-up of the power supply unit and its loosened mounting
screws. |
|
| Farfisa® Mini-Compact | ||
|---|---|---|
|
Last Page < |
Page Top ∧ |
Next Page > |
|
|
|
|
|
Page design and content Copyright © Richard Diemer - All rights reserved |