| BustedGear.com |
| Shop | Repairs | Manufacturers | Resources | iFAQs | About |
|
|
|||
| Korg® 01/WFD | 1: Removing the Disk Drive | ||
|---|---|---|---|
|
Last Page < |
Page Bottom ∨ |
Next Page > |
|
|
|
|||
|
To get started, turn over the 01/W. Prop it up so you don't damage the joystick. Remove all the screws from the bottom except for those holding on the feet. There are 17 black machine screws. The 5 along the rear panel include a lock washer. |

|
|---|---|
|
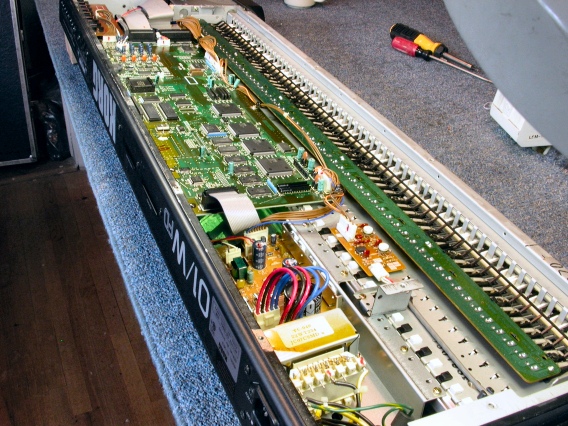
Here you see the 01/W-FD with the bottom cover removed. |
|
|
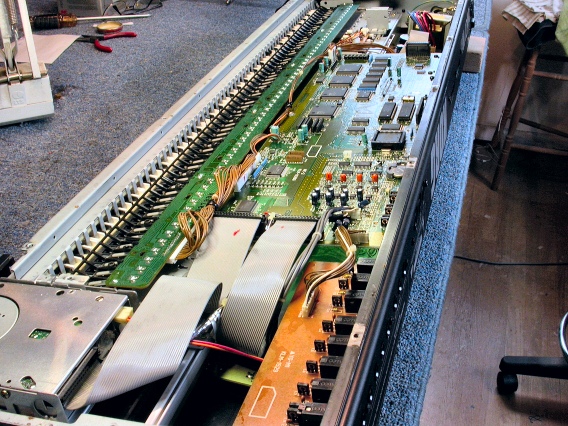
Here's the other end. |
|
|
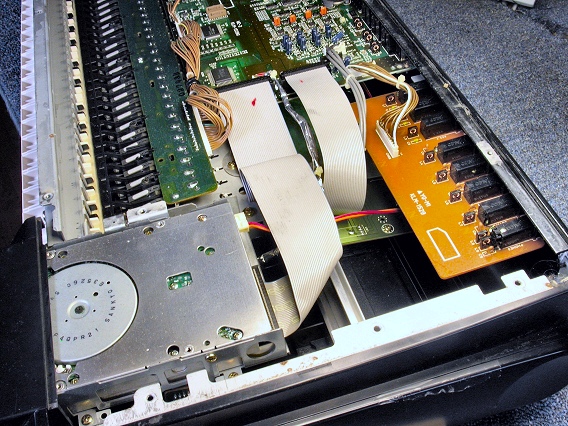
At the low end of the keyboard is the disk drive, which must be removed.
Unplug its flat, gray cable where it connects to the main circuit board. |
|
|
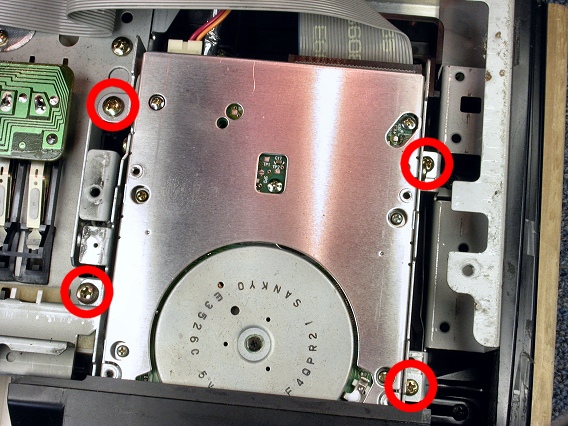
Remove the four gold screws circled in this photo. They hold in the drive unit. Two of the screws are long, self-tap screws and two are small machine screws. |
|
|
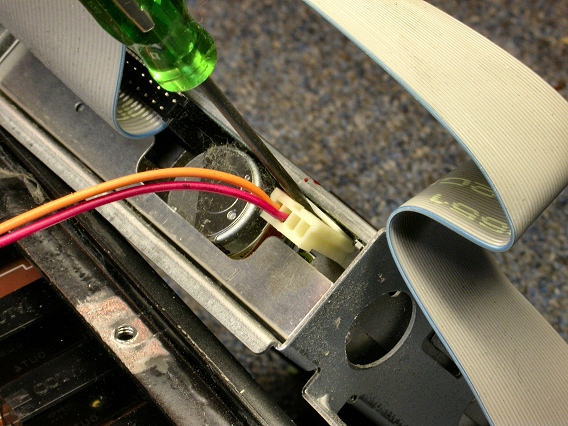
To unplug the drive's power cable, use a small blade screwdriver to pry open the locking tab. |
|
|
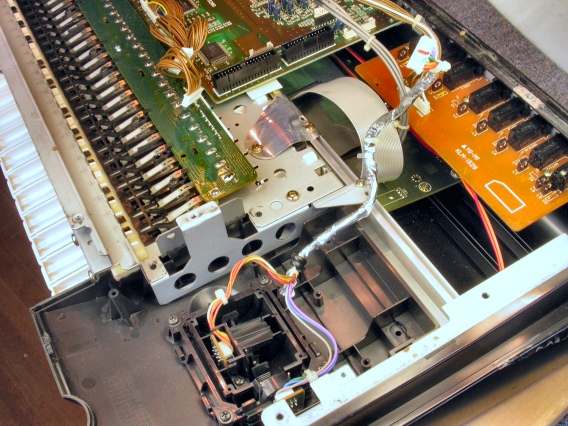
Here, the drive unit is removed. |
|
| Korg® 01/WFD | ||
|---|---|---|
|
Last Page < |
Page Top ∧ |
Next Page > |
|
|
|
|
|
Page design and content Copyright © Richard Diemer - All rights reserved |