| BustedGear.com |
| Shop | Repairs | Manufacturers | Resources | iFAQs | About |
|
|
|||
| Korg® 01/WFD | 4: Removing the Keybed | ||
|---|---|---|---|
|
Last Page < |
Page Bottom ∨ |
Next Page > |
|
|
|
|||
|
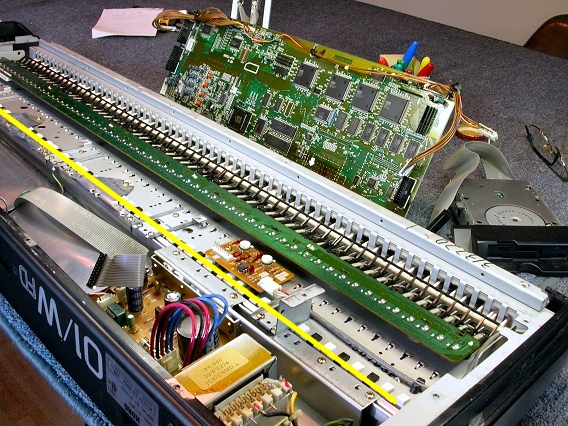
At this point the keyboard assembly, or keybed, can be removed from the Korg 01/W-FD. 23 small, gold machine screws and 4 larger ones hold the keybed in place. Most of the smaller screws attach to the mounting rail that runs down the middle of the shell (along the yellow line in this photo). |
|
|---|---|
|
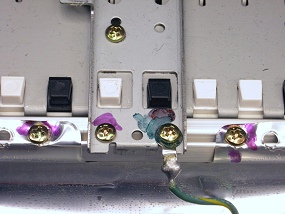
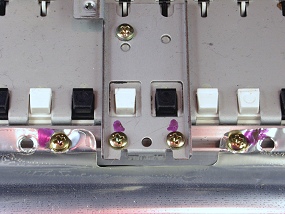
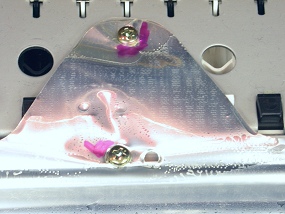
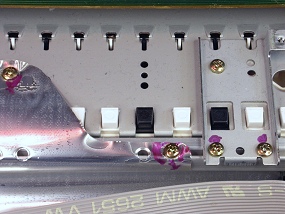
Take out the screws highlighted with marker here. Screws not marked should be left in. |
|
|
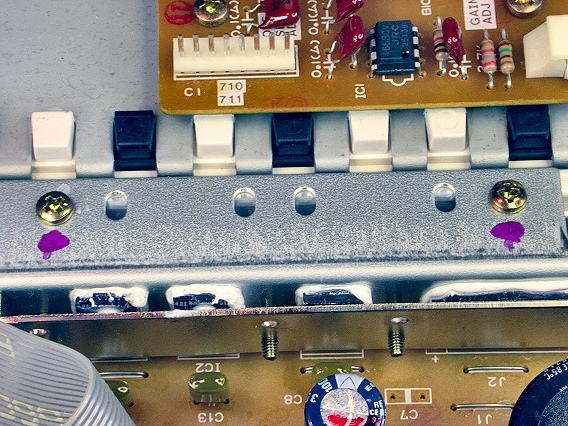
These two screws also attach to the power supply assembly. |
|
|
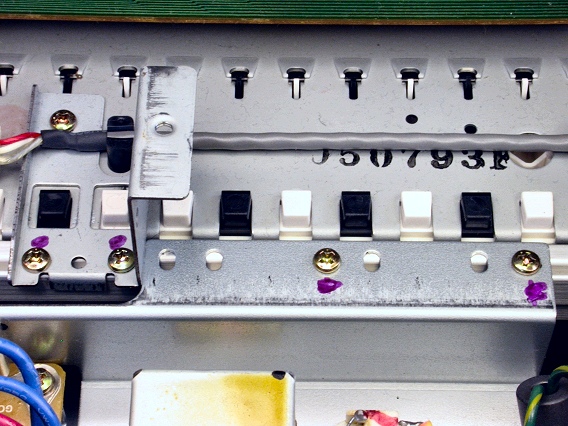
Two of the screws in this photo attach to the power supply assembly. |
|
|
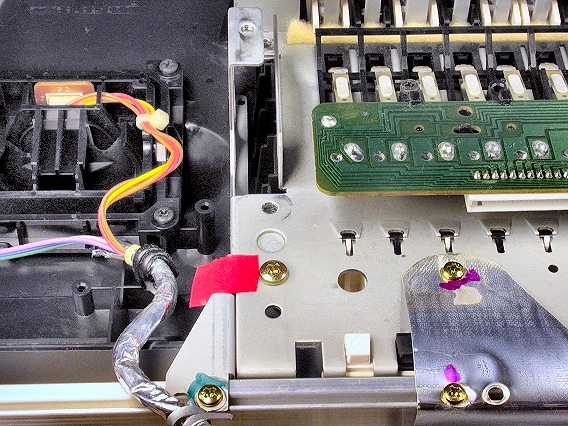
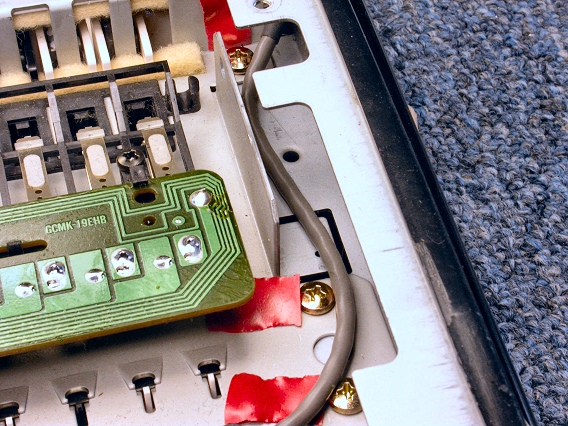
The screw marked with red tape in this photo is one of the 4 larger screws to remove. |
|
|
The other 3 larger screws are at the high end of the keyboard. When all the screws are out, lift up the bass end of the keyboard first, then slide out the high end. |
|
|
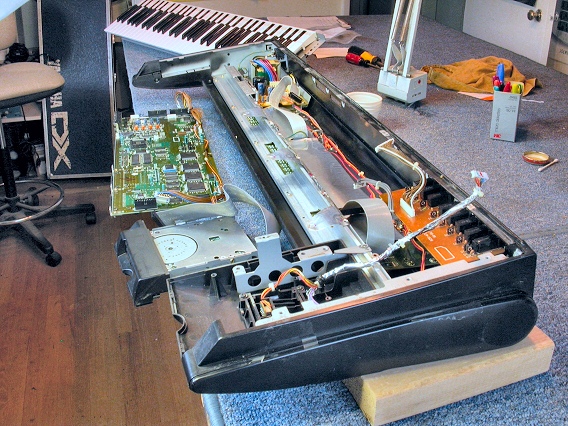
The disk drive, the main circuit board, and the keybed are now removed from the 01/W-FD. If you need to replace broken keys, go to the Korg Keys & Contacts Story for instructions. |
|
| Korg® 01/WFD | ||
|---|---|---|
|
Last Page < |
Page Top ∧ |
Next Page > |
|
|
|
|
|
Page design and content Copyright © Richard Diemer - All rights reserved |