| BustedGear.com |
| Shop | Repairs | Manufacturers | Resources | iFAQs | About |
|
|
|||
| Korg® SV1 | 7: Replacing the Vacuum Tube | ||
|---|---|---|---|
|
Last Page < |
Page Bottom ∨ |
Next Page > |
|
|
|
|||
|
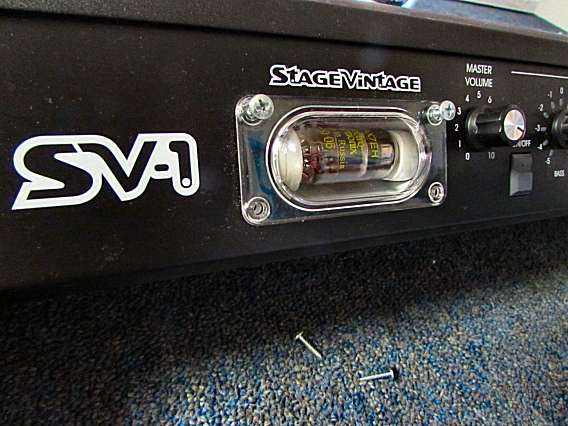
The Korg SV-1 Valve (Vacuum Tube) Assembly is held to the instrument's front panel by the four screws seen in this photo. The 12AX7/7025 dual-triode valve helps create a dirty, mic'd up sound when Amp Modeling is turned On. The tube can run in Class "A" or "AB" mode, either with or without circuit feedback and resonance, The modes are determined by the Model Type you select: 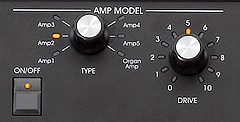
|
|
|---|---|
|
Here's a rear view of the Valve Assembly after the keybed has been removed. There's a tube trim pot (see right) on the attached Audio Board. This trimmer shouldn't need adjustment. The trimmer is set at the factory so that the board's output is 0 dBv (1 Vr ms) when: (I) the board's input is -20 dBv (100 mVr ms), (II) the tube is operating in Class AB mode and (III) the tube feedback and resonance are both Off. |

|
|
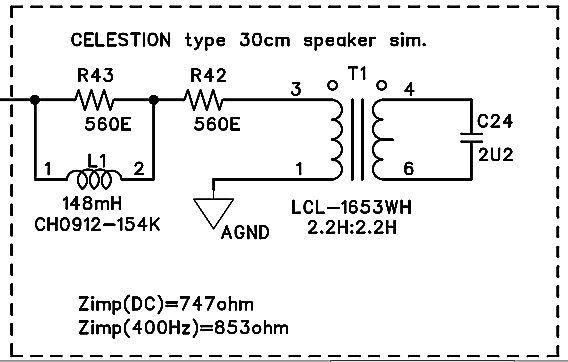
The tube's load is a Celestion type 30 cm (12") speaker simulator (see right). It includes a transformer (T1) and a choke (L1). Amp and speaker simulation are also performed virtually through Digital Signal Processing. The vacuum tube circuiit sits in between the virtual amp and the virtual speaker simulators. |
|
|
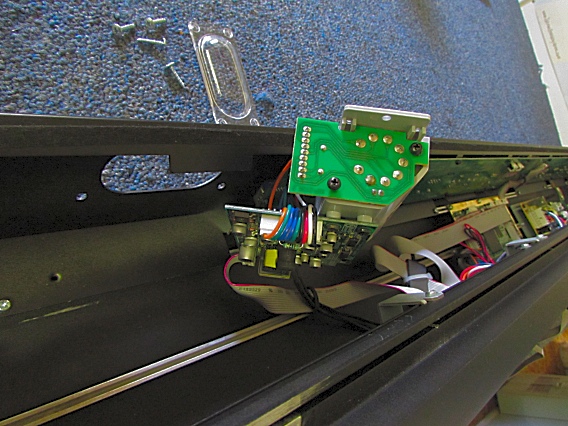
After removing the four front-panel screws and the valve window, you can rotate the valve assembly to expose the Valve Socket Board, seen here. No cables need disconnecting. |
|
|
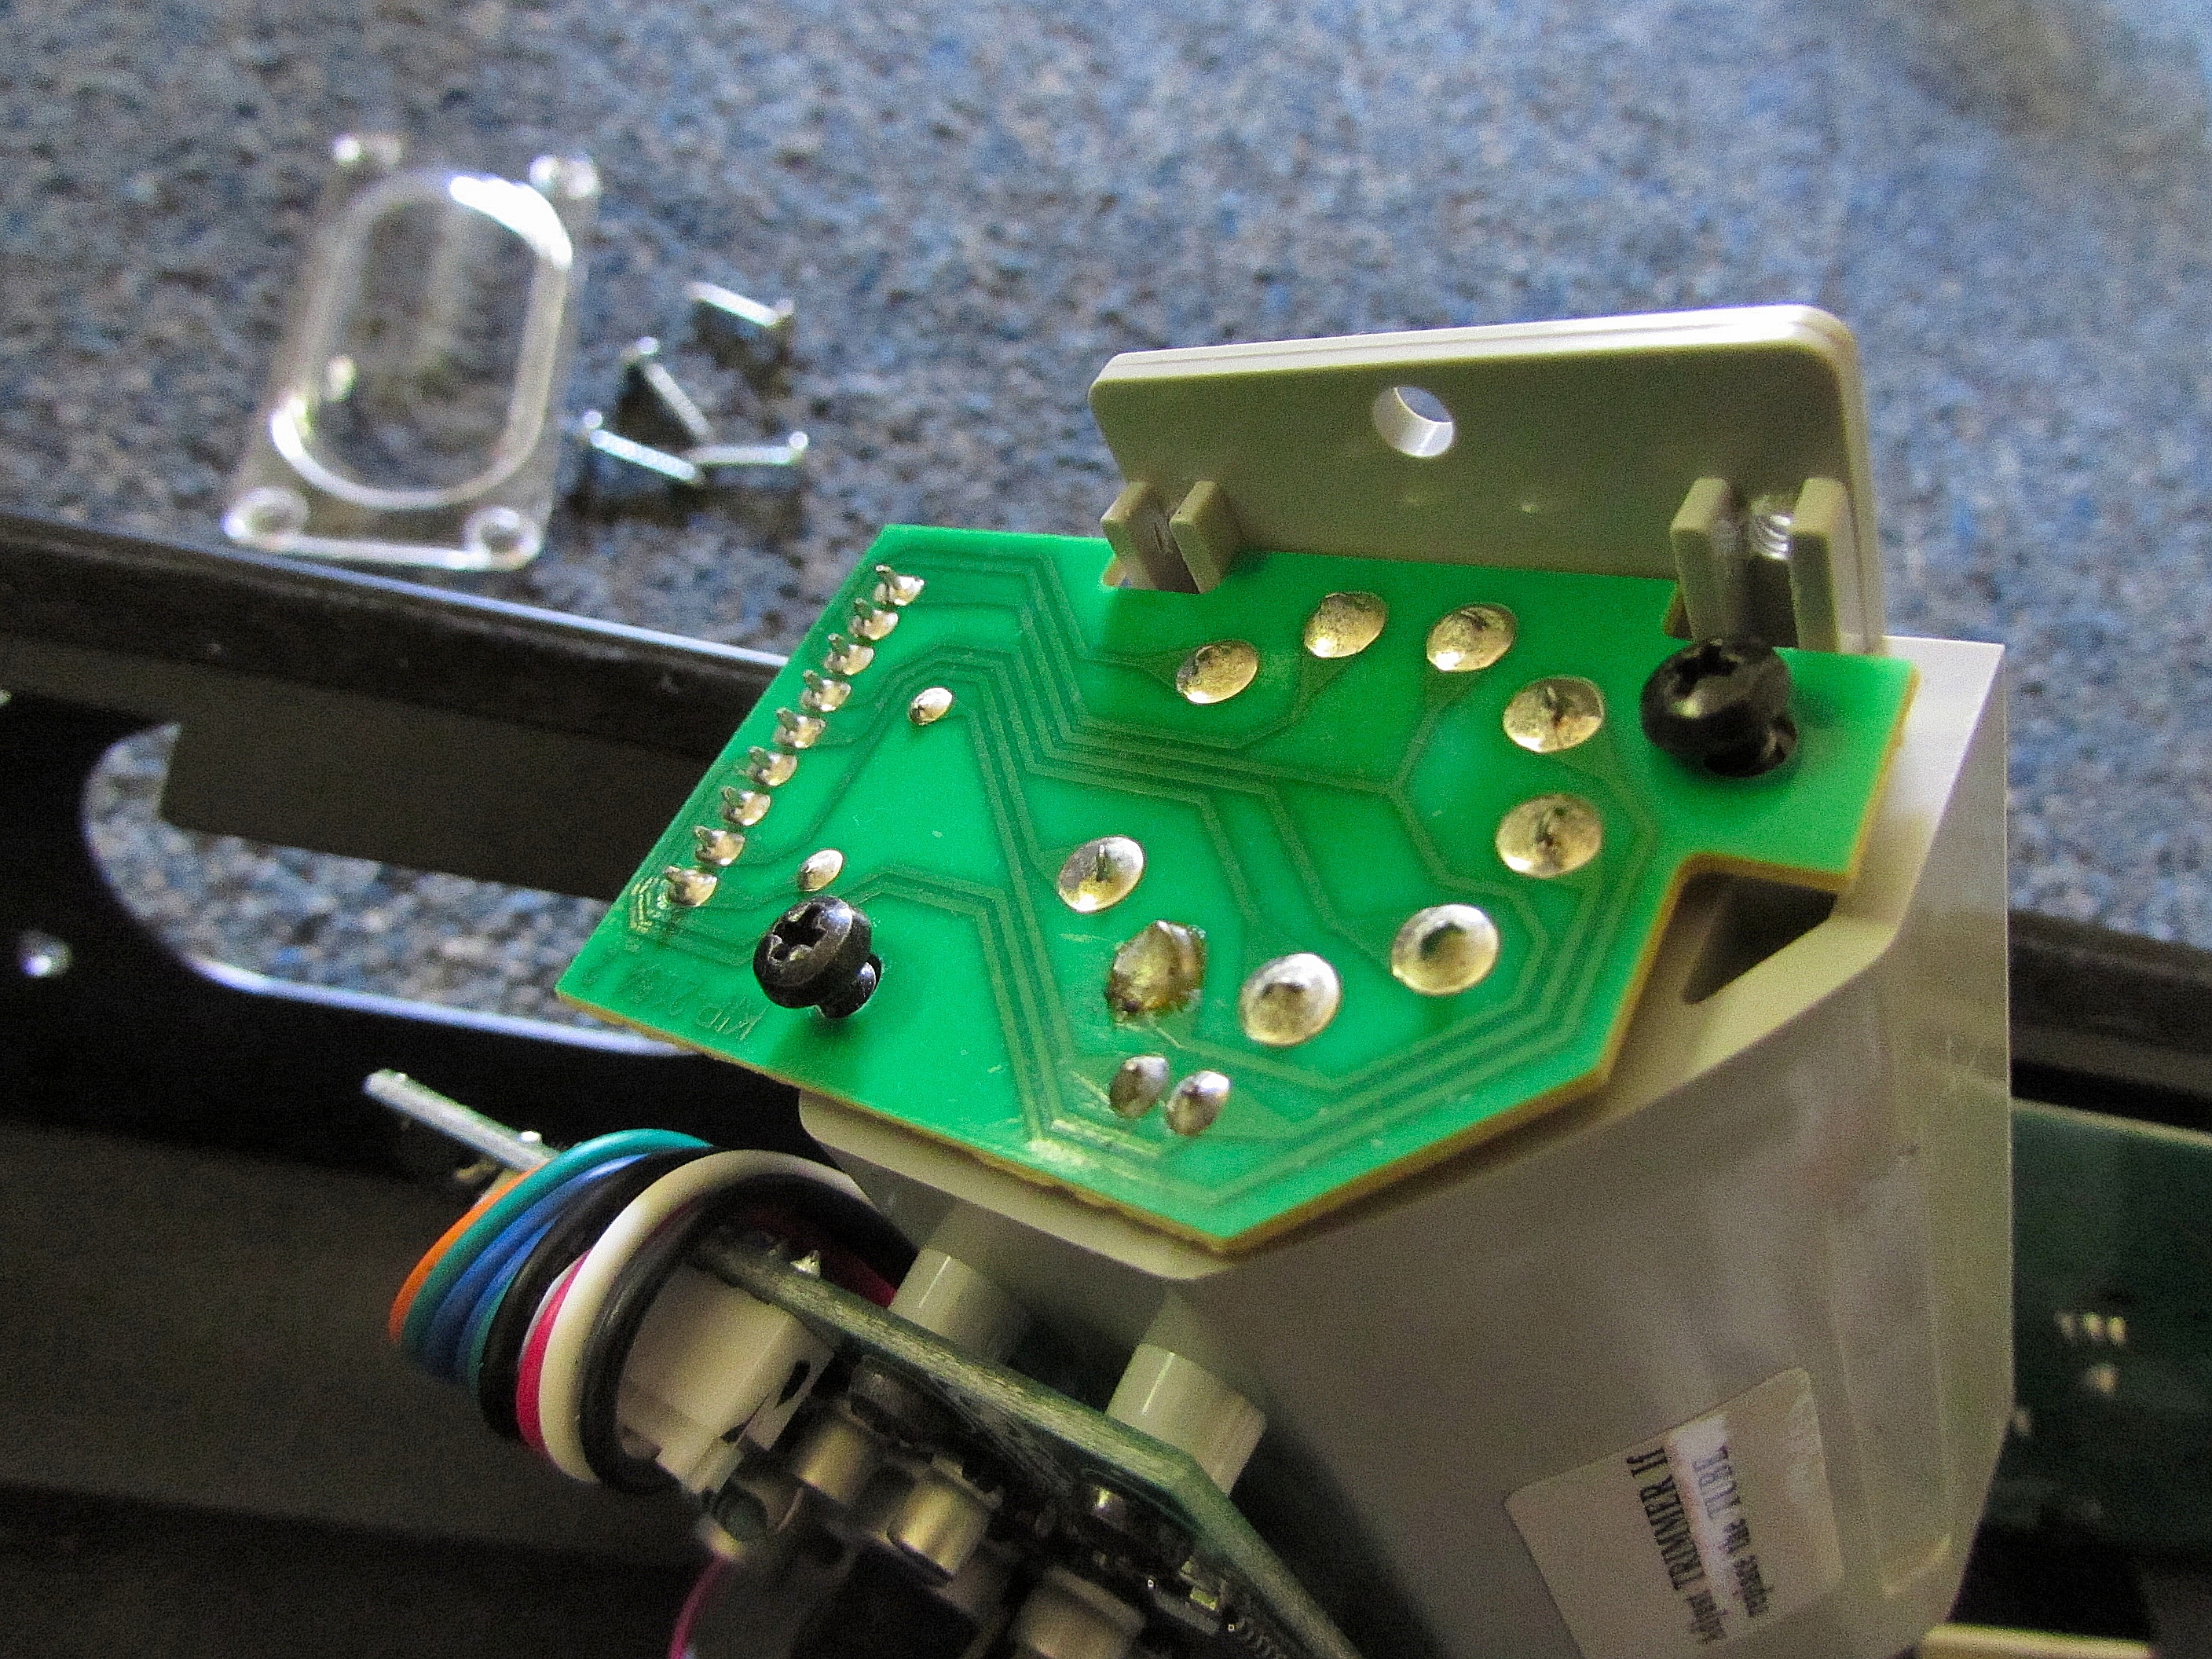
Next, detach the Valve Socket Board by removing the two black screws seen here. |
|
|
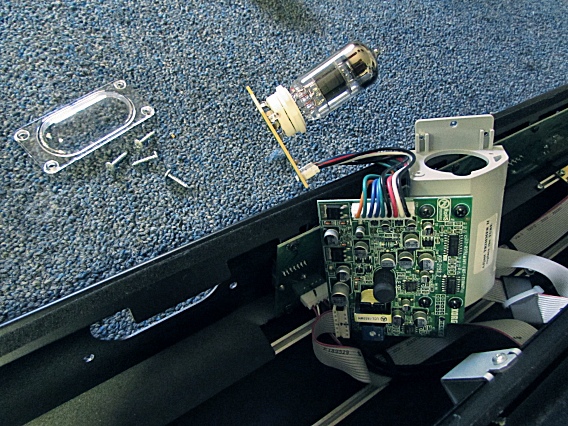
Then, remove the valve and socket from the tube's housing.
|
|
|
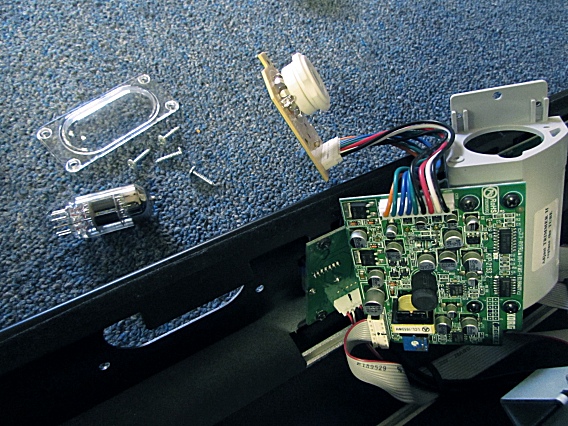
Now you can swap in a replacement tube and reinstall the Korg “Valve Reactor” Assembly. |
|
| Korg® SV1 | ||
|---|---|---|
|
Last Page < |
Page Top ∧ |
Next Page > |
|
|
|
|
|
Page design and content Copyright © Richard Diemer - All rights reserved |