| BustedGear.com |
| Shop | Repairs | Manufacturers | Resources | iFAQs | About |
|
|
|||
| Korg® X3 | 1: Floppy Drive Unit Removal | ||
|---|---|---|---|
|
Last Page < |
Page Bottom ∨ |
Next Page > |
|
|
|
|||
|
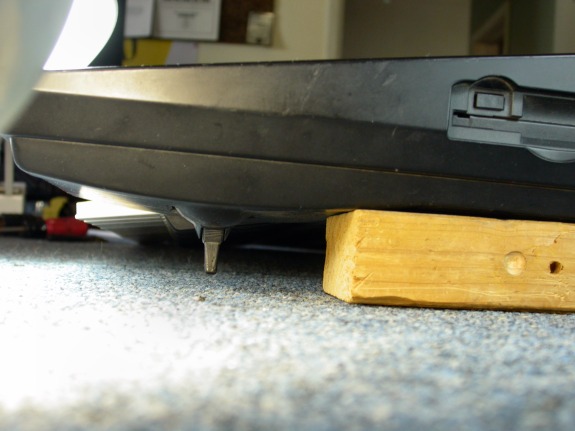
The Korg X3 floppy drive is important because it's the easiest way to load programs lost due to a battery change or a malfunction. A "Drive Not Ready" message often means that the floppy drive's belt needs replacing. To replace it, start by turning over the keyboard. Take care to avoid damaging the joystick. Here I've used a wood block to raise the keyboard off the workbench. |
|
|---|---|
|
Remove all the screws from the bottom tray except for the rubber feet. All the screws are the same except for four smaller ones along the front, two of which are shown here. Once the screws are out, remove the bottom tray and set it aside. |

|
|
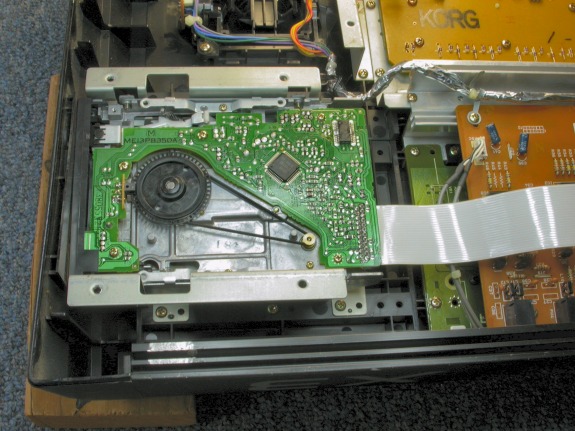
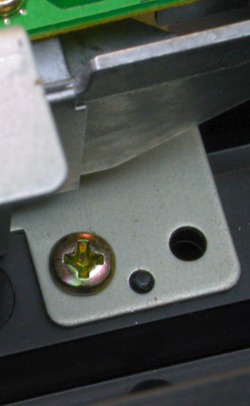
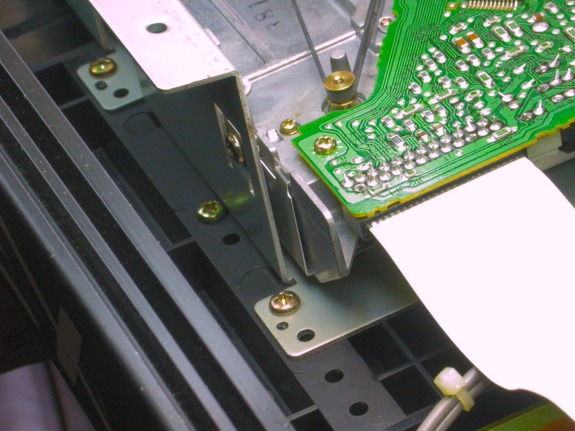
Here you see the drive unit and its belt. There are a few things to do before getting the belt out from under that black encoder disk. For starters, you must remove the drive assembly from the X3 shell. Four gold screws hold down the drive frame. The photo below shows an enlargement of one of the screws. Notice the black bump that pokes through each mounting tab. These can help you position the frame when reinstalling it. A magnetic screwdriver can help you re-insert the screws. |
|
|
|
|
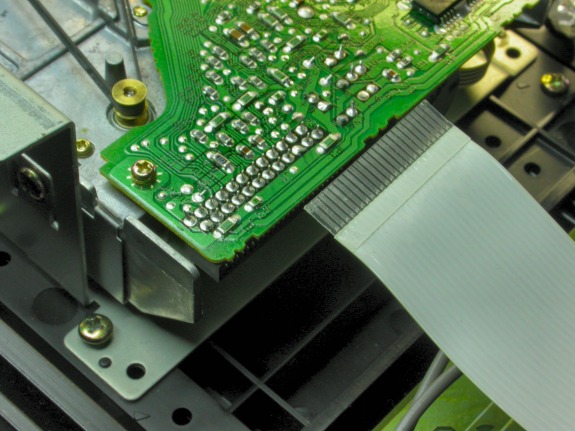
There is also a flat, Fuji style cable you must unplug. Simply pull it straight out of its female header. Afterwards, just push it straight back in. |
|
| Korg® X3 | ||
|---|---|---|
|
Last Page < |
Page Top ∧ |
Next Page > |
|
|
|
|
|
Page design and content Copyright © Richard Diemer - All rights reserved |