| BustedGear.com |
| Shop | Repairs | Manufacturers | Resources | iFAQs | About |
|
|
|||
| Korg® X3 | 2: Floppy Drive Replacement | ||
|---|---|---|---|
|
Last Page < |
Page Bottom ∨ |
Next Page > |
|
|
|
|||
|
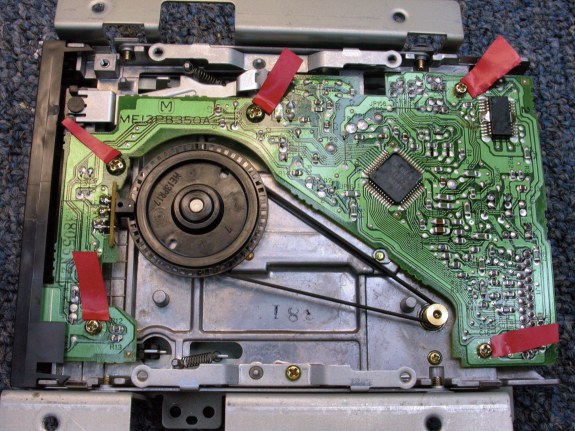
Now that the floppy drive unit is out of the Korg X3, you have to loosen the printed circuit board by removing the five gold screws that hold it down. We want to slide the photo sensor back away from the encoder disk. Then the drive belt can pass between them. |
|
|---|---|
|
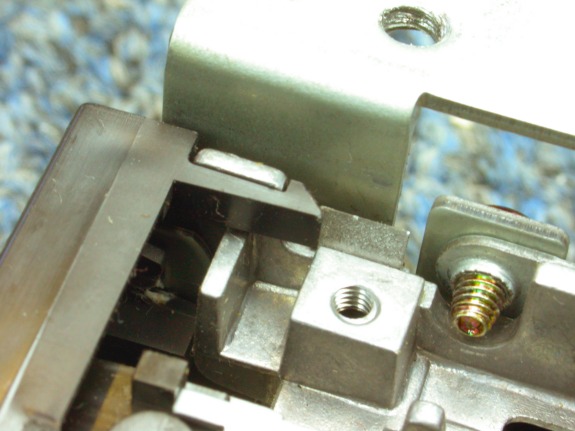
But the circuit board won't slide back because it's up against the disk drive's front bezel, which snaps onto the drive's housing as shown here. Solution: use your finger or a small tool to un-snap each side of the front bezel. |
|
|
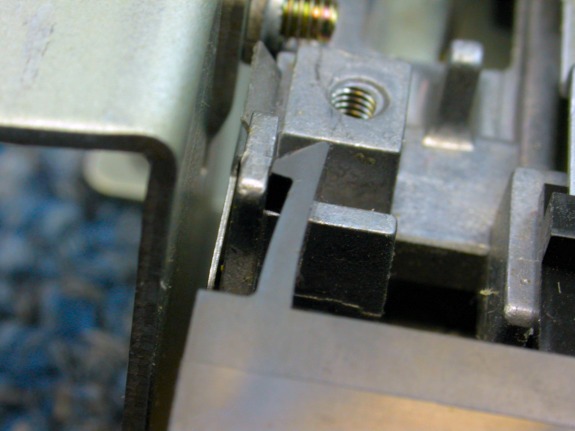
Here you see one side un-snapped. |
|
|
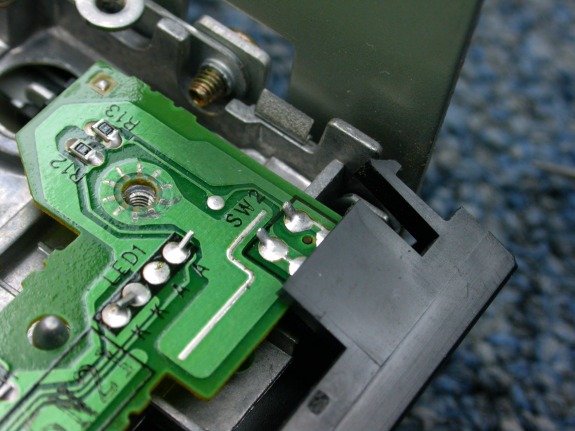
Here you see the other side un-snapped. |
|
|
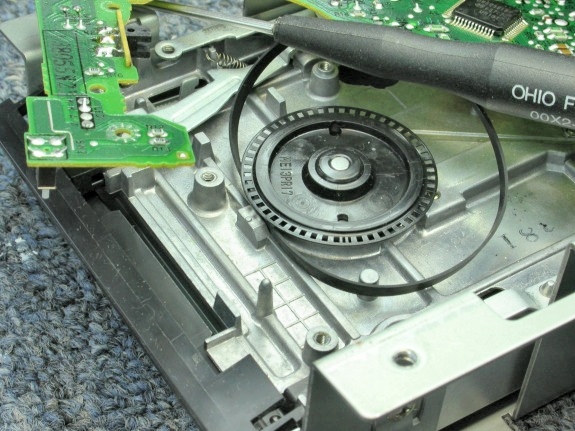
Finally, the LED and photodiode gizmo can be backed off of the encoder disk. This optical tachometer system helps govern the speed of the spindle motor. |

|
|
Now the old belt can be removed. The circuit board doesn't have a lot of wiggle room but find a way to hold it back while you swap in a new belt. Then put everything back the way it was. |
|
| Korg® X3 | ||
|---|---|---|
|
Last Page < |
Page Top ∧ |
Next Page > |
|
|
|
|
|
Page design and content Copyright © Richard Diemer - All rights reserved |