| BustedGear.com |
| Shop | Repairs | Manufacturers | Resources | iFAQs | About |
|
|
|||
| Moog® Micromoog | 4: Key Heights & Sticking Keys | ||
|---|---|---|---|
|
Last Page < |
Page Bottom ∨ |
Next Page > |
|
|
|
|||
|
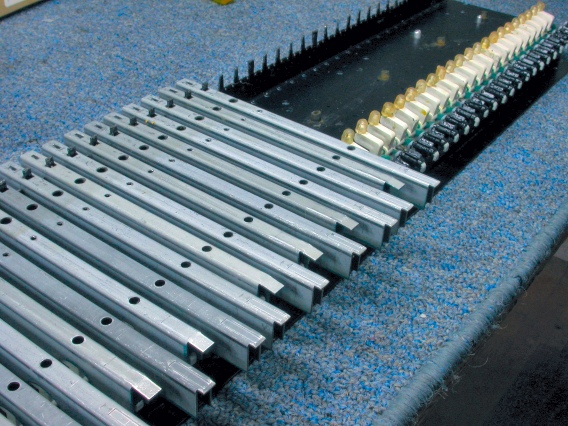
With all new bushings, it's time to replace the Minimoog's keys. Slide the front of each key over its key stop, then fit the square hole onto the rear pivot tab. Use pliers to twist the pivot tab into a horizontal position to keep the key from popping loose. Then, reinstall the key springs: blue springs on the white keys, red springs on the black. |
|
|---|---|
|
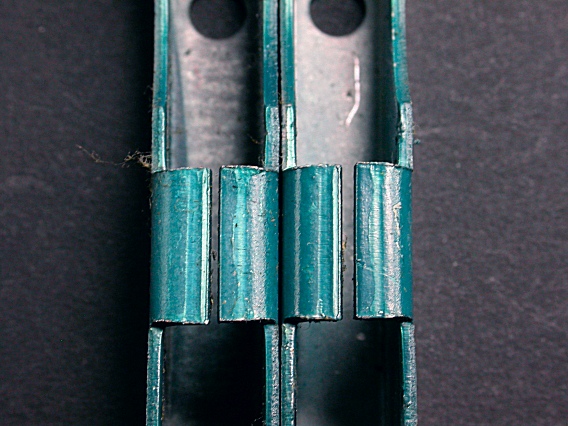
Next, operate the keys as if playing them. Make sure the keys move normally and don't stick or rub against the new bushings. If a key sticks, remove the key. Check the key stop to make sure it isn't bent to the left or right. Ordinarily, you should just widen the key where it wraps around the bushing (right). |
|
|
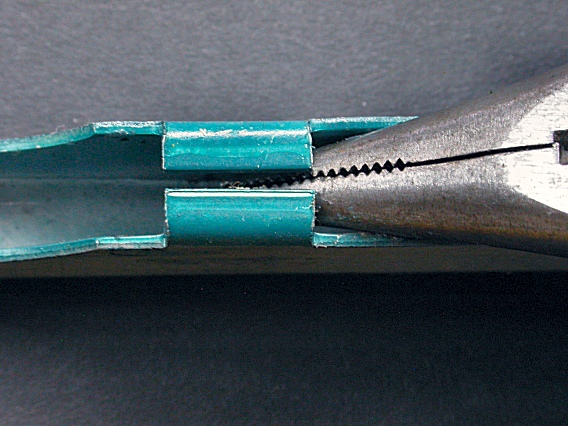
You can use needle nose pliers to widen the key (right). Stick the nose between the sides of the key and push until the space between them widens a bit. Then, reinstall the key and try it again. Repeat the adjustment if necessary. |
|
|
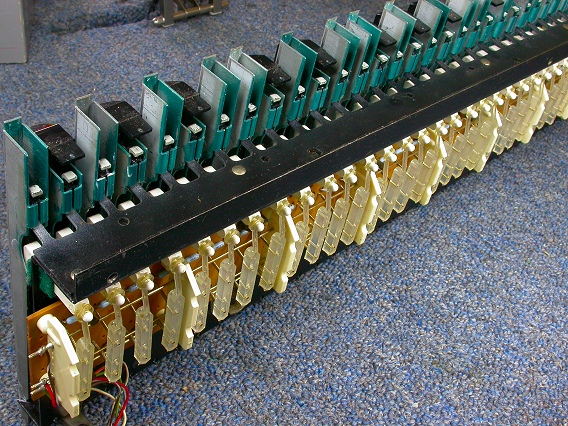
After all the keys operate freely, reinstall the key caps. Align the screw holes as described earlier. With the caps back on, we adjust the key heights. Height adjustment makes all the ivories level when in the up position. It also sets the timing and wrap of a key's electrical contacts. Height adjustment is easiest with the keyboard in the position shown here. |
|
|
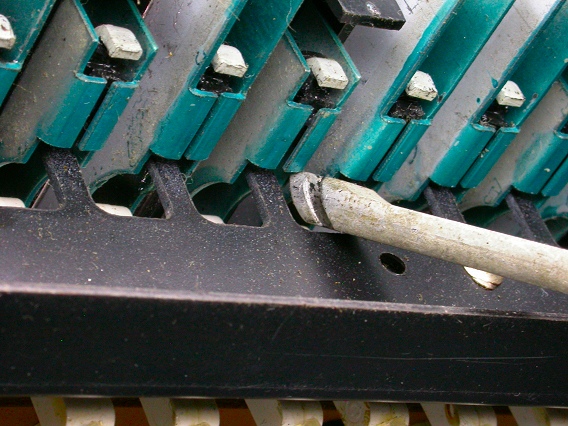
Here, we use a height adjustment tool supplied by Moog in the 1970s The tool has a slot that grabs onto the vertical member of the key stop. |
|
|
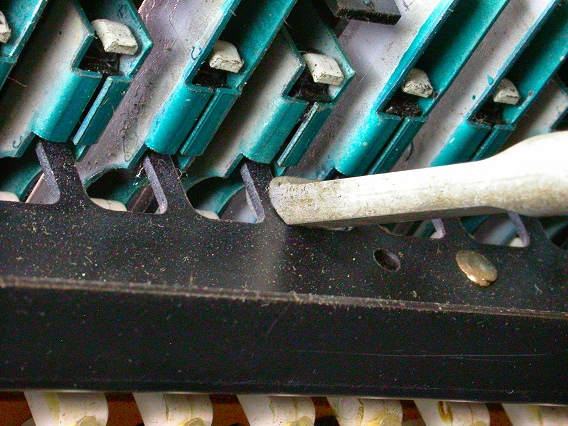
A downward motion on the tool lowers the key height and vice-versa. Moog cautions against trying to bend key stops by hand or long nose pliers, possibly cracking or damaging the metal. Without an adjustment tool, it might be better to adjust the key stops before reinstalling the keys. With the keys off, you can get a better grip on the metal tabs. Lay a straight edge over the key stops to help spot unevenness. |
|
|
After leveling the keys, reinstall and reconnect the keyboard assembly and the left hand control panel. Then replace the bottom cover and get down to business! |

|
| Moog® Micromoog | ||
|---|---|---|
|
Last Page < |
Page Top ∧ |
Next Page > |
|
|
|
|
|
Page design and content Copyright © Richard Diemer - All rights reserved |