| BustedGear.com |
| Shop | Repairs | Manufacturers | Resources | iFAQs | About |
|
|
|||
| Casio® Privia® PX-130 | 1: Disassembly | ||
|---|---|---|---|
|
Last Page < |
Page Bottom ∨ |
Next Page > |
|
|
|
|||
|
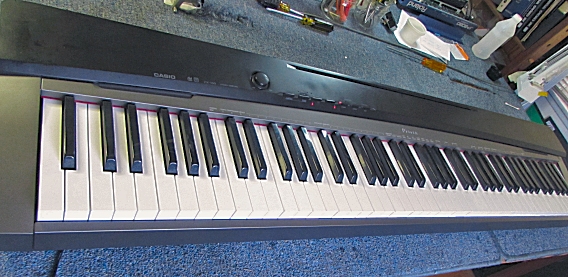
To replace the broken DC power jack on this Casio Privia PX-130, we must first remove the top electronics panel. |
|
|---|---|
|
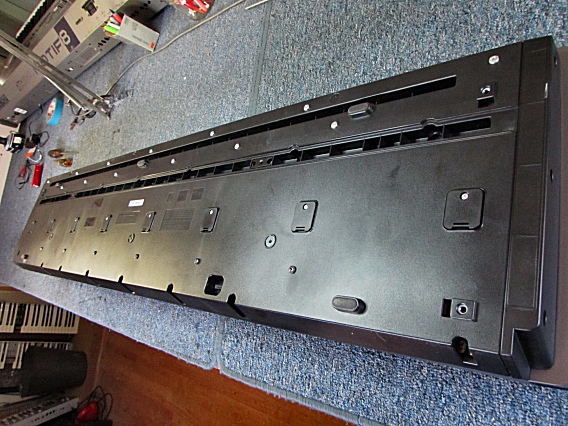
The first step is to remove two sets of top panel screws from the bottom of the PX-130 (right). Other Privia models have similar bottoms with tops that attach in the same way. |
|
|
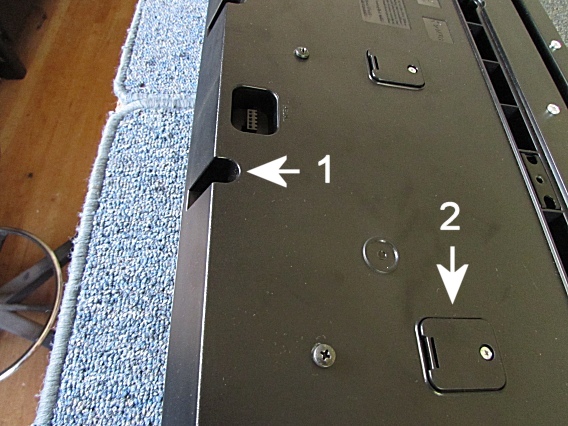
The top panel screws are located in two sets of holes:
|
|
|
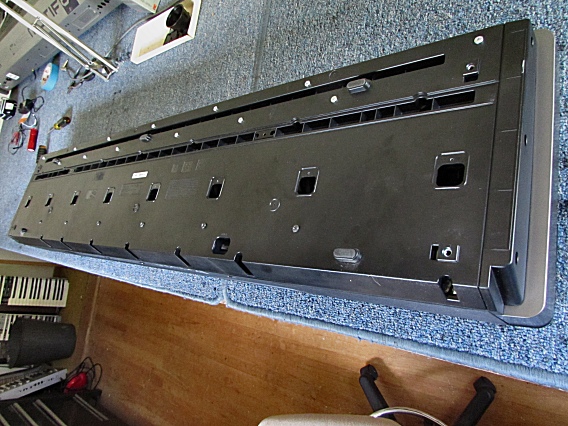
Remove the screws from the recessed holes and remove the screws from the square covers. Then lift off the covers, as shown here. The remaining bottom screws should be left in place. |
|
|
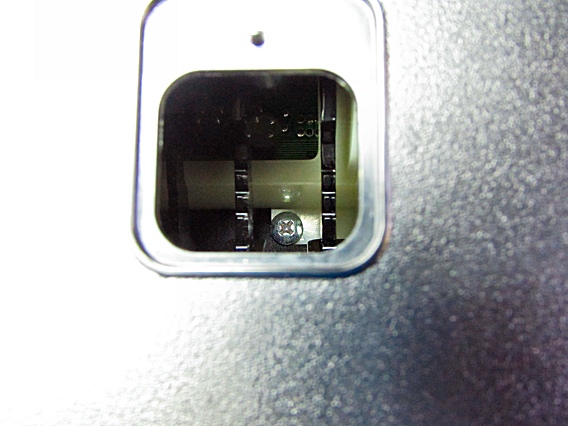
Beneath each square cover, there's a top panel screw. This is a close-up of one of the screws, located between two key hammers. Remove all eight of these inner screws. |
|
| Casio® Privia® PX-130 | ||
|---|---|---|
|
Last Page < |
Page Top ∧ |
Next Page > |
|
|
|
|
|
Page design and content Copyright © Richard Diemer - All rights reserved |