| BustedGear.com |
| Shop | Repairs | Manufacturers | Resources | iFAQs | About |
|
|
|||
| Casio® Privia® PX-130 | 2: Top Panel Removal | ||
|---|---|---|---|
|
Last Page < |
Page Bottom ∨ |
Next Page > |
|
|
|
|||
|
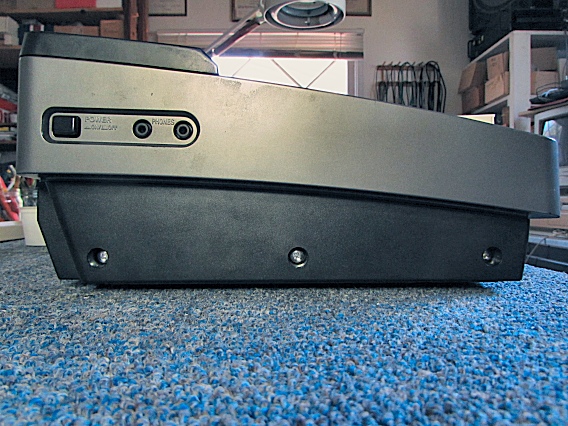
There are more top panel screws behind the Privia's side covers ‒ here you see the left side cover. Remove the three screws along the bottom of the cover (see photo). |
|
|---|---|
|
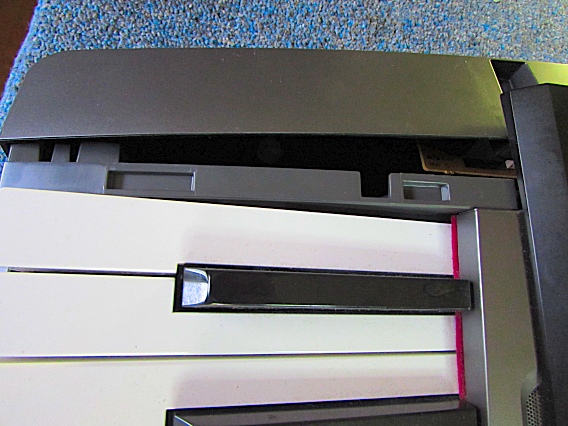
You can then unsnap the cover from the left side plate by lifting up on the cover. |
|
|
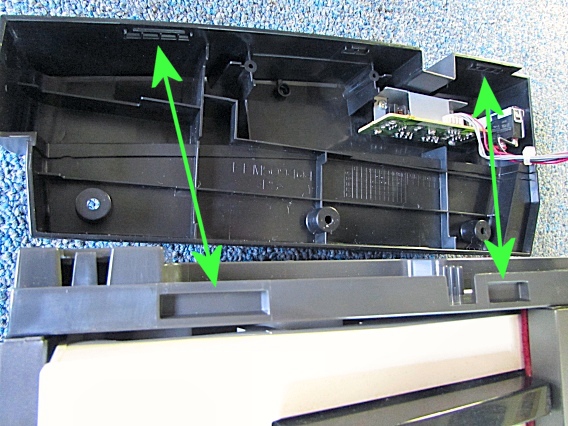
Here you see the two locking tabs on the cover that snap into cavities in the side plate. |
|
|
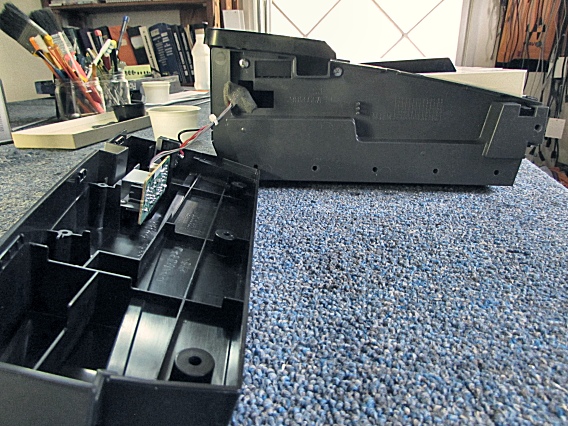
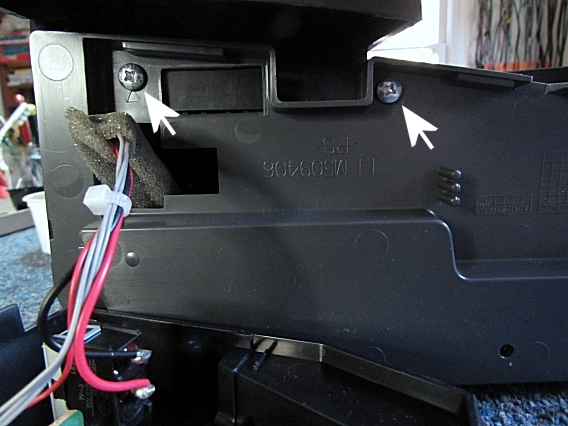
With the side cover removed, you can access two more top panel screws. |
|
|
These are the two screws to remove. |
|
|
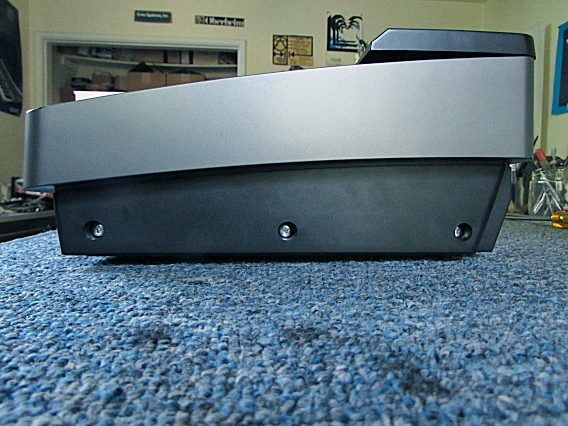
Finally, remove three screws from the right side cover (see photo) and, as before, unsnap the cover from its side plate. Then remove two top-panel screws behind the right side cover, like those shown in the previous photo. |
|
|
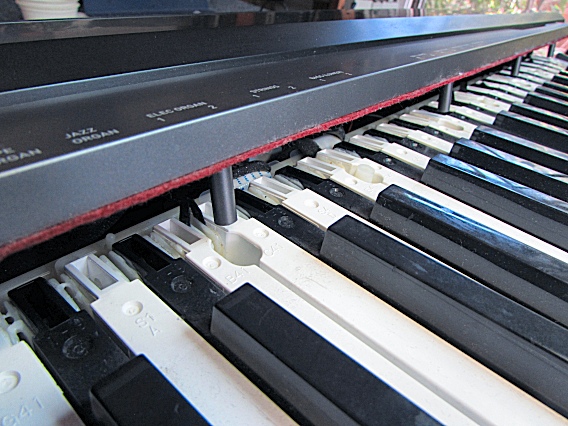
Now you can lift off the top electronics panel (right). Notice the plastic mounting studs passing between the keys. These are the studs that anchored the middle row of bottom screws. |
|
|
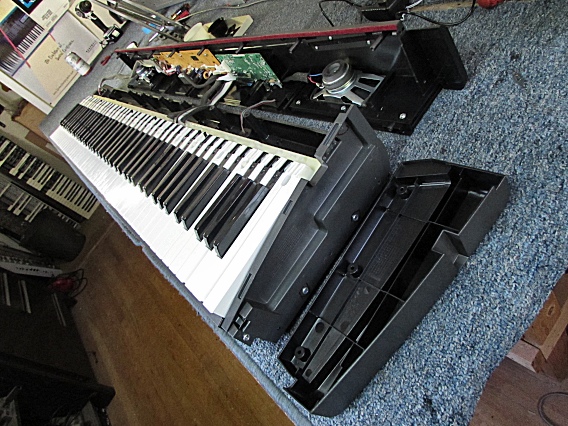
The top panel can be placed upside down behind the keyboard, as shown here. |
|
| Casio® Privia® PX-130 | ||
|---|---|---|
|
Last Page < |
Page Top ∧ |
Next Page > |
|
|
|
|
|
Page design and content Copyright © Richard Diemer - All rights reserved |