| BustedGear.com |
| Shop | Repairs | Manufacturers | Resources | iFAQs | About |
|
|
|||
| Casio® Privia® PX-130 | 4: Power Jack Installation | ||
|---|---|---|---|
|
Last Page < |
Page Bottom ∨ |
Next Page > |
|
|
|
|||
|
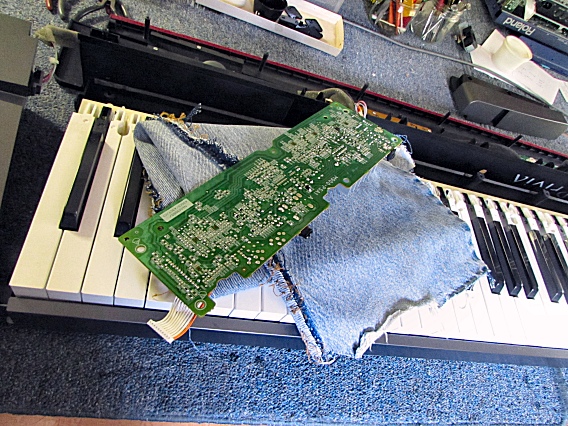
We've removed the Power circuit board from this Privia PX-130 and are ready to replace its broken power jack. |
|
|---|---|
|
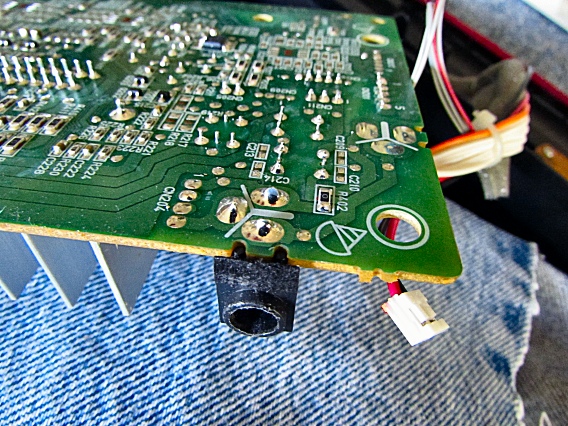
This is the broken jack in the corner of the circuit board. |
|
|
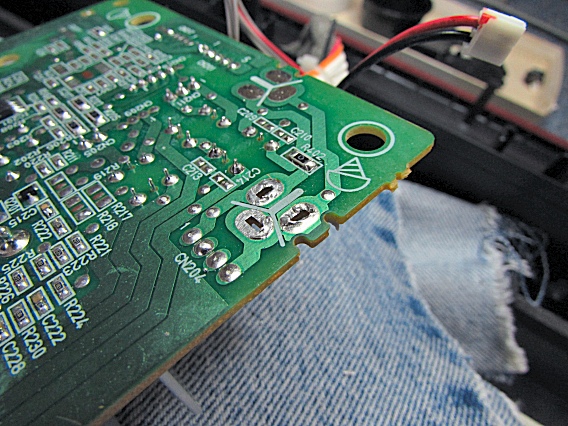
Here the jack has been de-soldered and removed. |
|
|
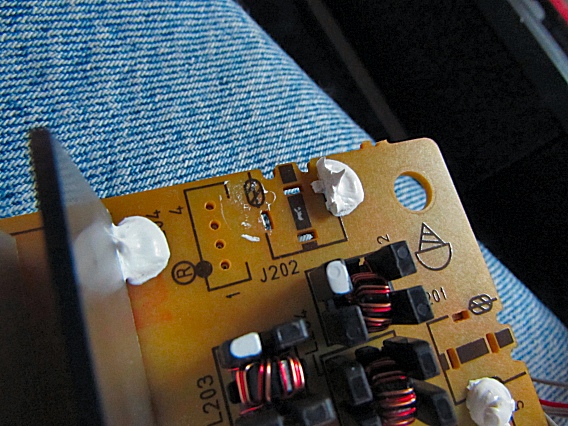
On the component side of the board, the factory used a white adhesive to help secure the jack. Though not required, an RTV silicone sealant could be used in its place. |
|
|
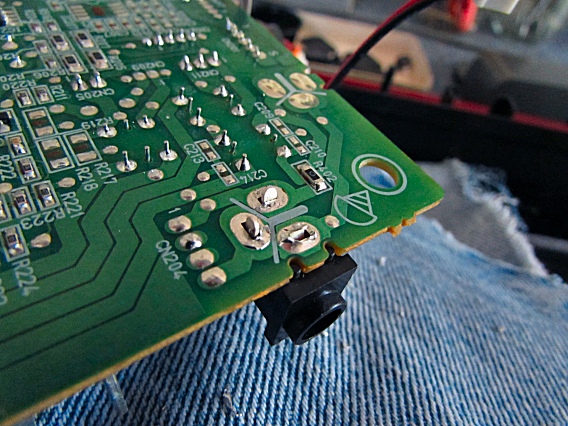
Here, a new jack has been snapped into the circuit board holes. |
|
|
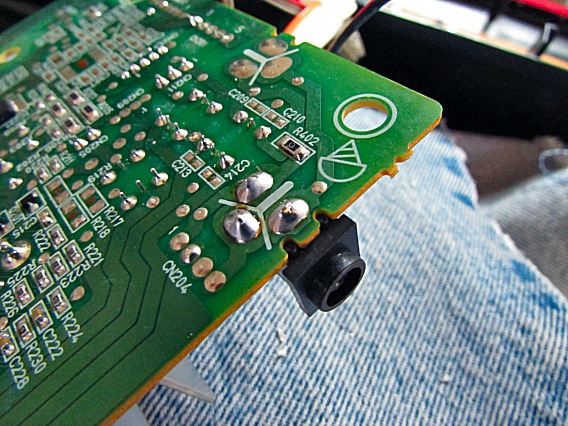
Here it's terminals have been soldered to the circuit foil. |
|
|
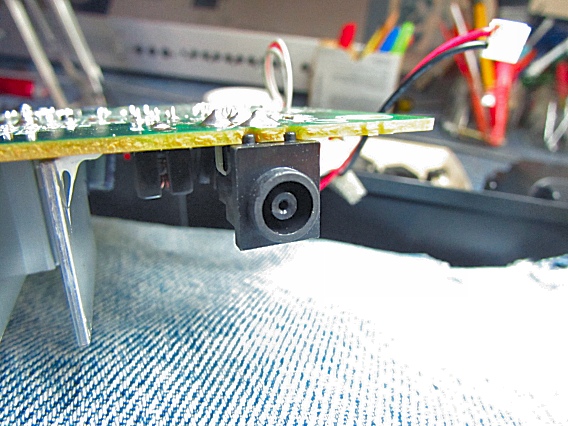
With the new power jack installed, it's time to reassemble the Privia! |
|
| Casio® Privia® PX-130 | ||
|---|---|---|
|
Last Page < |
Page Top ∧ |
Next Page > |
|
|
|
|
|
Page design and content Copyright © Richard Diemer - All rights reserved |