| BustedGear.com |
| Shop | Repairs | Manufacturers | Resources | iFAQs | About |
|
|
|||
| E-MU® Vintage Keys | 1: Disassembly | ||
|---|---|---|---|
|
Last Page < |
Page Bottom ∨ |
Next Page > |
|
|
|
|||
|
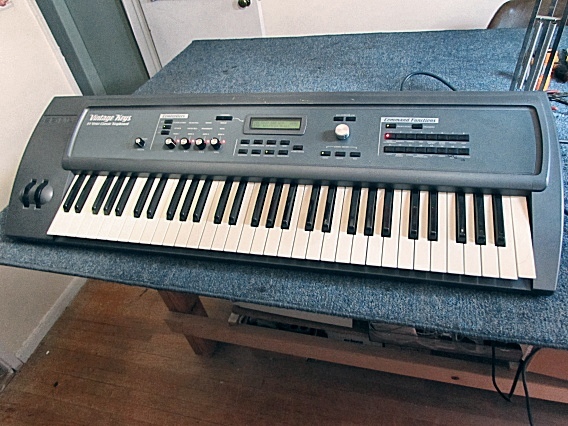
To get inside the E-MU Vintage Keys synthesizer, you must lift off its top panel. There are screws on the bottom of the synth that hold down the panel. |
|
|---|---|
|
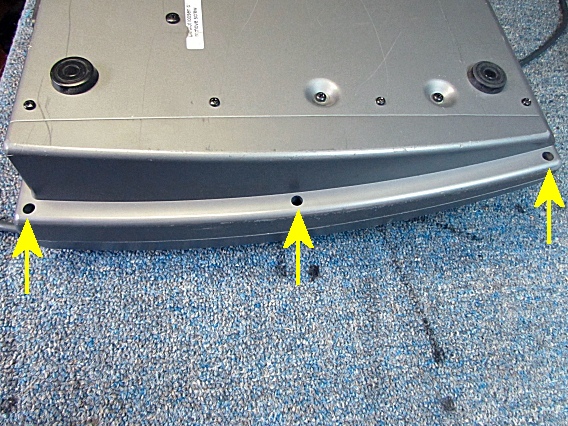
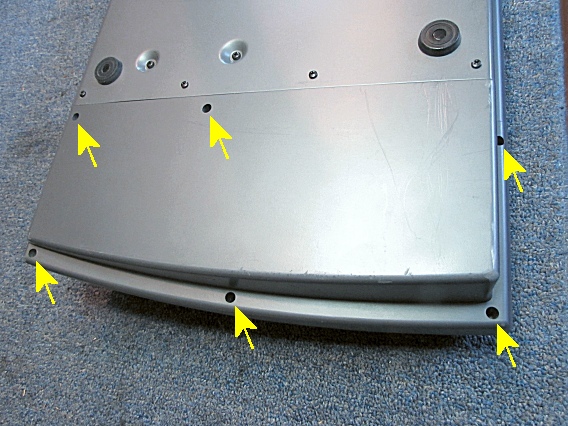
Flip over the synth to remove 3 screws from the right end panel and 6 screws from the left end panel. |

|
|
This is the right end panel. The three screws are in recessed holes. |
|
|
The screws of the left end panel are also in recessed holes. |
|
|
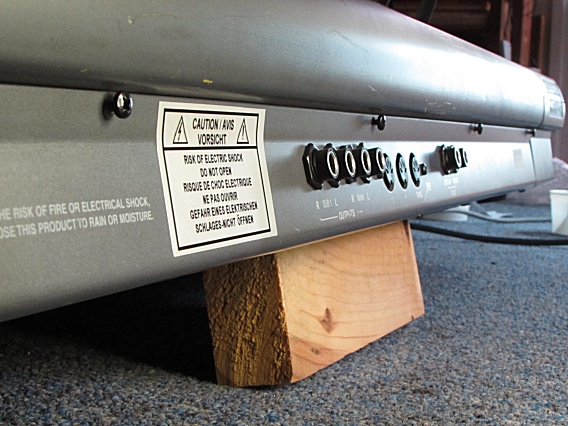
Finally, remove 5 screws from the rear panel. Four of the screws are shown here. You can remove these screws either before or after you flip the unit right-side up again. |
|
|
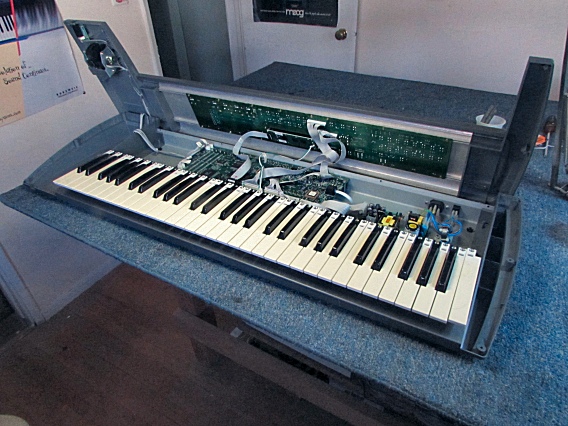
Now you can lift up the top panel and set it behind the bottom shell. Be careful not to pull any of the cables farther than their reach. |
|
| E-MU® Vintage Keys | ||
|---|---|---|
|
Last Page < |
Page Top ∧ |
Next Page > |
|
|
|
|
|
Page design and content Copyright © Richard Diemer - All rights reserved |