| BustedGear.com |
| Shop | Repairs | Manufacturers | Resources | iFAQs | About |
|
|
|||
| E-MU® Vintage Keys | 2: Removing the Panel PC Board | ||
|---|---|---|---|
|
Last Page < |
Page Bottom ∨ |
Next Page > |
|
|
|
|||
|
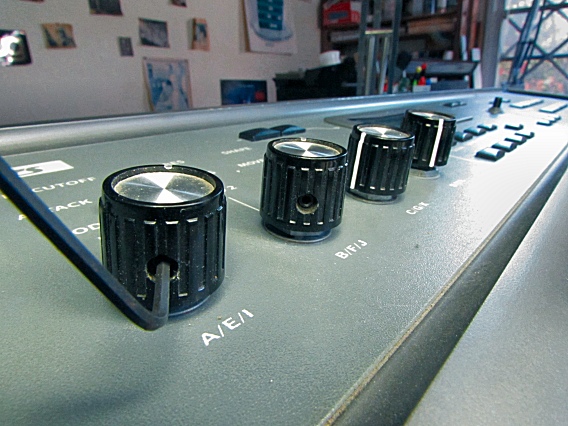
Next, we want to take out the E-MU's front panel printed circuit board. Start by removing the knobs from the volume and control pots using an allen wrench. |
|
|---|---|
|
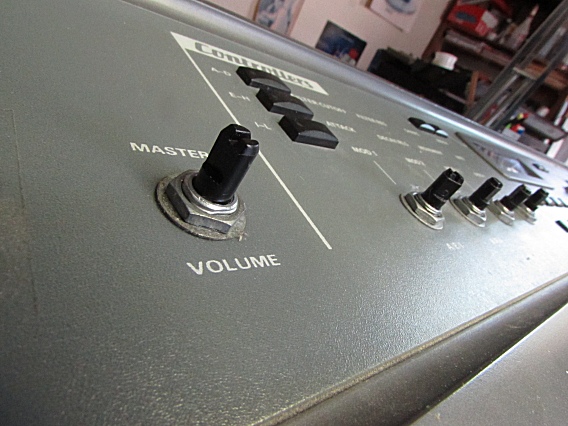
Then remove the control nuts and flat washers from all the pots. |
|
|
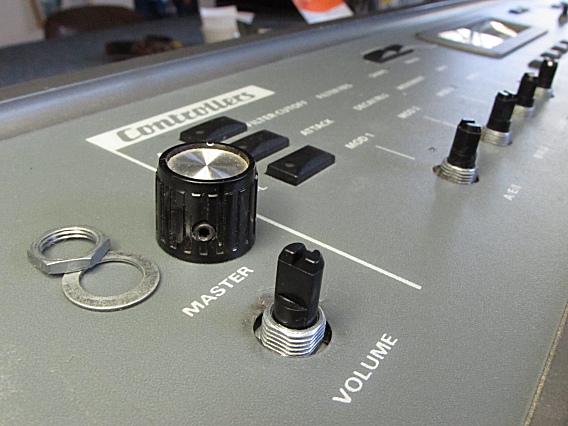
All the pots must be loose for the Printed Circuit Board to come out. |
|
|
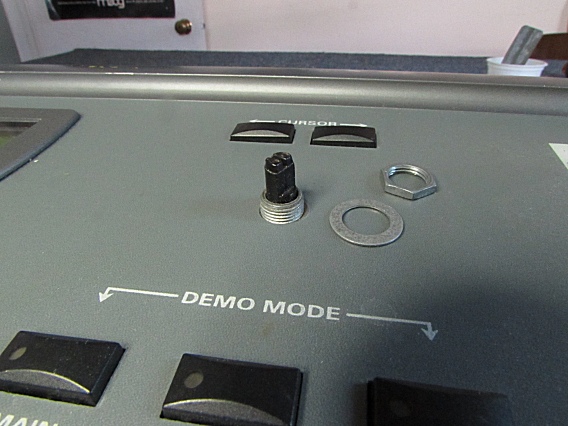
Finally, remove the knob and hardware from the data wheel. |
|
|
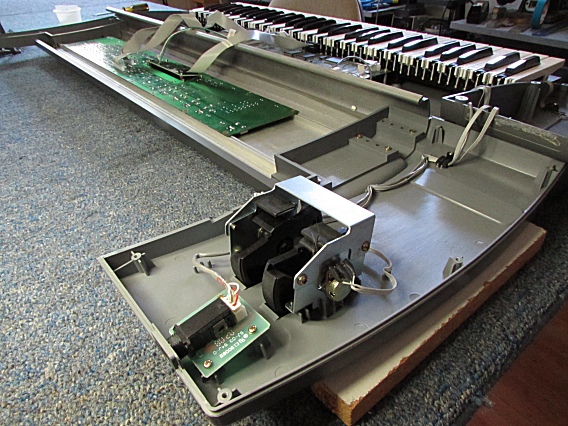
Now, position the top panel upside down as shown here. The Last Page of this story explains how to separate the top panel from the bottom shell. |
|
|
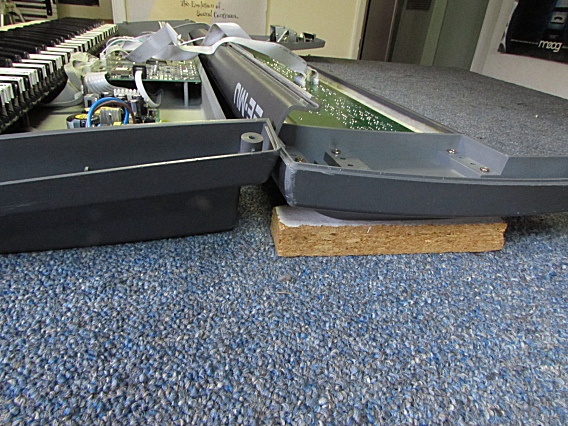
Prop up the panel on each end by an inch or two so the protruding pots and buttons don't hit the workbench. This is especially important when reinstalling the PCB. |
|
|
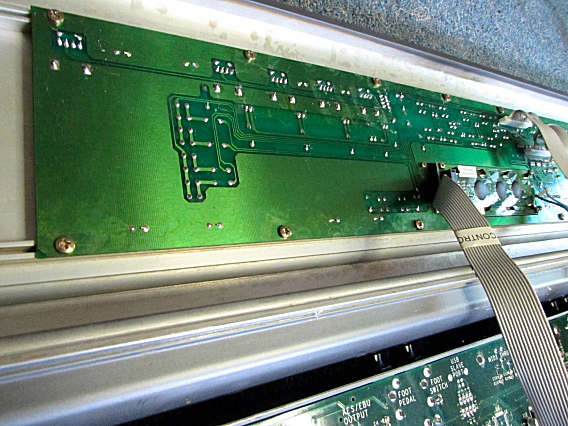
Next, remove all the brass screws that hold down the Panel PCB. |
|
|
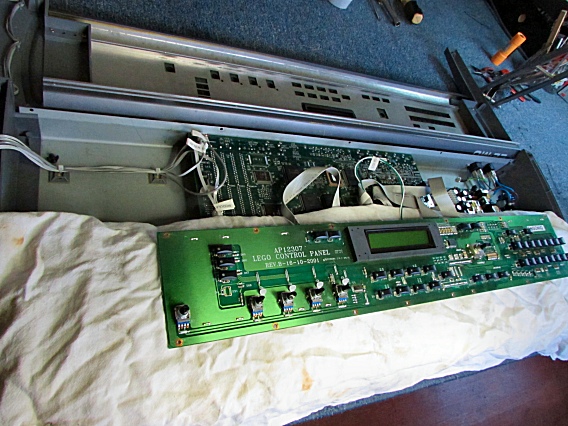
Then you can then lift out the PCB and flip it over as shown here. |
|
| E-MU® Vintage Keys | ||
|---|---|---|
|
Last Page < |
Page Top ∧ |
Next Page > |
|
|
|
|
|
Page design and content Copyright © Richard Diemer - All rights reserved |