| BustedGear.com |
| Shop | Repairs | Manufacturers | Resources | iFAQs | About |
|
|
|||
| E-MU® Vintage Keys | 3: Broken Control Pots | ||
|---|---|---|---|
|
Last Page < |
Page Bottom ∨ |
Next Page > |
|
|
|
|||
|
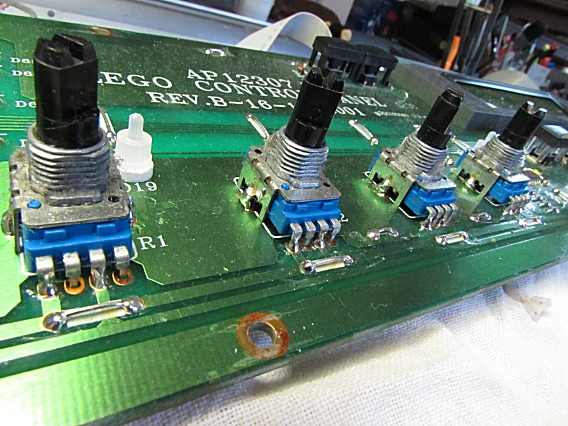
The Front Panel PCB is now out of the E-MU Vintage Keys synthesizer and our task is to remove and replace a broken volume pot. |
|
|---|---|
|
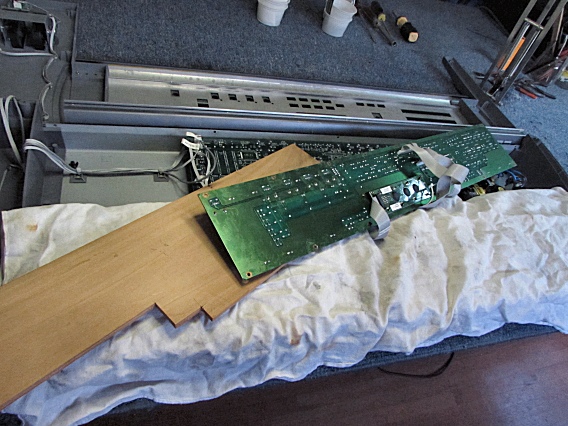
The four cables that tie the Panel board to the Main board are long enough that you can work on both sides of the Panel board without unplugging it. |
|
|
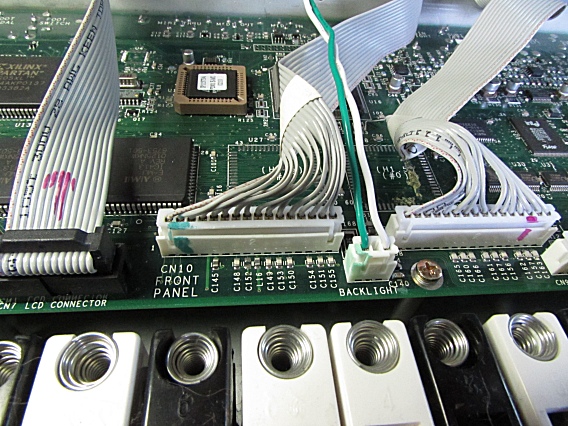
But to make soldering easier, you can unplug the cables where they connect to the Main board (right). 
|
|
|
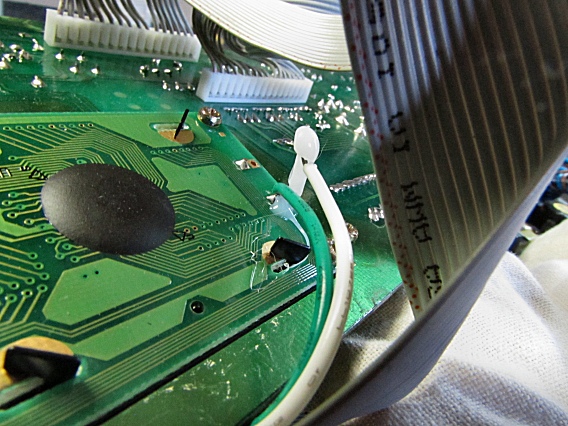
In either case, while handling the Panel board, be gentle with the white and green wires going to the LCD backlight (right). |
|
|
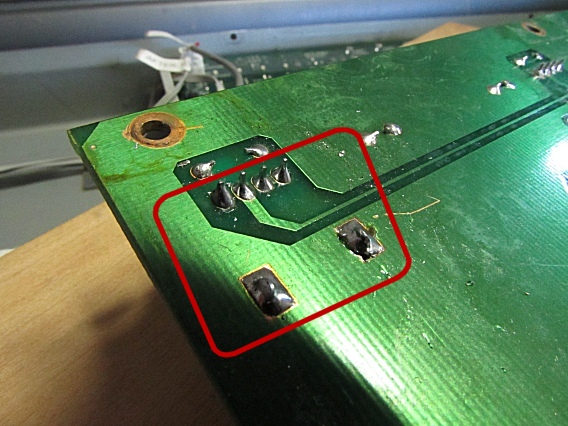
Here you see the Volume pot's solder points. Each pot has four terminal pins and two mounting tabs for a total of six solder points. |
|
|
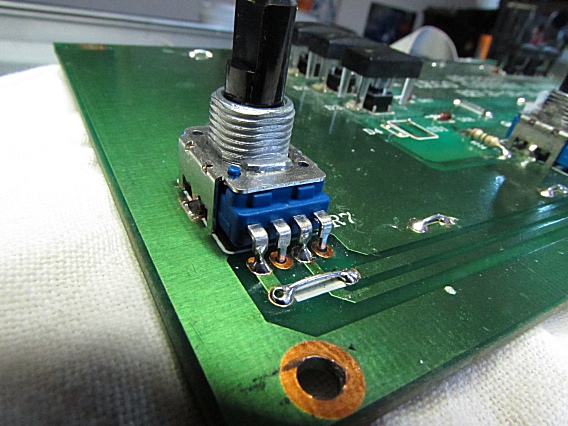
Here you see the VINTAGE KEYS REPLACEMENT POT we installed. All the panel pots, except the data wheel, use the same part: a 10 kilo-ohm, linear-taper pot. (One of its four solder pins is a dummy terminal).
Now, put everything back together and put your E-MU Vintage Keys back in service! |
|
| E-MU® Vintage Keys | ||
|---|---|---|
|
Last Page < |
Page Top ∧ |
Next Page > |
|
|
|
|
|
Page design and content Copyright © Richard Diemer - All rights reserved |