| BustedGear.com |
| Shop | Repairs | Manufacturers | Resources | iFAQs | About |
|
|
|||
| Fender® Super Champ® | 1: Disassembly | ||
|---|---|---|---|
|
Last Page < |
Page Bottom ∨ |
Next Page > |
|
|
|
|||
|
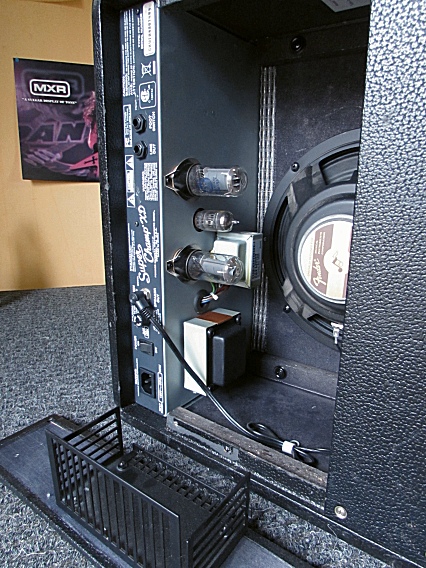
To disassemble a Fender Super Champ XD, first remove the rear-panel / heat-sink. |

|
|---|---|
|
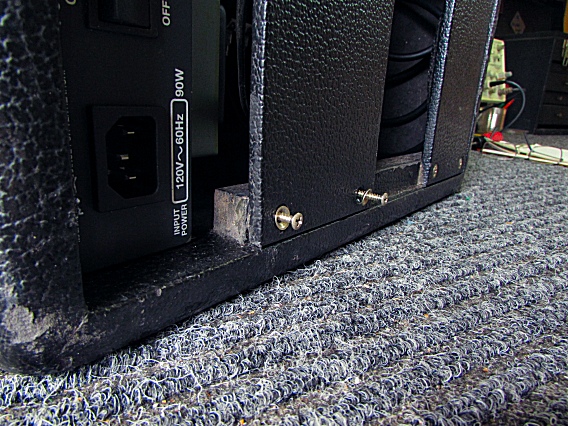
Four wood screws attach the Champ's rear panel to the cabinet, two on each end (see right). |
|
|
There's no need to detach the heat sink from the rear panel but you must unplug the speaker cord. |
|
|
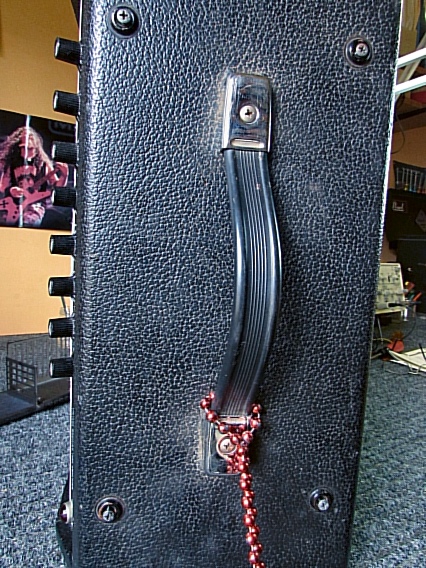
On the top of the amp, take out the four screws (one in each corner) that mount the electronics chassis to the cabinet. |
|
|
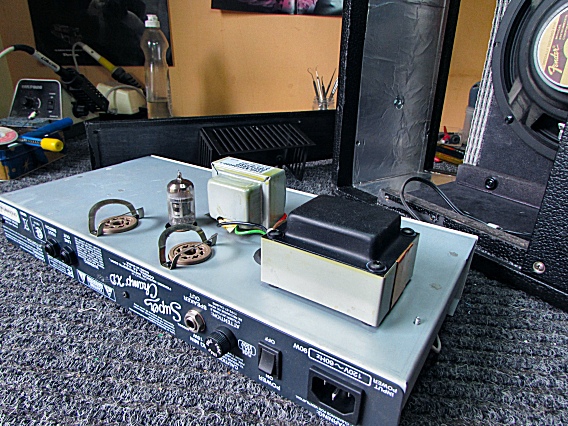
Pull the chassis out the rear of the Super Champ's speaker cabinet. Remove the two 6V6 power tubes. (Press down on the socket's retaining springs while gently rocking the tube from the socket.) When possible, grab tubes by their base, not by their glass envelope. |
|
|
Now you can turn the chassis over without resting it on the vacuum tubes. The inside wiring is now accessible. |
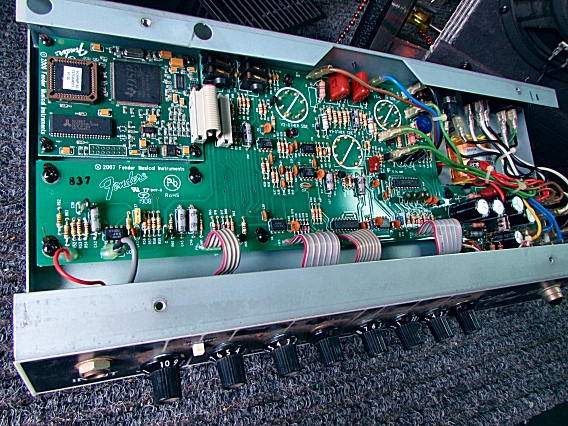
|
|
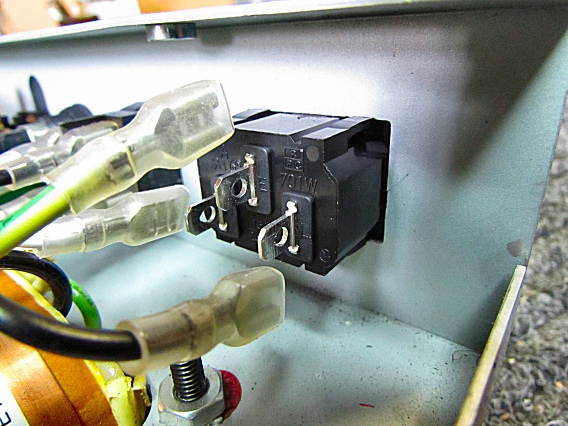
The AC inlet receptacle is located in the right rear of the chassis. Before pulling off its connecting wires, take note of which wire color goes to which terminal. Here, a new replacement jack has been snapped into the Super Champ's rear panel. No mounting hardware is needed. |
|
|
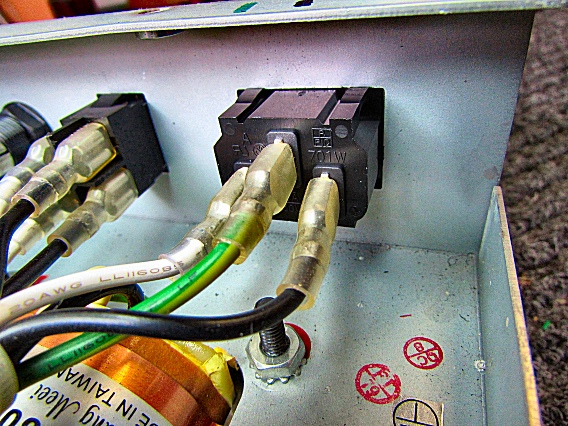
Connecting the wires is easy. The push-on lugs and the inlet terminals follow quick-connect (QC) standards. Arrange the wire colors as they were before. |
|
| Fender® Super Champ® | ||
|---|---|---|
|
Last Page < |
Page Top ∧ |
Next Page > |
|
|
|
|
|
Page design and content Copyright © Richard Diemer - All rights reserved |