| BustedGear.com |
| Shop | Repairs | Manufacturers | Resources | iFAQs | About |
|
|
|||
| Korg® SV1 | 1: Disassembly | ||
|---|---|---|---|
|
Last Page < |
Page Bottom ∨ |
Next Page > |
|
|
|
|||
|
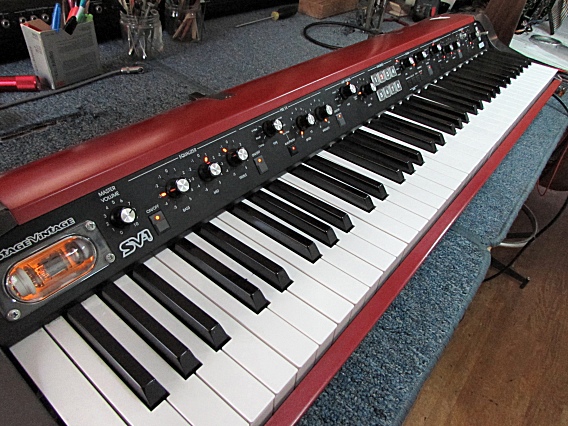
If you want to troubleshoot problems related to specific SV-1 keys, use some tape to mark the problem keys before you shut down and disassemble the instrument. Later, you can transfer the marks to the underside of the removed keybed. |
|
|---|---|
|
Then, disconnect the SV-1 power cord and flip over the SV-1. You'll see a variety of screws on the bottom of the instrument. You need to remove all of the bottom screws except for the three that only fasten rubber feet to the wooden plate. |

|
|
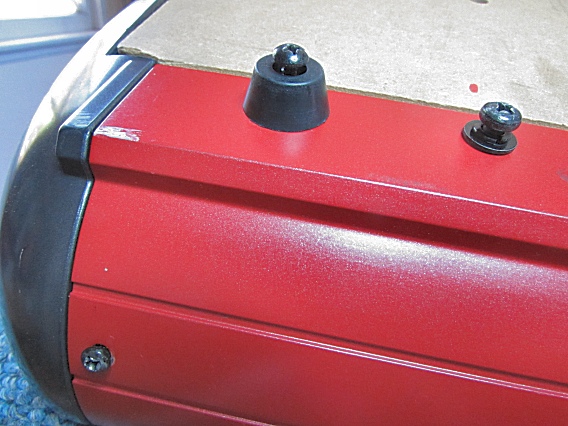
First, remove all the screws that fasten the metal key guard to the instrument. This photo shows 3 of the key guard screws. One includes a rubber foot. Another is on the front of the instrument. |
|
|
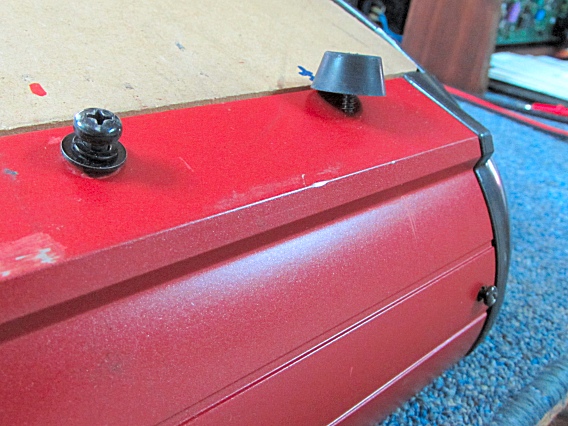
Three equivalent screws are found on the opposite end of the guard (see right). The last three key guard screws lie along its bottom lip. You can see them in the second photo on this page. After removing all the key guard screws, remove the key guard and set it aside.
By the way, the 2 front key guard screws can be removed before turning the SV-1 upside down. |
|
|
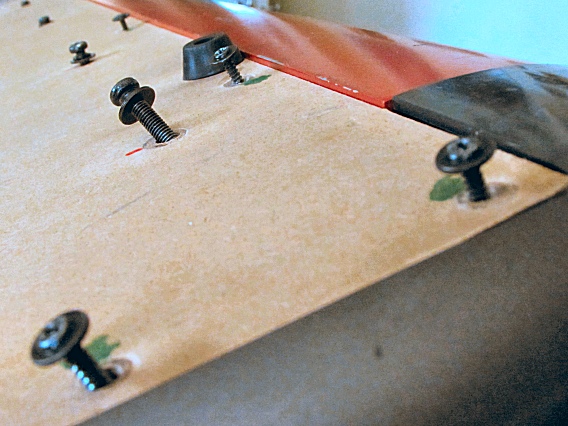
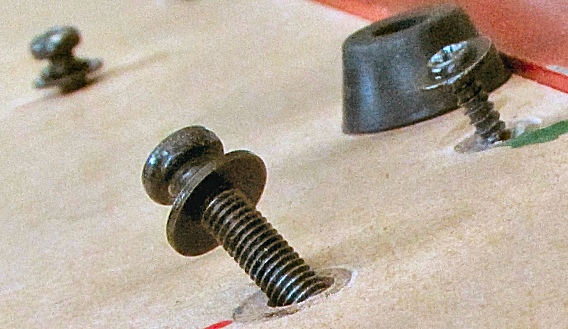
Next, remove all the screws that go through the wooden base plate, except for 3 screws that simply attach rubber feet to the wood. |
|
|
There are two different screw types used on the bottom: large machine screws and smaller, self-tapping screws. Keep track of which screw type goes where. |
|
| Korg® SV1 | ||
|---|---|---|
|
Last Page < |
Page Top ∧ |
Next Page > |
|
|
|
|
|
Page design and content Copyright © Richard Diemer - All rights reserved |