| BustedGear.com |
| Shop | Repairs | Manufacturers | Resources | iFAQs | About |
|
|
|||
| Korg® SV1 | 5: Removing & Installing Keys | ||
|---|---|---|---|
|
Last Page < |
Page Bottom ∨ |
Next Page > |
|
|
|
|||
|
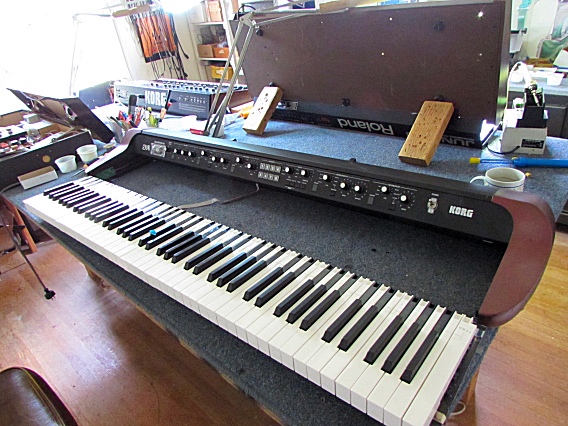
One of the keys of this Korg SV-1 was getting stuck so we need to remove that key and a few of the surrounding keys. This photo shows the Korg "RH-3" keybed removed from the SV-1. RH-3 keybeds are also used in the Korg Kronos and the Korg M50-88. |
|
|---|---|
|
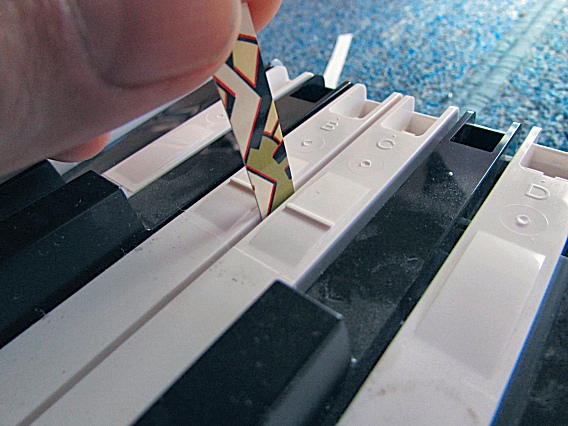
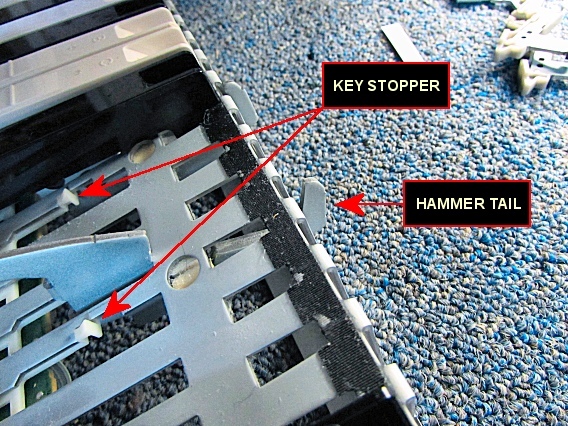
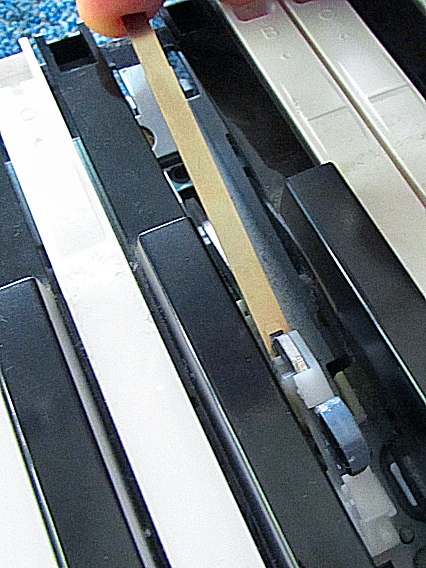
To remove a white key from the RH-3 keybed, you push forward on the rear of the key while depressing a hidden "key stopper" (see photo). A thin tool or a sturdy business card can be used to depress a stopper. Every white key has a stopper to the left of it. The 'E', 'F', 'B' and 'C' keys have a ridge marking its exact location (see photo). |
|
|
This photo shows what the key stoppers look like. |
|
|
This video demonstrates removing a white key from the RH-3 keybed.
Replacement keys for the Korg SV-1 and Kronos can be purchased on our REPLACEMENT KEYS PAGE. |
|
|
This video demonstrates removing a black key from the RH-3 keybed. Black keys don't have a stopper—you just push forward on the rear of the key and lift. Before removing a black key, its surrounding white keys must be removed. |
|
|
This video demonstrates installing a white key on the RH-3 keybed. The black keys are installed in the same way. A black key must be installed before its adjacent white keys. |
|
|
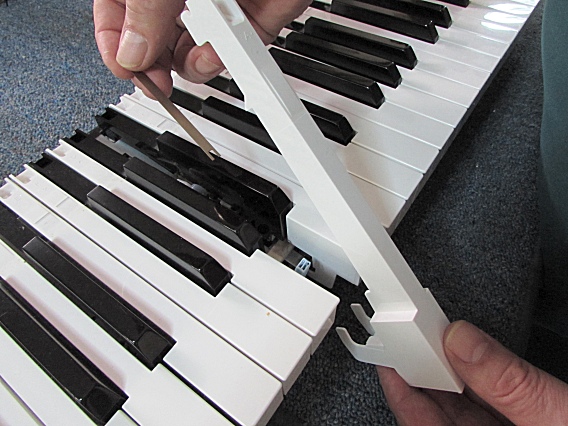
The RH-3 key springs are leaf springs and their orientation is important. |
|
|
The forked end of the key spring straddles the key hammer (see right).
The flat end of the key spring butts up against the rear of the key (see below): 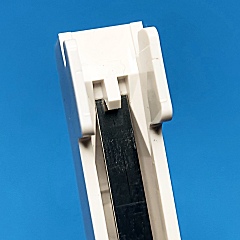
|
|
|
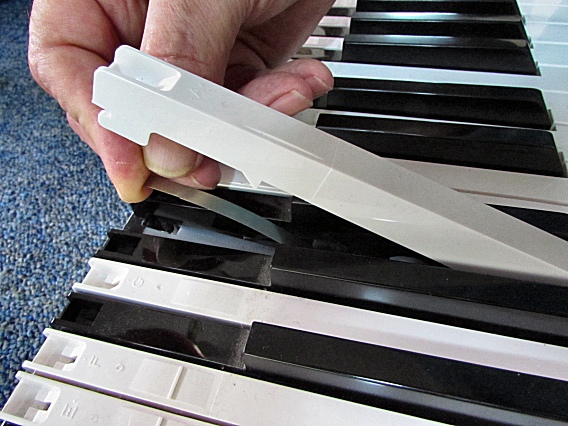
As you guide the leaf spring into the rear of the key, bend the middle of the spring upward (see right). |
|
|
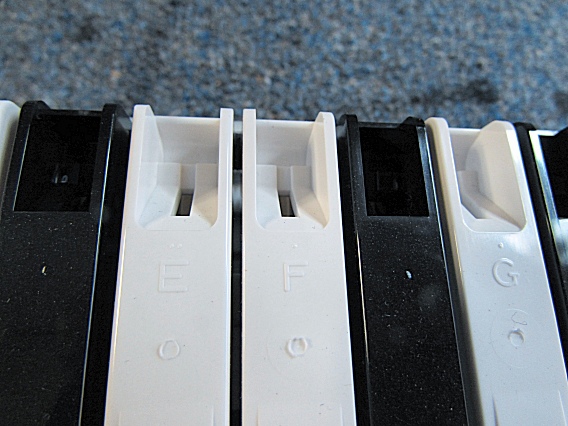
Each key has a window where you can see if the spring is properly seated. |
|
| Korg® SV1 | ||
|---|---|---|
|
Last Page < |
Page Top ∧ |
Next Page > |
|
|
|
|
|
Page design and content Copyright © Richard Diemer - All rights reserved |