| BustedGear.com |
| Shop | Repairs | Manufacturers | Resources | iFAQs | About |
|
|
|||
| Korg® Triton Pro | 3: Right Button Board Removal | ||
|---|---|---|---|
|
Last Page < |
Page Bottom ∨ |
Next Page > |
|
|
|
|||
|
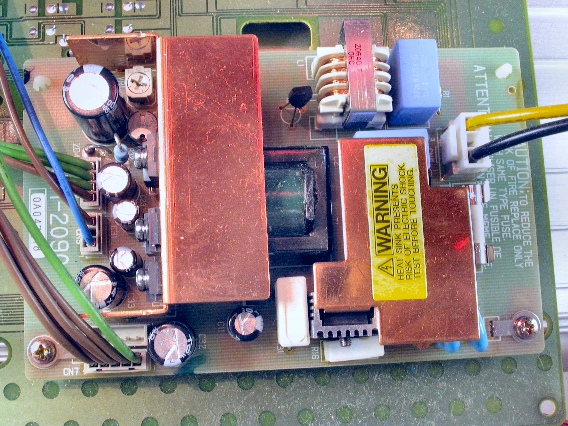
Now we'll prepare to take out the Triton's Right Button board. If you haven't yet pulled off the three rotary knobs on the right side of the Triton's control panel, do that now. First, the power supply unit (PSU), right, must be removed. |
|
|---|---|
|
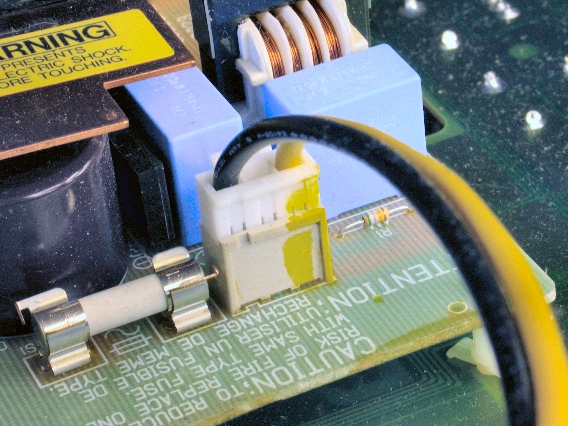
There are four cables to unplug from the PSU. This cable goes to the Triton's On-Off switch. |
|
|
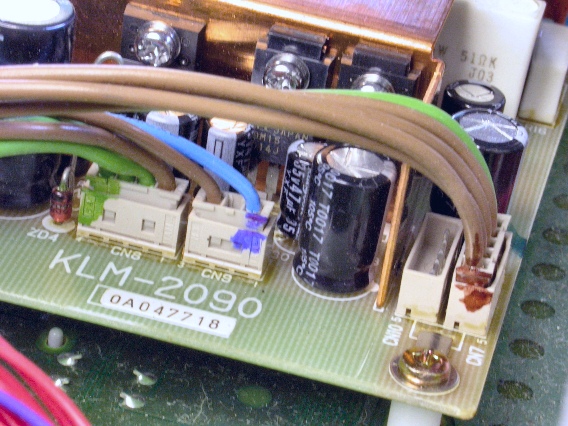
These three cables are on the other end of the PSU. |
|
|
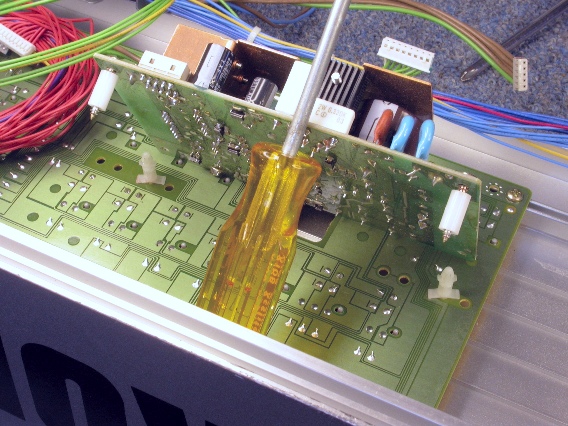
The PSU is held down by two gold screws, passing through nylon spacers. There are also two nylon supports that snap into circuit board holes. Use a small pliers to unlock the supports from the circuit board. |
|
|
Now remove all 8 gold screws that attach the Right Button board to the Triton's chassis. Two of the screws hold down a metal brace and one of the screws (below) attaches a flexible cable clamp. 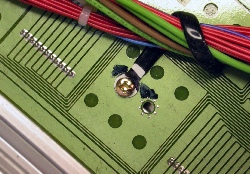
|
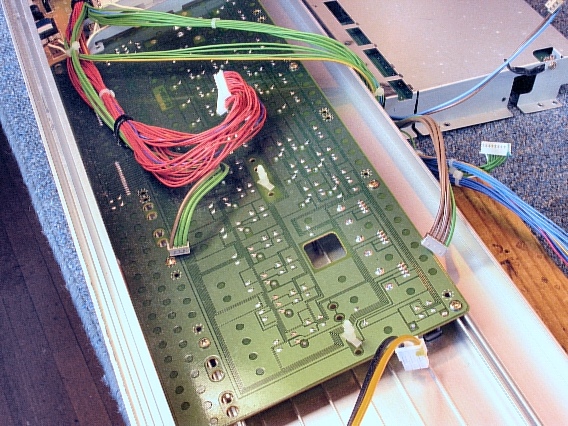
|
|
With the Right Button board out of the unit, you'll see the plastic knob blocks that operate the tactile switches. Both button boards are now removed from the Korg Triton; you can finally begin to replace the worn-out tactile switches. |
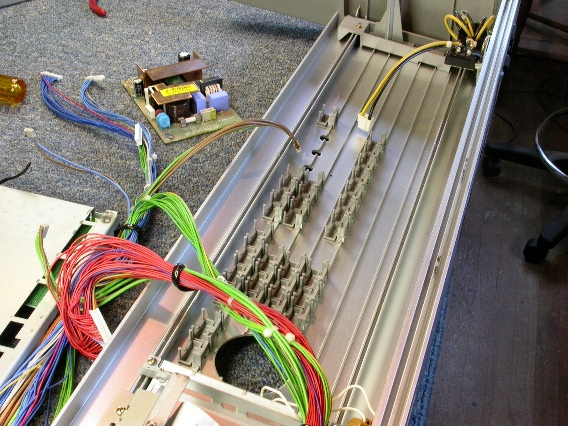
|
| Korg® Triton Pro | ||
|---|---|---|
|
Last Page < |
Page Top ∧ |
Next Page > |
|
|
|
|
|
Page design and content Copyright © Richard Diemer - All rights reserved |