| BustedGear.com |
| Shop | Repairs | Manufacturers | Resources | iFAQs | About |
|
|
|||
| Korg® Triton Pro | 4: Keyboard Removal | ||
|---|---|---|---|
|
Last Page < |
Page Bottom ∨ |
Next Page > |
|
|
|
|||
|
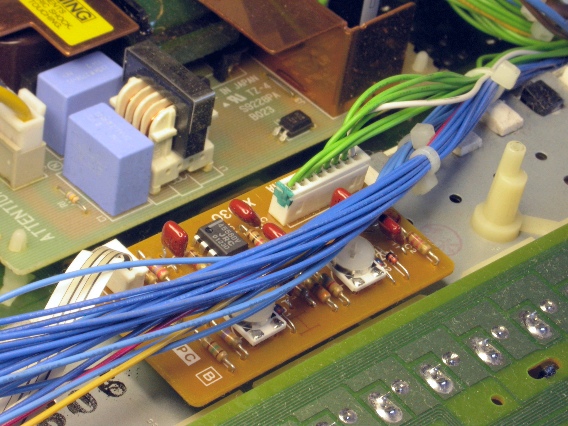
There's one more cable to unplug from the keyboard assembly. It's the 8-pin cable with mostly green wires, shown here. This little board is attached to the keyboard assembly and reads the after-touch information. |

|
|---|---|
|
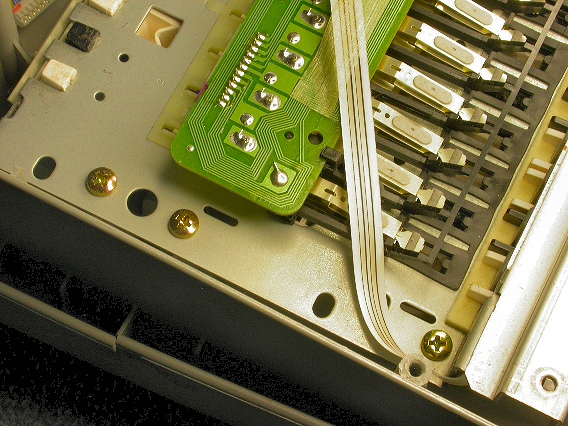
Next, take out three mounting screws from each end of the keyboard assembly. Here you see the three screws on the right-hand end. |

|
|
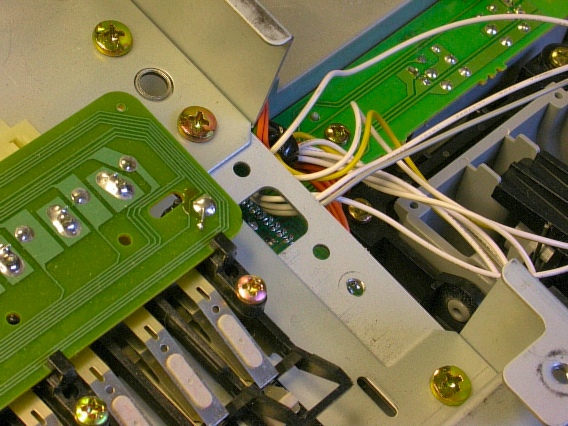
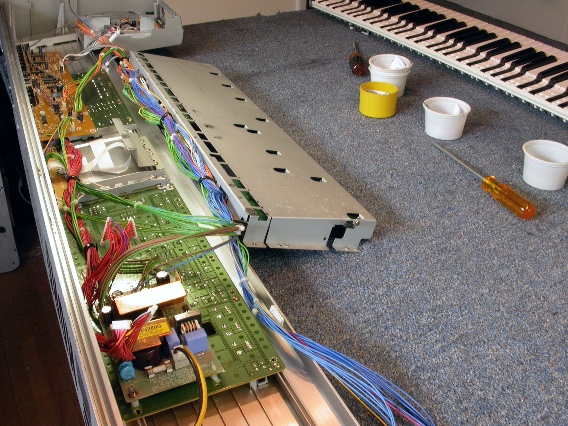
Here you see the three screws on the left-hand end. Now you can lift the entire keyboard assembly out of the Korg Triton pro. |

|
|
With both the computer cage and the keyboard assembly out of the way, it's time to take a break. To remove and replace keys or fix contact problems, view the Korg Keys & Contacts Repair Story. To remove and replace worn-out tactile switches, view the Triton Worn-out Buttons Repair Story. |

|
| Korg® Triton Pro | ||
|---|---|---|
|
Last Page < |
Page Top ∧ |
Next Page > |
|
|
|
|
|
Page design and content Copyright © Richard Diemer - All rights reserved |