| BustedGear.com |
| Shop | Repairs | Manufacturers | Resources | iFAQs | About |
|
|
|||
| Peavey® 6505+ | 2: Pulling Connectors | ||
|---|---|---|---|
|
Last Page < |
Page Bottom ∨ |
Next Page > |
|
|
|
|||
|
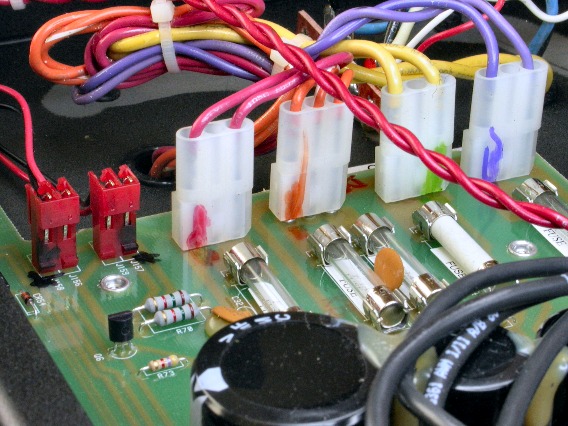
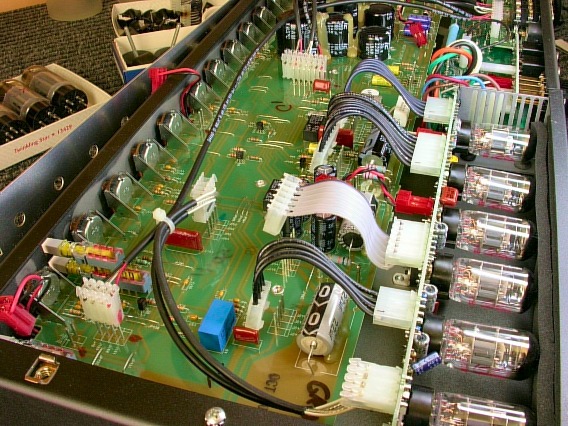
To free the main PCBA, unplug all of its interconnect cables. At one end of the assembly there are six connectors to unplug, shown here. I always use a Sharpie® to color code where the cables go, and which way. This speeds up the reassembly. |
|
|---|---|
|
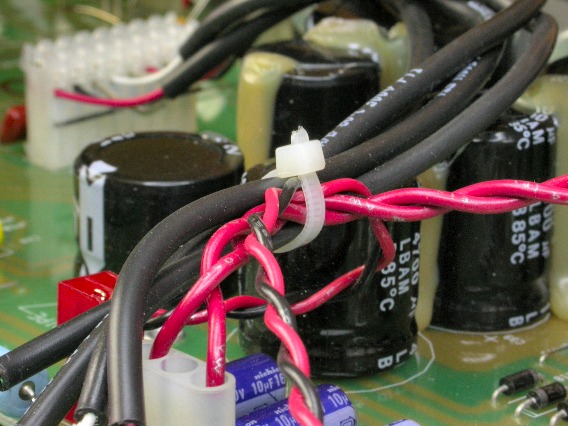
Nearby, there's a nylon cable tie you need to cut, shown here. |
|
|
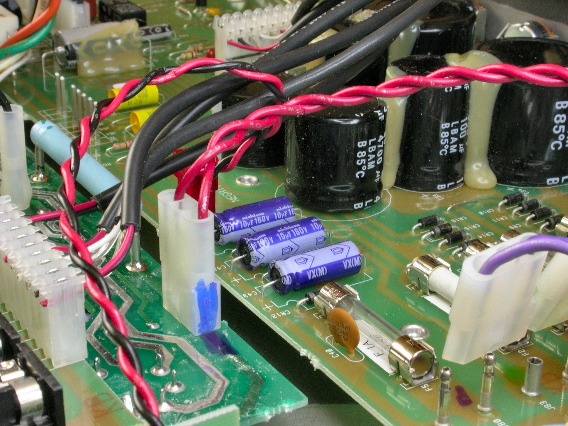
With the cable tie removed, you see another connector to pull. By the way, the blade of a screwdriver can help pry apart any tight connectors. |
|
|
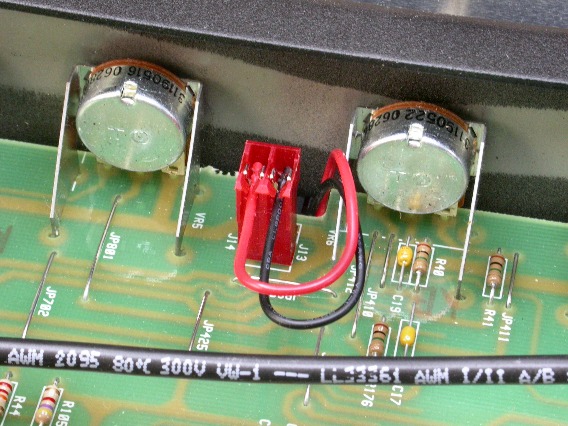
Along the front of the circuit board are two LED connectors to unplug. One is shown here. |
|
|
This photo shows six cables (including a little red one) that connect the main PCBA to the preamp tubes. It also shows a couple more cables to unplug. |
|
|
Once all the connectors are unplugged, the PCBA can be backed out of the 6505+ chassis and repairs can begin. |

|
| Peavey® 6505+ | ||
|---|---|---|
|
Last Page < |
Page Top ∧ |
Next Page > |
|
|
|
|
|
Page design and content Copyright © Richard Diemer - All rights reserved |