| BustedGear.com |
| Shop | Repairs | Manufacturers | Resources | iFAQs | About |
|
|
|||
| Roland® Juno-106 | 1: Opening the Juno 106 | ||
|---|---|---|---|
|
Last Page < |
Page Bottom ∨ |
Next Page > |
|
|
|
|||
|
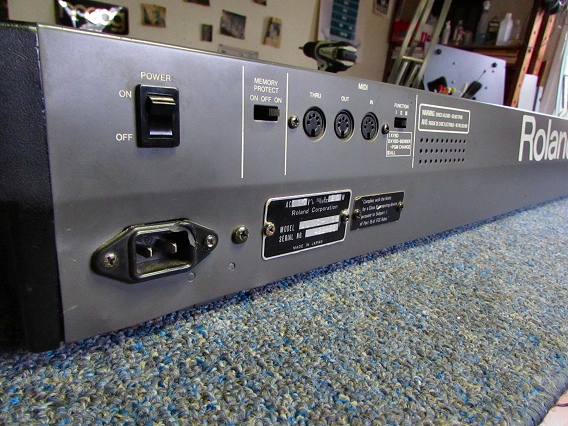
This Juno-106 came into the shop with a bad voice chip, preventing one of the 6 voices from sounding. |
|
|---|---|
|
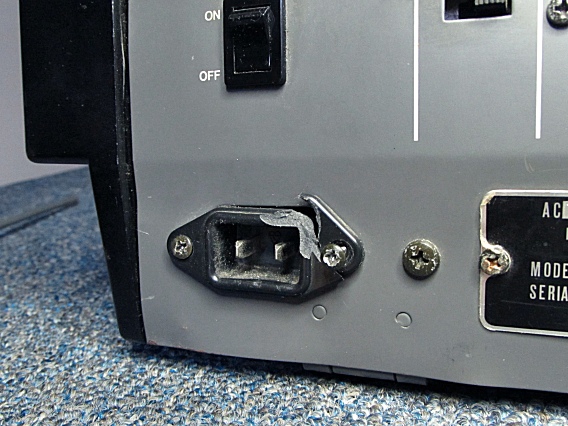
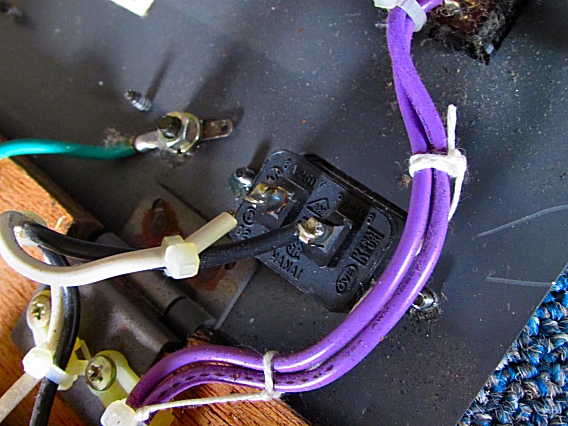
However, while connecting the power cord, a dangerous issue with the AC inlet receptacle became apparent. One of the inlet jack's mounting wings was broken and power to the unit was becoming intermittent. Thus, the first task was to replace this broken, obsolete, 2-prong AC inlet jack. We chose a standard, 3-prong, IEC jack for this Roland Juno-106. |
|
|
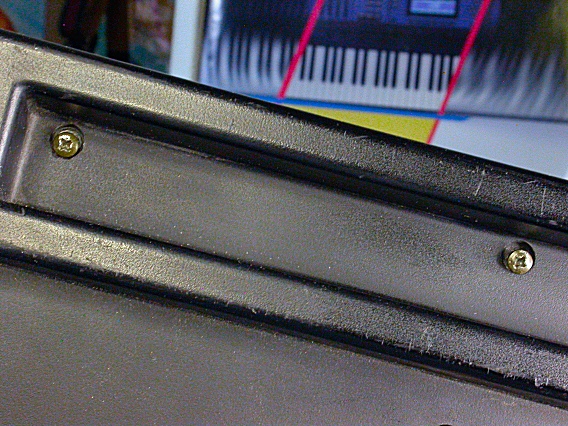
To open up the Juno-106, remove the upper two screws from each side panel. One or more of these screws are often missing. Over the life of the keyboard, they fall out, fail to be reinstalled, or otherwise go missing. As usual, you should replace missing screws. The Roland Juno-106 side panels use #3 x 12mm metric screws but screws as long as 25mm are good. |
|
|
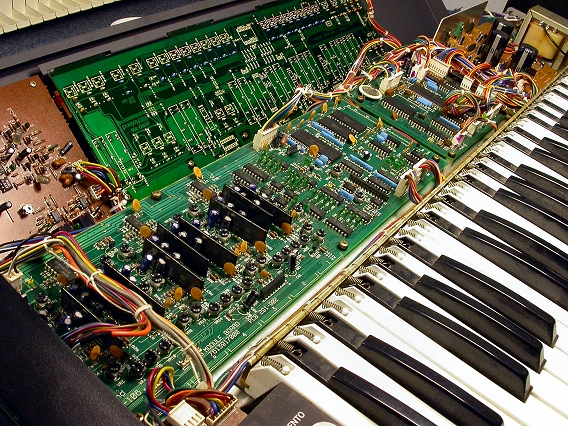
With the screws out, you can lift up the top panel assembly, which is hinged at the rear. |
|
|
We went right to the AC jack and saw that a white wire was now totally broken free from the jack's terminal. |
|
| Roland® Juno-106 | ||
|---|---|---|
|
Last Page < |
Page Top ∧ |
Next Page > |
|
|
|
|
|
Page design and content Copyright © Richard Diemer - All rights reserved |