| BustedGear.com |
| Shop | Repairs | Manufacturers | Resources | iFAQs | About |
|
|
|||
| Roland® Juno-106 | 2: Installing a 3-Prong AC Jack | ||
|---|---|---|---|
|
Last Page < |
Page Bottom ∨ |
Next Page > |
|
|
|
|||
|
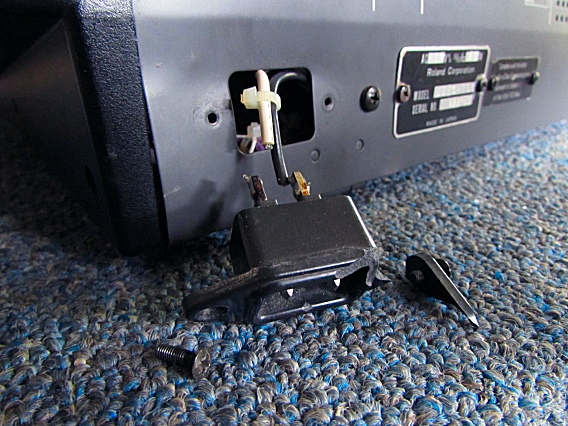
We unscrewed the AC receptacle from the rear panel of the Juno-106 and pulled its wires through the cutout. Now the terminals are easy to access. As you can see, the white wire is already broken off its terminal. |
|
|---|---|
|
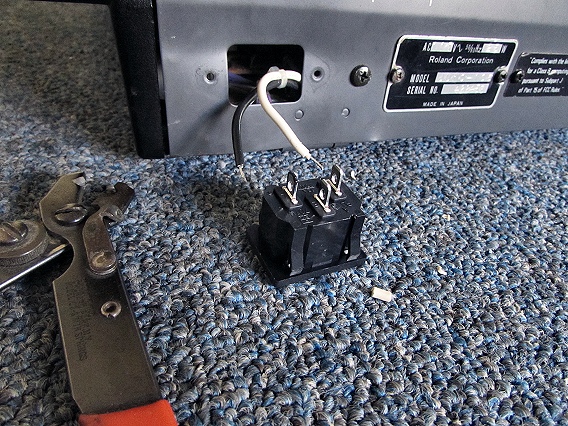
After snipping off the black wire, and stripping and tinning both wires, we were ready to solder a 3-prong AC jack into this Roland Juno-106. |
|
|
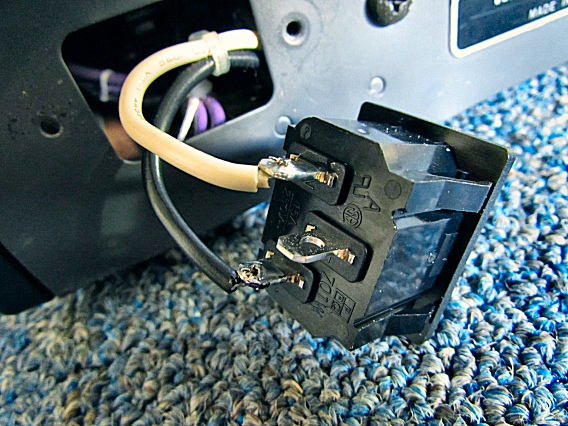
Here's the finished soldering work. The jack's earth terminal is unused since we're replacing a two-prong jack. And since the original jack was non-polarized, it doesn't matter which wire color goes to which terminal ‒ just as it doesn't matter which way you plug in the original, 2-wire cord. |
|
|
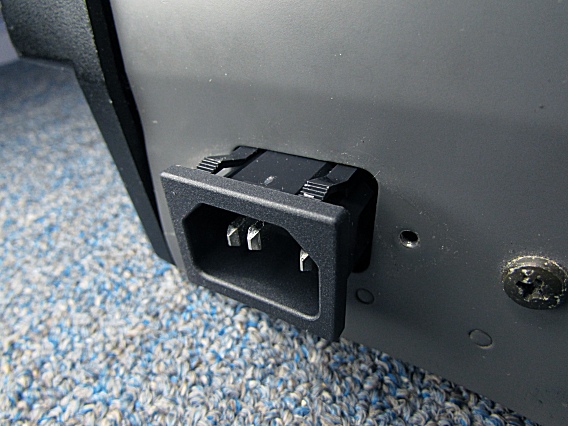
The replacement jack snaps into the rear panel cutout without relying on screws. |
|
|
Now any standard computer / peripheral power cord will fit this Roland Juno-106. |
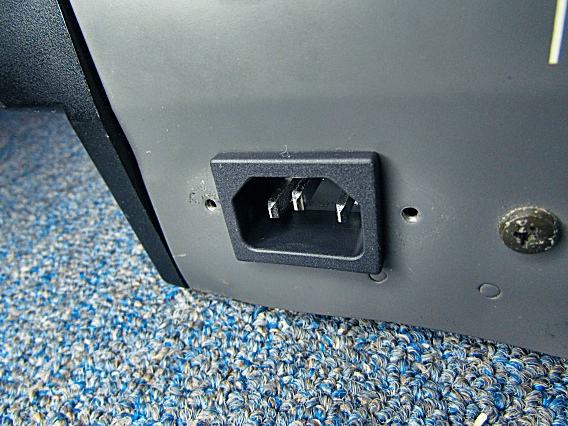
|
|
Before closing up the unit, we installed a blue cable tie to replace one we had previously cut. |
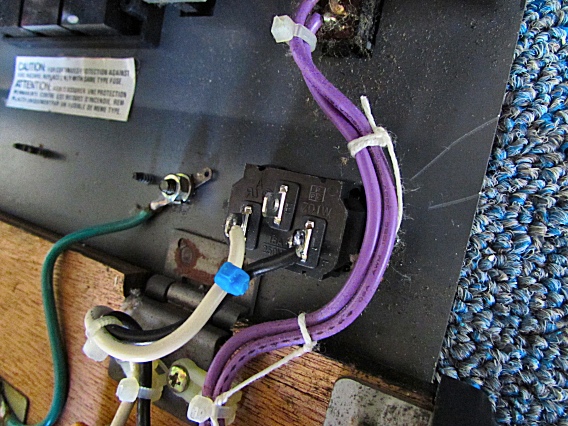
|
| Roland® Juno-106 | ||
|---|---|---|
|
Last Page < |
Page Top ∧ |
Next Page > |
|
|
|
|
|
Page design and content Copyright © Richard Diemer - All rights reserved |