| BustedGear.com |
| Shop | Repairs | Manufacturers | Resources | iFAQs | About |
|
|
|||
| Roland® Juno-60 | 1: Internal Battery Removal | ||
|---|---|---|---|
|
Last Page < |
Page Bottom ∨ |
Next Page > |
|
|
|
|||
|
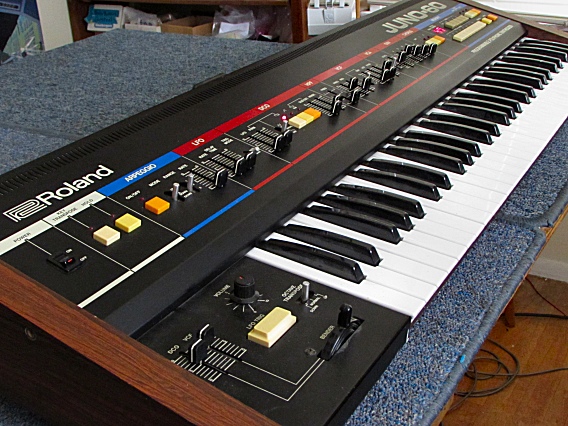
This Roland JUNO-60 had no preset sound patches in its memory. Due to a dead battery, all patch data was lost. So our first job was to remove the old battery.
|
|
|---|---|
|
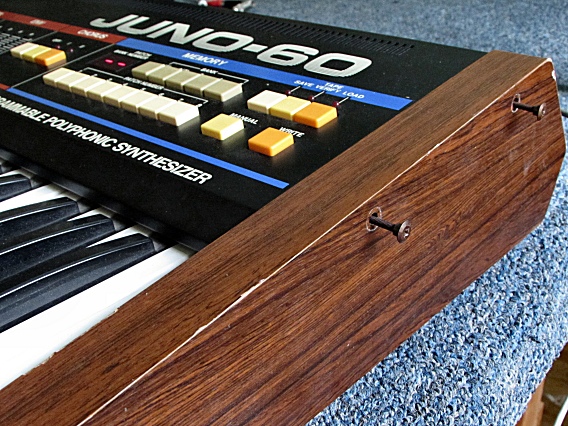
To open the JUNO-60, take out two screws from each end block. Here you see the right end block. |
|
|
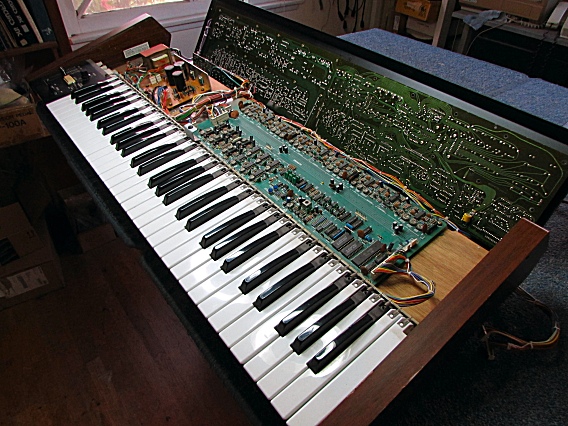
The top control panel is hinged at the back and will now swing up as shown here. The battery is yellow (on the right in this photo). It's on the lower-right corner of a top-panel circuit board ("Panel Board B"). Your first instinct might be to remove Panel Board B since soldering to it, in this position, would be difficult. However, taking off Board B would mean removing and replacing numerous slider knobs, connectors, cable ties, and screws. |
|
|
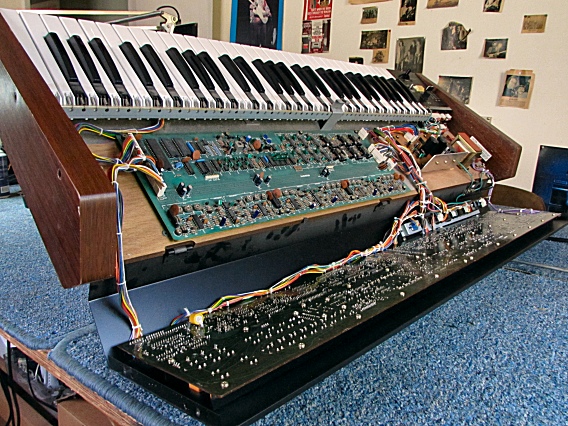
Instead, you could prop up the synth, as shown here. |

|
|
Now, Panel Board B is horizontal and less cramped, so the soldering will be easier. |
|
|
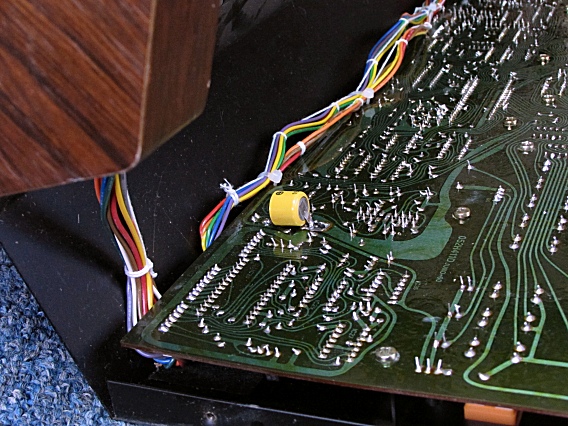
Here are two photos of the old battery with some solder removed. The solder pads have slots that fit the battery's mounting tabs. 
|
|
|
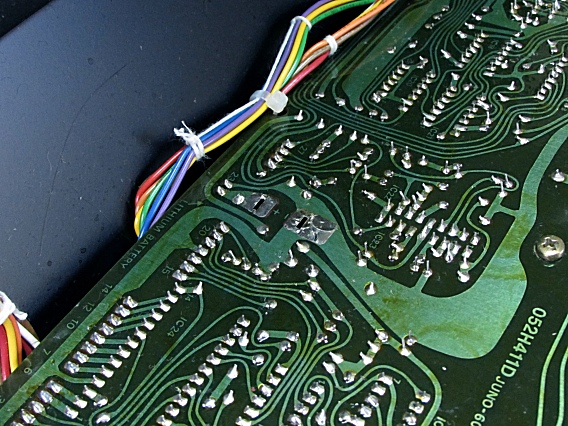
Here, all the solder has been removed from the pads. The solder pads are big enough for a Surface-Mount Battery Holder that requires no additional wiring. A holder makes future battery changes a snap. |
|
| Roland® Juno-60 | ||
|---|---|---|
|
Last Page < |
Page Top ∧ |
Next Page > |
|
|
|
|
|
Page design and content Copyright © Richard Diemer - All rights reserved |