| BustedGear.com |
| Shop | Repairs | Manufacturers | Resources | iFAQs | About |
|
|
|||
| Roland® Juno-60 | 2: Replacing the Battery & Reloading Patches | ||
|---|---|---|---|
|
Last Page < |
Page Bottom ∨ |
Next Page > |
|
|
|
|||
|
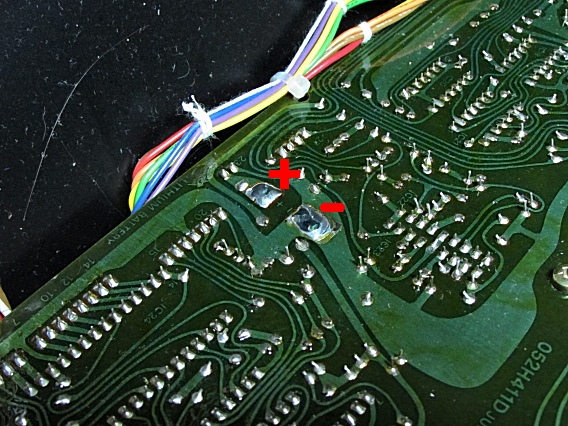
To install the JUNO-60 battery holder, first melt a small pool of solder onto each of the solder pads, as seen here. |
|
|---|---|
|
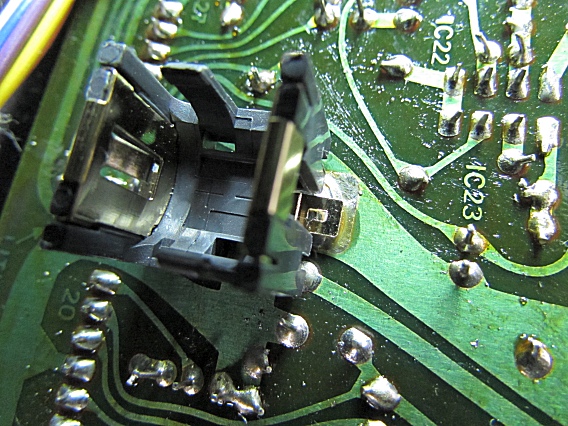
Place the battery holder over the prepped solder pads (right) to see how it fits. Make sure the "+" terminal on the holder aligns with the "+" solder pad. There's a peg on the bottom of the holder (below). If it gets in the way, you can snip it off and file it flat. 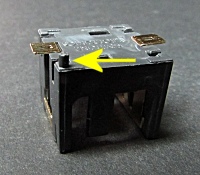
|
|
|
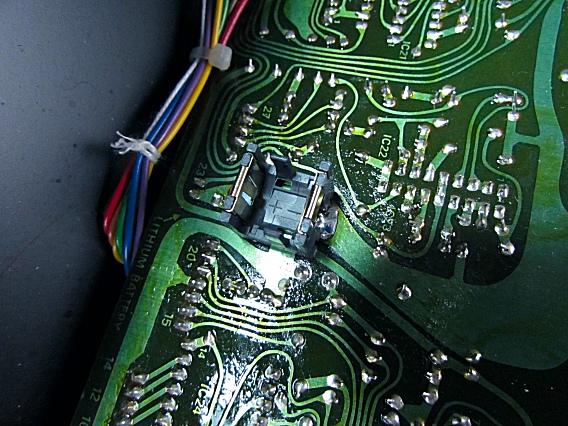
Then, heat the tabs, one at a time. Start with a little melted solder on the tip of your iron to improve the heat flow. Press down on the holder so the tabs sink into the solder pools. It's okay if the nylon body of the holder touches or rests on a nearby solder point as nothing would short out. |
|
|
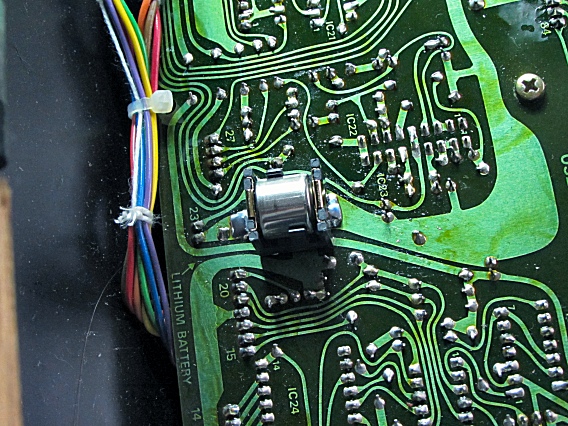
Here the holder is installed and loaded with a fresh battery. Next, we'll load preset patches into the Juno-60's memory and they'll stay put! |
|
|
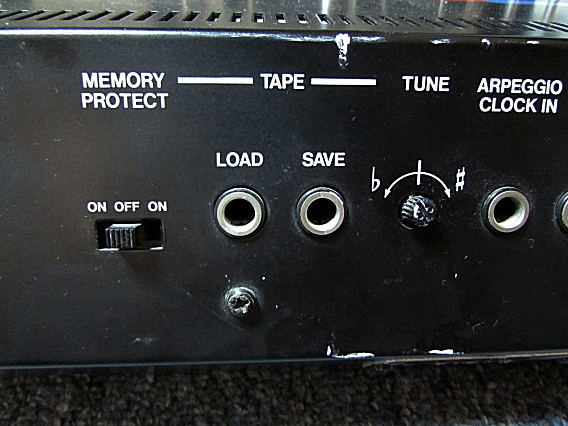
Slide the MEMORY PROTECT switch on the rear panel to its center-off position. We'll be sending digital patch data into the TAPE LOAD jack. The data comes as a sound track, originally stored on cassette tape, using Frequency Shift Keying (FSK). An FSK track contains a long sequence of just two tones, a low pitched tone that represents a "zero" and a higher pitched tone that represents a "one". The factory patch data can be found as .wav files on Synthmania.com. The "Group A" file holds the 56 patches that came pre-loaded in the JUNO-60. The "Group B" file holds 56 alternate factory patches. |
|
|
Here, we've connected a laptop's 1/8" (3.5mm) AUDIO JACK to the JUNO-60's 1/4" TAPE LOAD jack. At the laptop, we used a Y-cable that splits its stereo output into a Left and a Right signal, which are the same since the files are mono. We routed one signal to the Juno's Tape Load jack and the other to an amp and speaker so we could hear the track play. The Group B file was much easier to load than the Group A file (which sounded distorted) but eventually Group A loaded. |

|
|
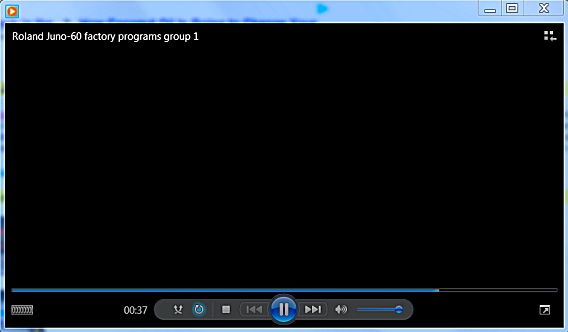
Here you see Windows Media Player playing the Group A file. The loading procedure is as follows:
|
|
| Roland® Juno-60 | ||
|---|---|---|
|
Last Page < |
Page Top ∧ |
Next Page > |
|
|
|
|
|
Page design and content Copyright © Richard Diemer - All rights reserved |