| BustedGear.com |
| Shop | Repairs | Manufacturers | Resources | iFAQs | About |
|
|
|||
| Yamaha® MOTIF 6 and 7 | 5: Keyboard Removal | ||
|---|---|---|---|
|
Last Page < |
Page Bottom ∨ |
Next Page > |
|
|
|
|||
|
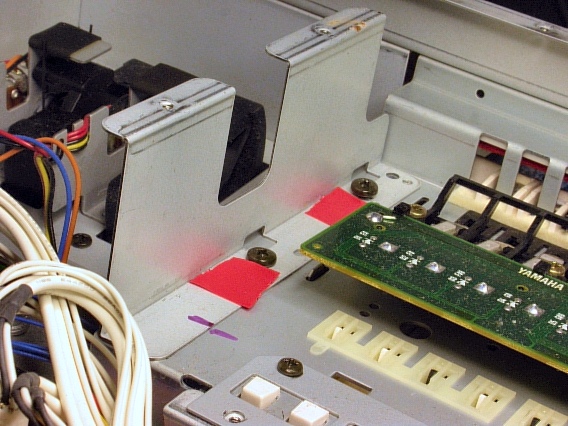
To detach the keyboard assembly, first remove the left brace, shown here. It's held on with two black screws. Use a Sharpie® to mark the alignment.
|
|
|---|---|
|
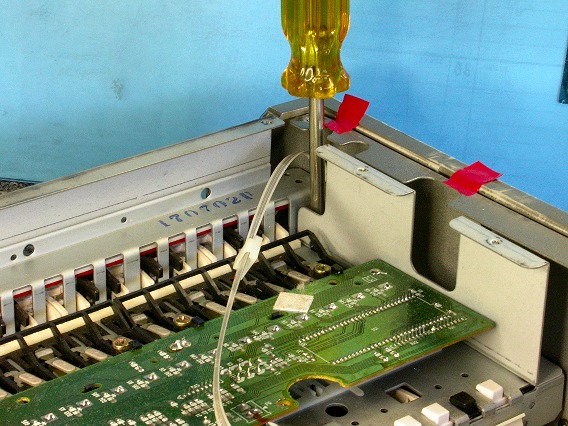
Next, remove two screws attaching the right brace. (The left and right braces are identical parts.) These mounting screws are well hidden, as shown here. A magnet tipped screwdriver helps reinsert the screws. |
|
|
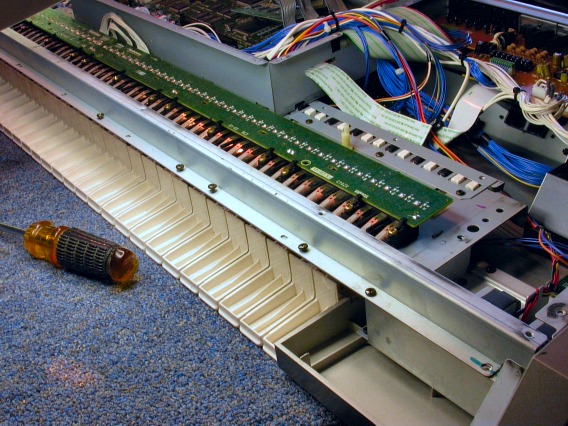
Then, remove 13 sheet metal screws from the front brace. |
|
|
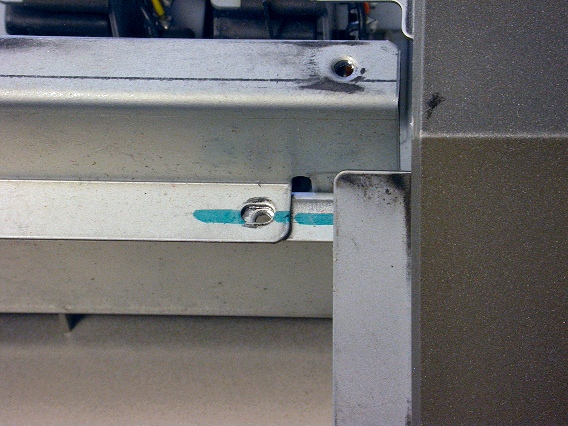
A Sharpie® stripe makes the brace easy to reorient. |
|
|
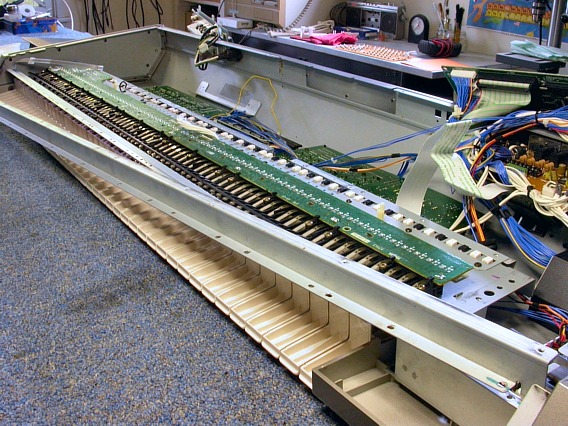
Take off the front brace and set it aside.
|
|
|
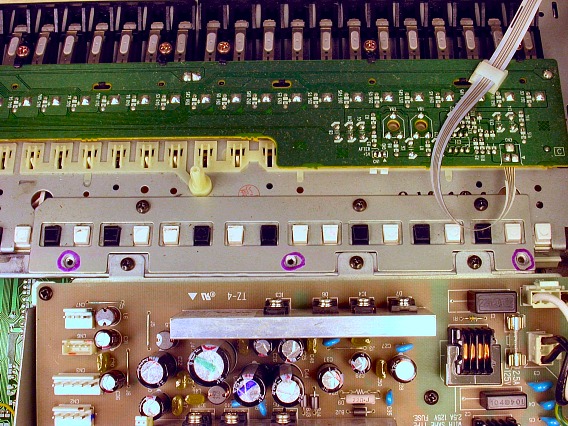
Finally, remove six screws holding down the rear of the keyboard assembly. Three mounting holes on the right of the keyboard are shown circled here.
|
|
|
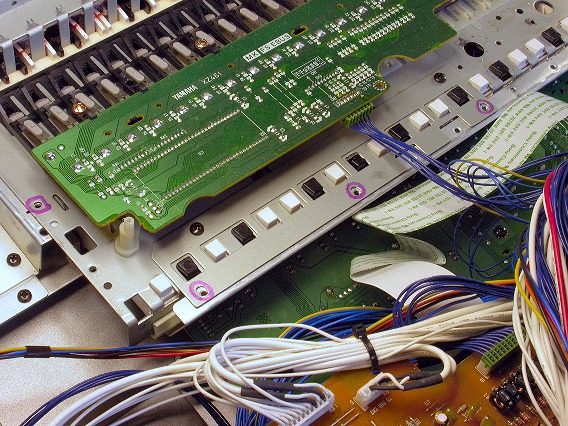
Three mounting holes on the left of the keyboard are shown circled here. These six sheet metal screws are shorter than those holding down the left and right braces. |
|
|
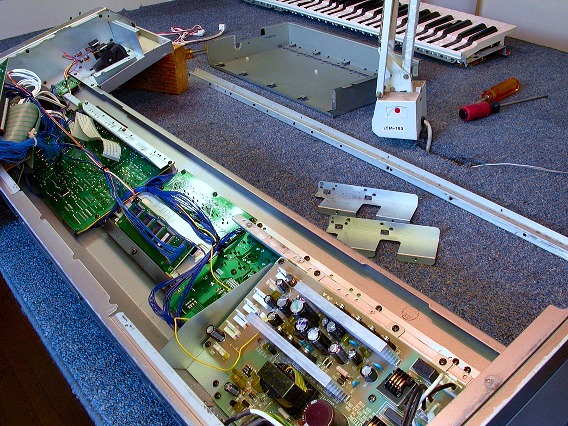
Now simply lift out the keyboard assembly and set it aside. If your goal is to replace broken keys, proceed to the Yamaha Keys & Contacts Repair Story. If you need to replace worn-out tactile switches, proceed to the Yamaha MOTIF Worn-Out Buttons Repair Story |
|
| Yamaha® MOTIF 6 and 7 | ||
|---|---|---|
|
Last Page < |
Page Top ∧ |
Next Page > |
|
|
|
|
|
Page design and content Copyright © Richard Diemer - All rights reserved |