| BustedGear.com |
| Shop | Repairs | Manufacturers | Resources | iFAQs | About |
|
|
|||
| Yamaha® SY77 | 1: Getting Inside | ||
|---|---|---|---|
|
Last Page < |
Page Bottom ∨ |
Next Page > |
|
|
|
|||
|
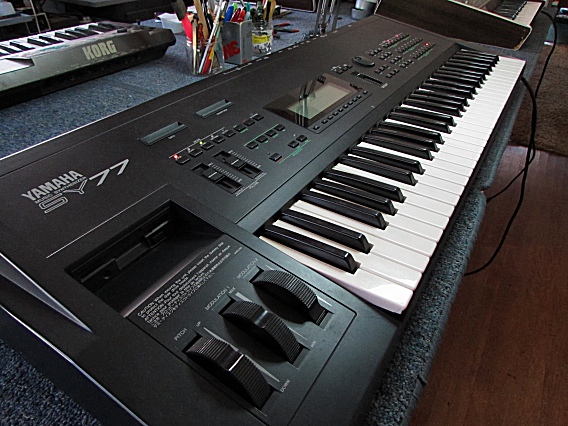
From 1989 to the mid 90s, the SY77 and SY99 were Yamaha's flagship workstations. The keyboards can create voices using both FM synthesis (frequency modulation) and ROM based sample synthesis. Additionally, the sound samples can be used as modulators in the FM synthesis in place of simple modulators like sine or sawtooth waves! Yamaha calls this technique Realtime Convolution and Modulation synthesis (RC&M), producing voices that are rich in accuracy, nuance and expression. Plus, there are three realtime wheels! |
|
|---|---|
|
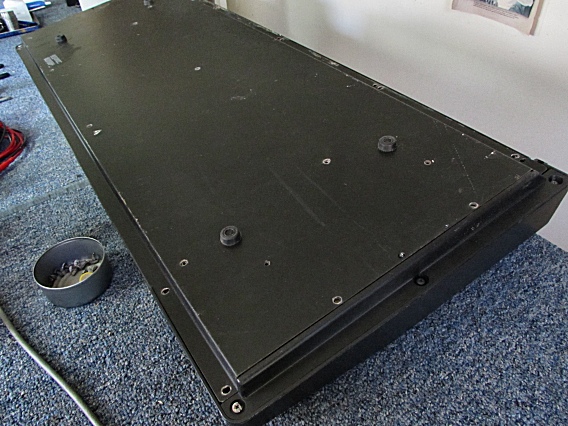
To change the internal battery, first turn the synthesizer over and remove all the screws on the bottom cover. |
|
|
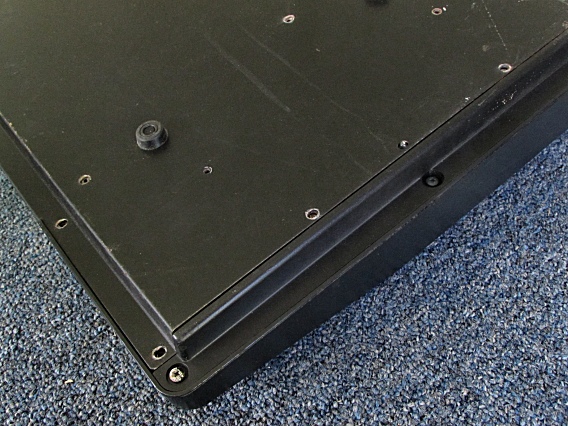
Three screws on each end attach side covers not the bottom cover. Don't remove these six screws or the rubber feet. |
|
|
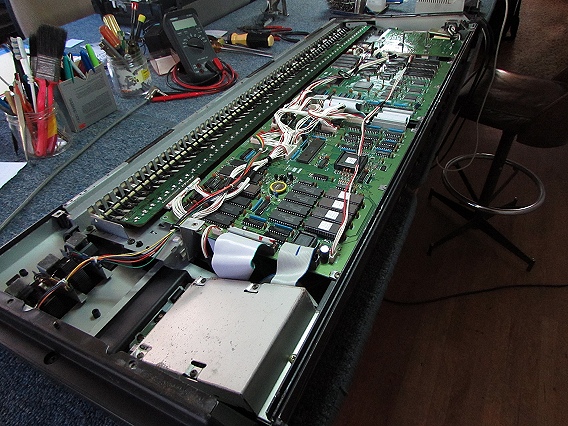
Here, the bottom cover has been removed and you can see the internal battery soldered to a large PC Board next to the disk drive. The coin-cell battery has a yellow rim of insulation. To unsolder the battery from the underside of the PCB, you must first disconnect a few cables, remove a few screws, then flip the board over. |
|
|
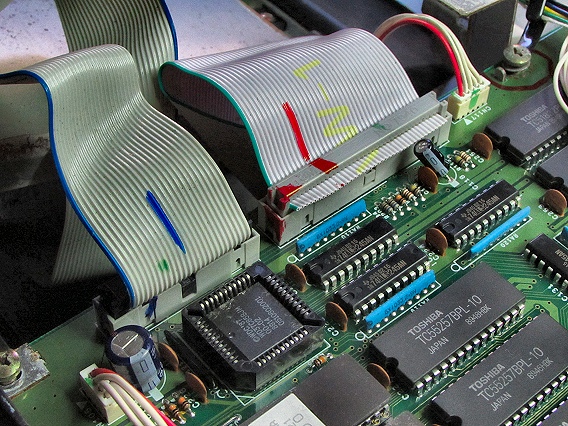
First, unplug two disk drive cables from their sockets on the PCB. The two ribbon cables are seen in this photo. Also unplug the 5-pin miniature connector, seen here, from its socket next to the ribbon cables. |
|
|
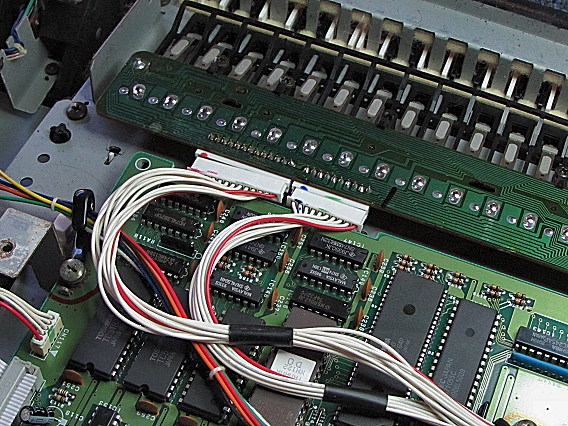
Next, unplug two cables from their sockets on the keyboard assembly. The two, multi-pin connectors are seen here. |
|
|
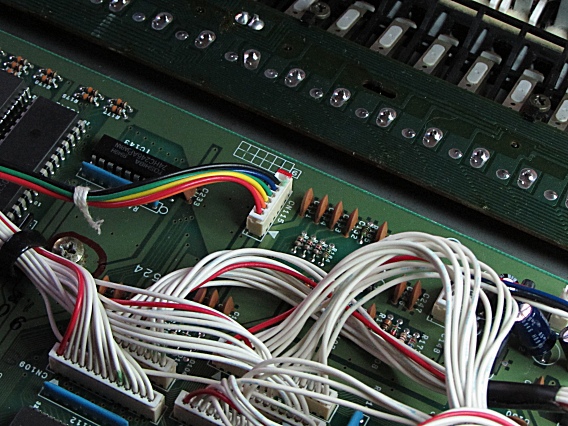
Finally, unplug the colorful, 6-wire connector (CN115, seen here) from its socket on the PCB. |
|
|
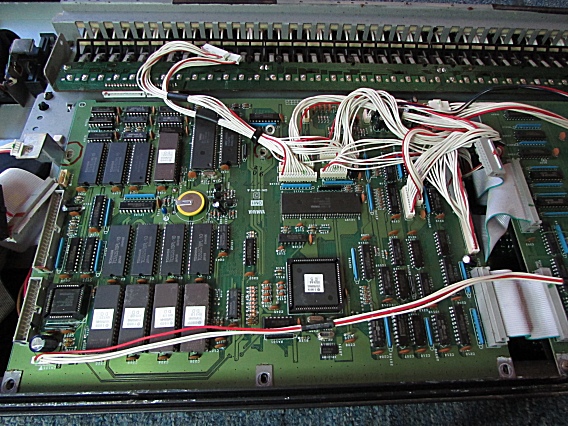
Here, all six cables have been disconnected. |
|
| Yamaha® SY77 | ||
|---|---|---|
|
Last Page < |
Page Top ∧ |
Next Page > |
|
|
|
|
|
Page design and content Copyright © Richard Diemer - All rights reserved |