| BustedGear.com |
| Shop | Repairs | Manufacturers | Resources | iFAQs | About |
|
|
|||
| Yamaha® SY77 | 2: Installing the Battery | ||
|---|---|---|---|
|
Last Page < |
Page Bottom ∨ |
Next Page > |
|
|
|
|||
|
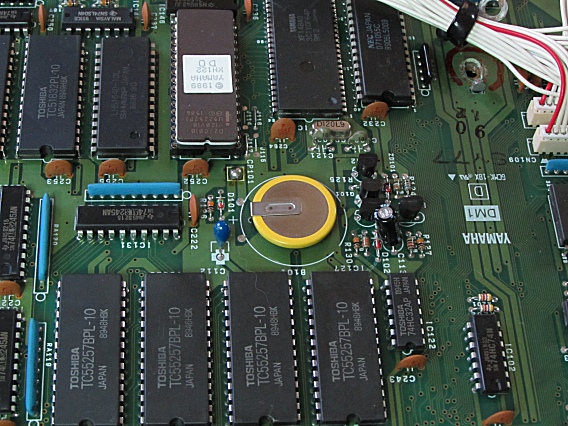
Here we see the old battery in our Yamaha SY77. Note that the solder pin attached to the top of the battery goes into the hole marked "+". We measured this battery's voltage and it was nearly zero. It should be about 3 volts. We've already disconnected a few cables from the circuit board and now we need to remove a few screws. Then we can flip the board over and unsolder the battery. |
|
|---|---|
|
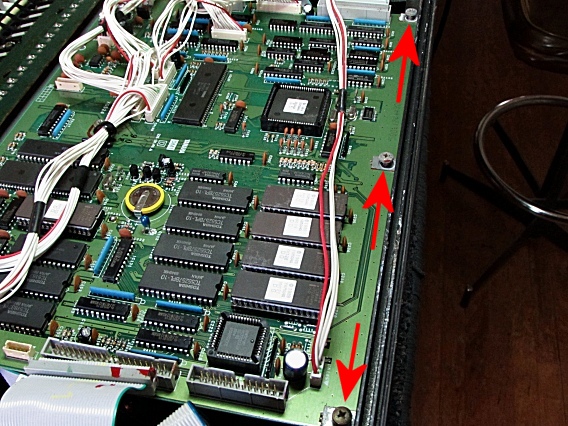
First, along the rear of the instrument, remove three circuit board mounting screws pointed out in this photo. |
|
|
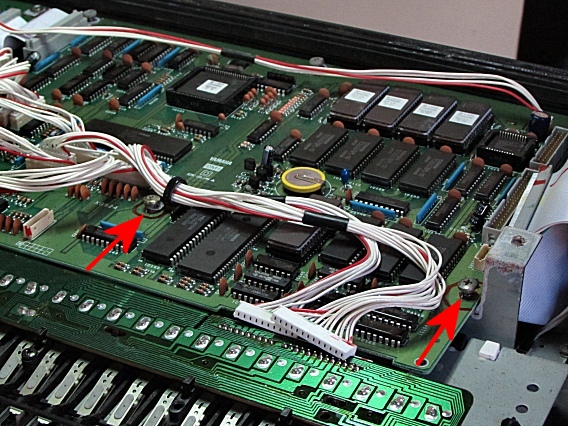
On the opposite edge of the board, remove the two screws shown here. The left screw also holds down a cable clamp. |
|
|
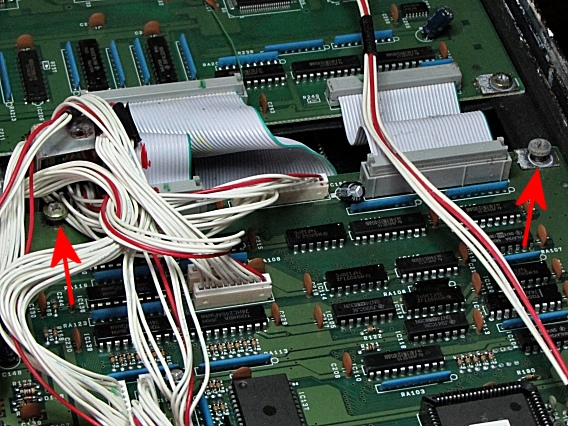
Finally, remove the screw shown on the left of this photo. You've already removed the one on the right. |
|
|
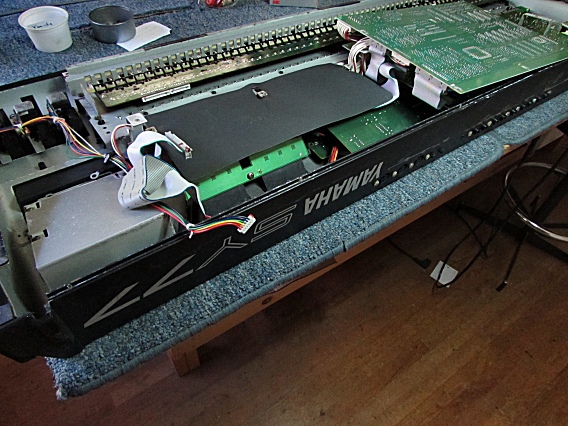
Now you can flip the PC board over, as shown here. Underneath it is a black cardboard insulator. |
|
|
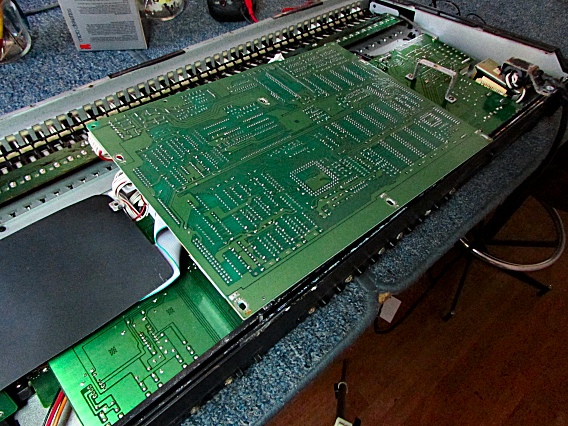
Now find the two solder points that attach the battery to the PC board and de-solder the holes. |
|
|
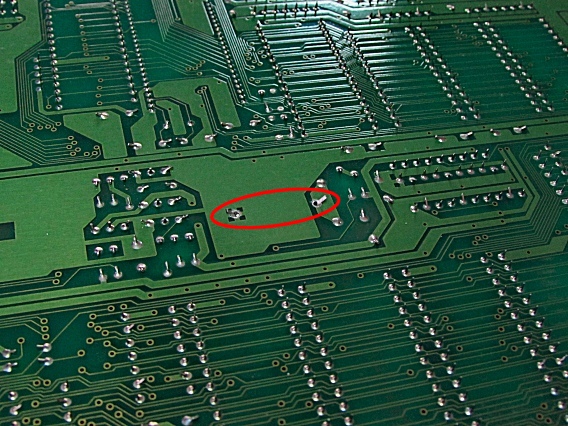
Here, we've removed the old battery from the board and are about to apply solder to the pins of a new, replacement battery. Make sure that the solder pin connected to the top of the battery goes into the hole marked "+" on the other side of the board. |
|
|
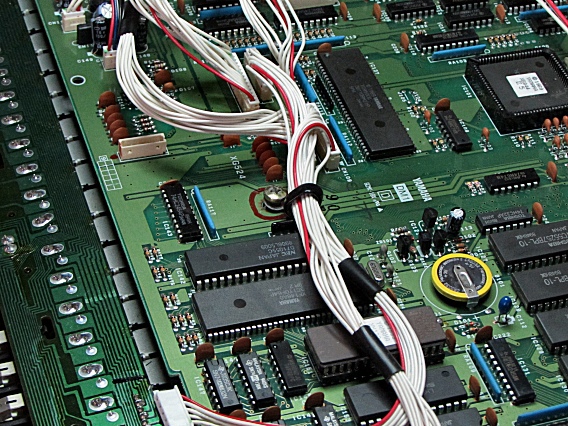
Here you see the new battery installed on the board. The Yamaha SY77 replacement battery is available on our Battery Page. After reassembling the SY77, you'll want to reload the factory data or any backup data you have saved. To Reload the Yamaha SY77 Factory Data:
|
|
| Yamaha® SY77 | ||
|---|---|---|
|
Last Page < |
Page Top ∧ |
Next Page > |
|
|
|
|
|
Page design and content Copyright © Richard Diemer - All rights reserved |