| BustedGear.com |
| Shop | Repairs | Manufacturers | Resources | iFAQs | About |
|
|
|||
| Korg® SV1 | 3: The Keyboard Cable | ||
|---|---|---|---|
|
Last Page < |
Page Bottom ∨ |
Next Page > |
|
|
|
|||
|
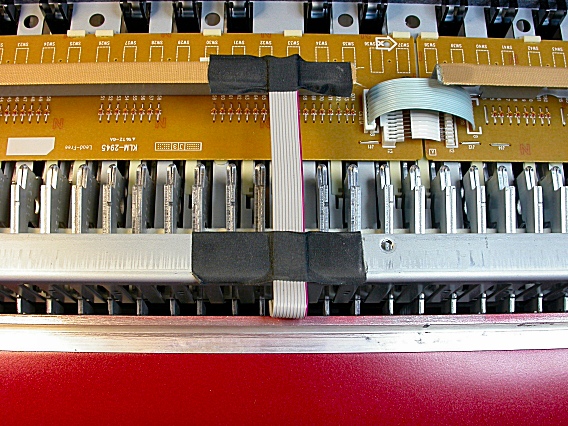
The Korg SV-1 keyboard cable is easy to find. Here you see it taped to the middle of the keybed frame. |
|
|---|---|
|
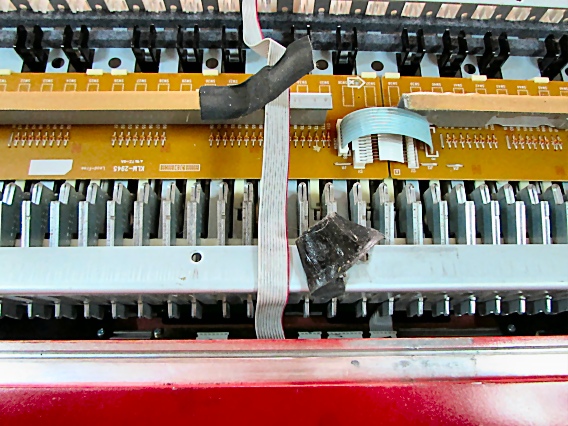
Lift up one end of each tape. You can reuse the tape during reassembly. |
|
|
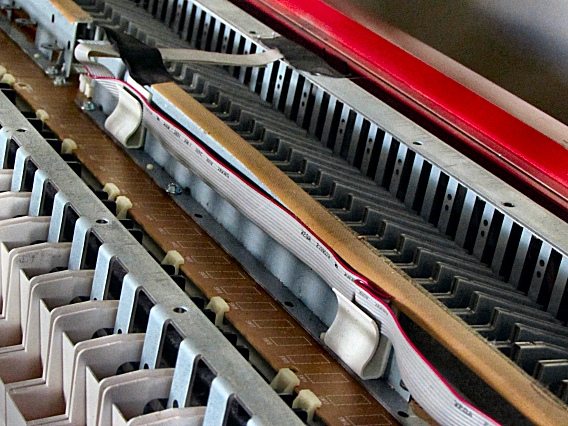
The ribbon cable is neatly folded and attached with clips to a keybed support rail (see right). |
|
|
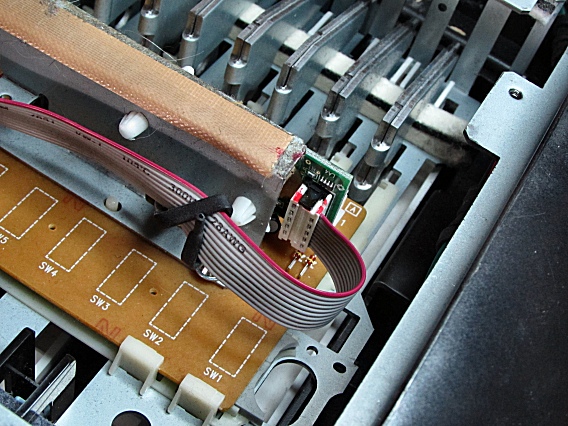
The cable runs to the treble end of the keybed where it plugs into a Keyboard Interface PCB that scans the key switches. |
|
|
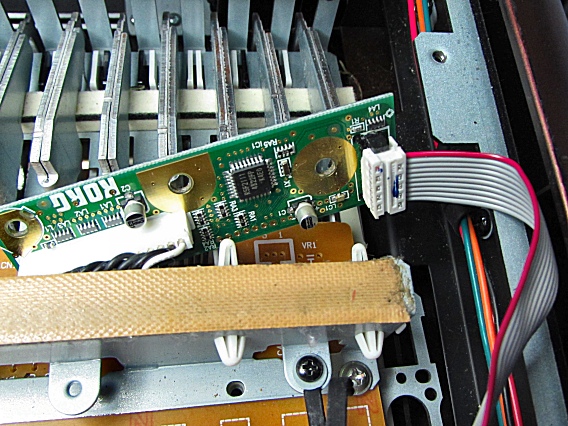
To unplug the keyboard connector, it can help to detach the Interface board from the support rail (see right). This gives your fingers more room to grasp the plug. The PC Board attaches to the rail using two nylon locking supports. Use a small needle nose pliers to pinch open each support's locking tabs, one by one, as you pull back on the PCB.
|
|
|
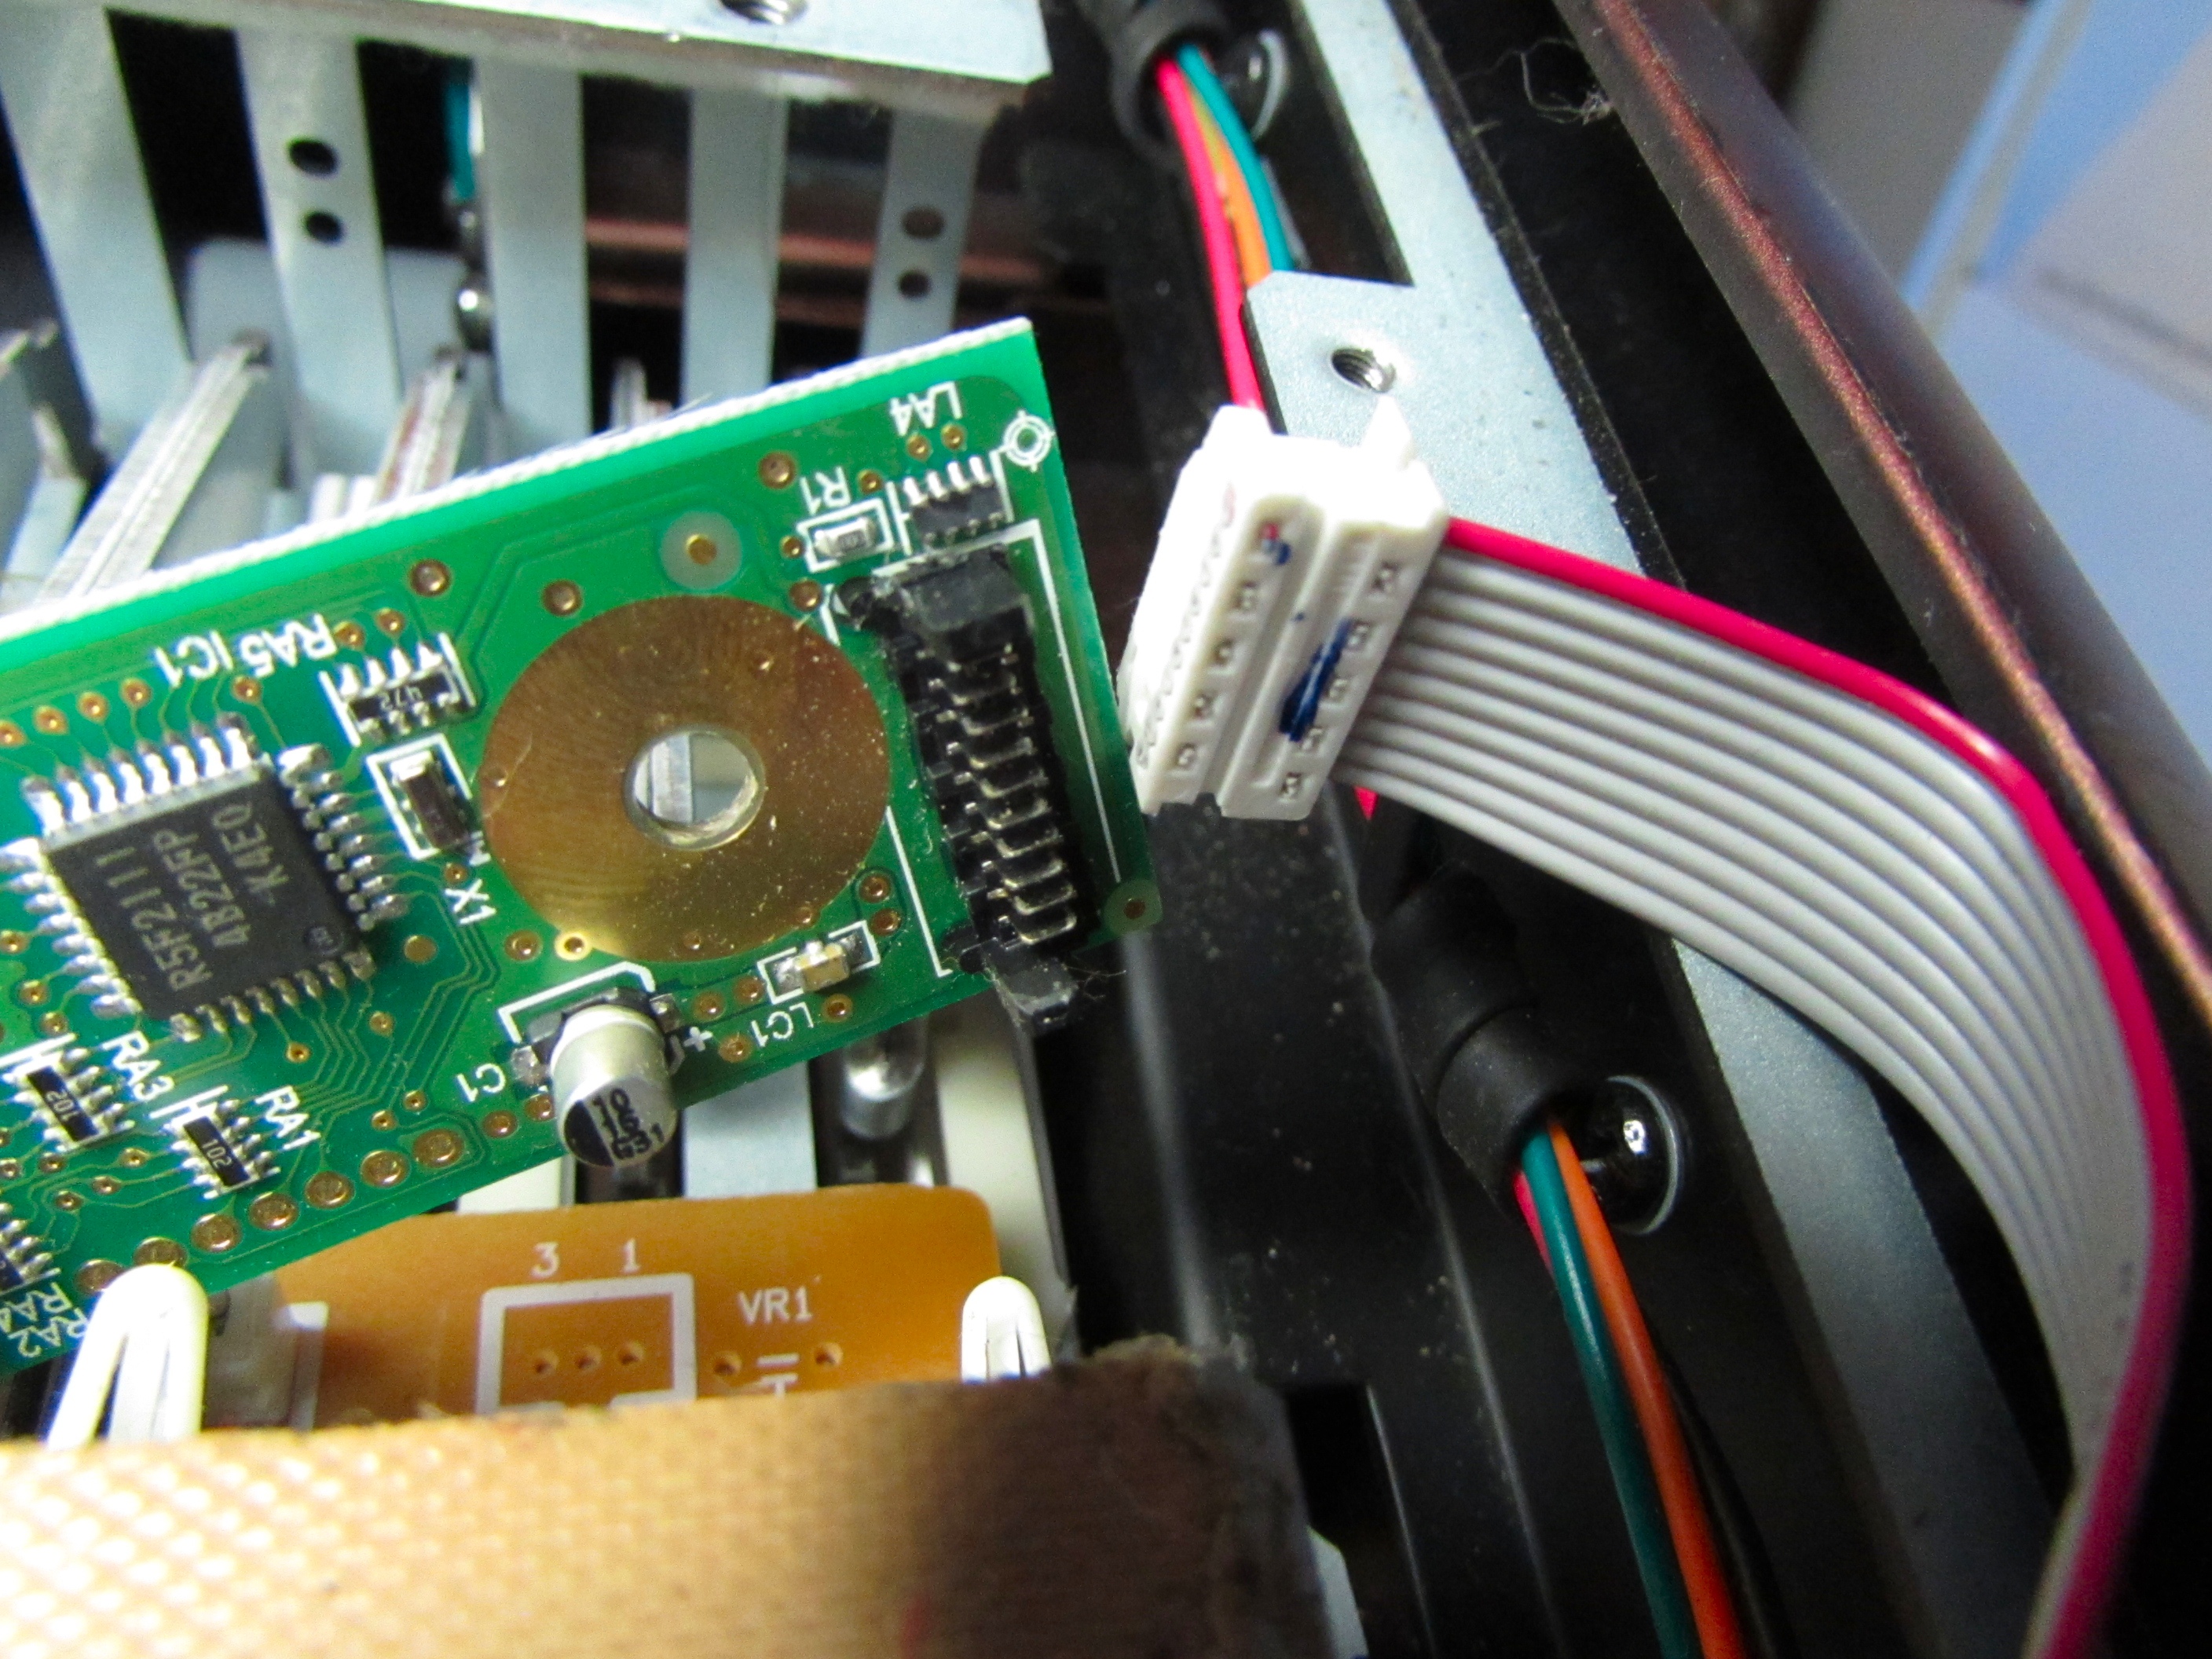
Here, the connector has been unplugged. Reattach the PCB to its supports before lifting out the keybed. |
|
|
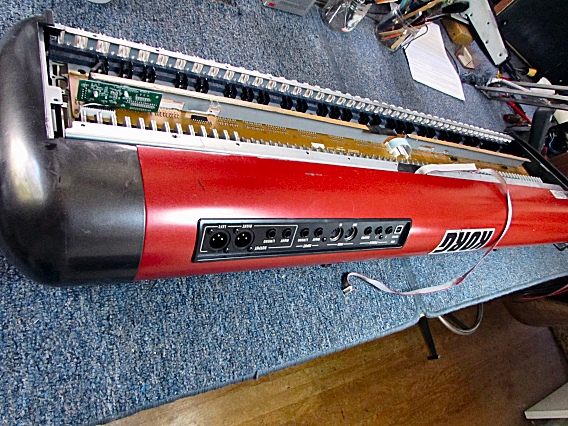
Now you can fully detach the keyboard cable from the keybed and drape it over the rear of the instrument, as shown here. The keybed is now ready to lift out. If you want to operate the instrument after the keybed is removed, you can plug the keyboard cable back in. |
|
| Korg® SV1 | ||
|---|---|---|
|
Last Page < |
Page Top ∧ |
Next Page > |
|
|
|
|
|
Page design and content Copyright © Richard Diemer - All rights reserved |