| BustedGear.com |
| Shop | Repairs | Manufacturers | Resources | iFAQs | About |
|
|
|||
| Korg® X3 | 1: Main PC Board Removal | ||
|---|---|---|---|
|
Last Page < |
Page Bottom ∨ |
Next Page > |
|
|
|
|||
|
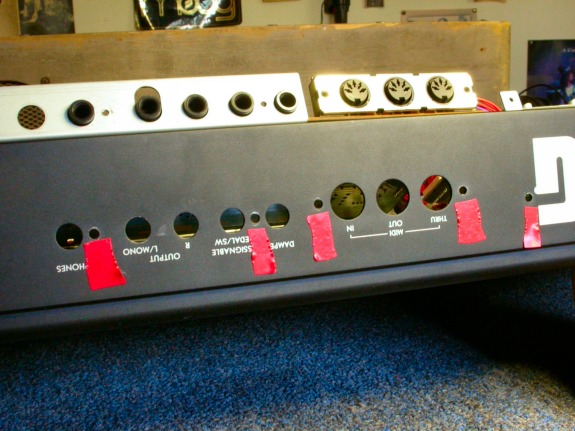
Korg X3 disassembly begins by removing the bottom tray. Then, on the rear panel, remove the black screws that support the two main printed circuit boards. In these photos, the screw holes are marked with red tape. |
|
|---|---|
|
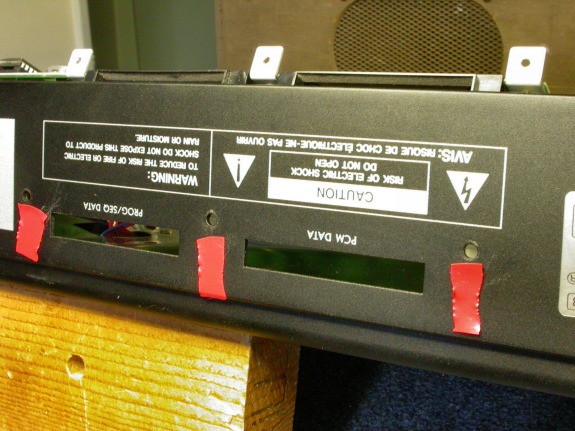
The PC boards won't lift up until you also remove a few mounting screws from inside the unit. The Analog board and the Computer board both need to be swung out of the way in order to access the Switch board that needs repair. |
|
|
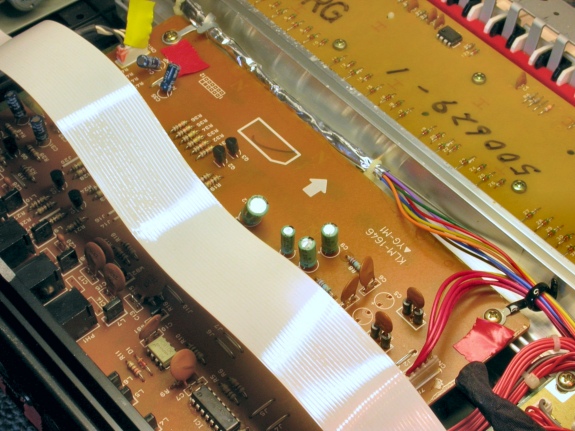
Here you see the Analog board and its two brass mounting screws that need removal (marked with red tape). You also see a cable near one of the screws (marked with yellow tape) that needs unplugging. |
|
|
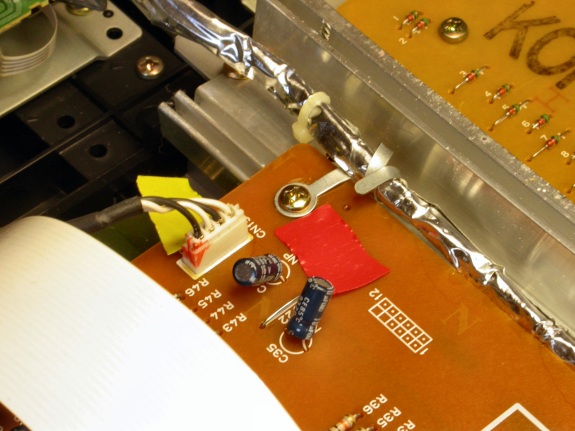
To unplug the cable, grab the four wires as close to the plug as possible and rock the plug (along its long dimension) out of its receptacle. It's a good idea to put a mark across the two headers, as shown here, before pulling out the plug. This speeds up reconnection even though it only connects one way. |
|
|
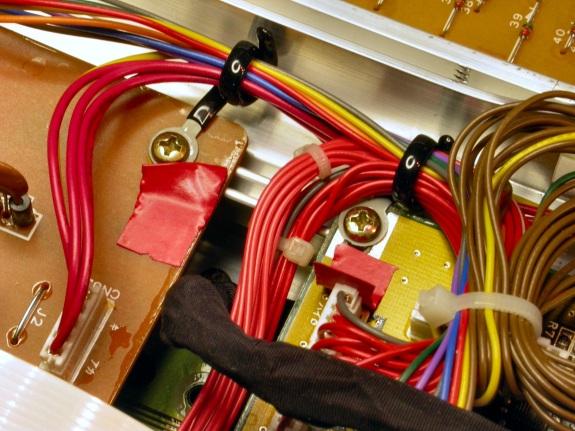
This close-up shows one Analog board mounting screw and one Computer board screw. A lot of these screws have flexible wire clamps attached. Don't forget to reattach these before putting the screws back in. |
|
|
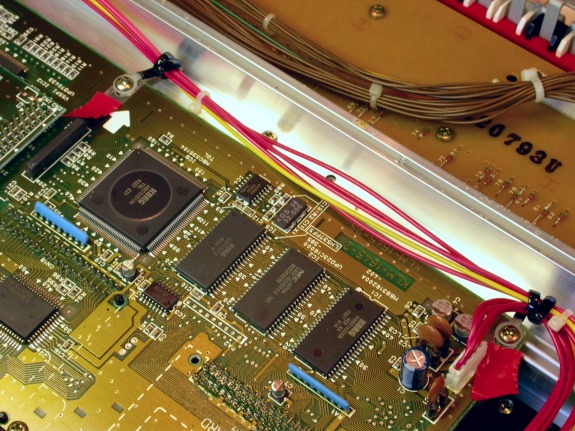
Here you see two more Computer board screws needing removal. |
|
| Korg® X3 | ||
|---|---|---|
|
Last Page < |
Page Top ∧ |
Next Page > |
|
|
|
|
|
Page design and content Copyright © Richard Diemer - All rights reserved |